37
SMD2499FS
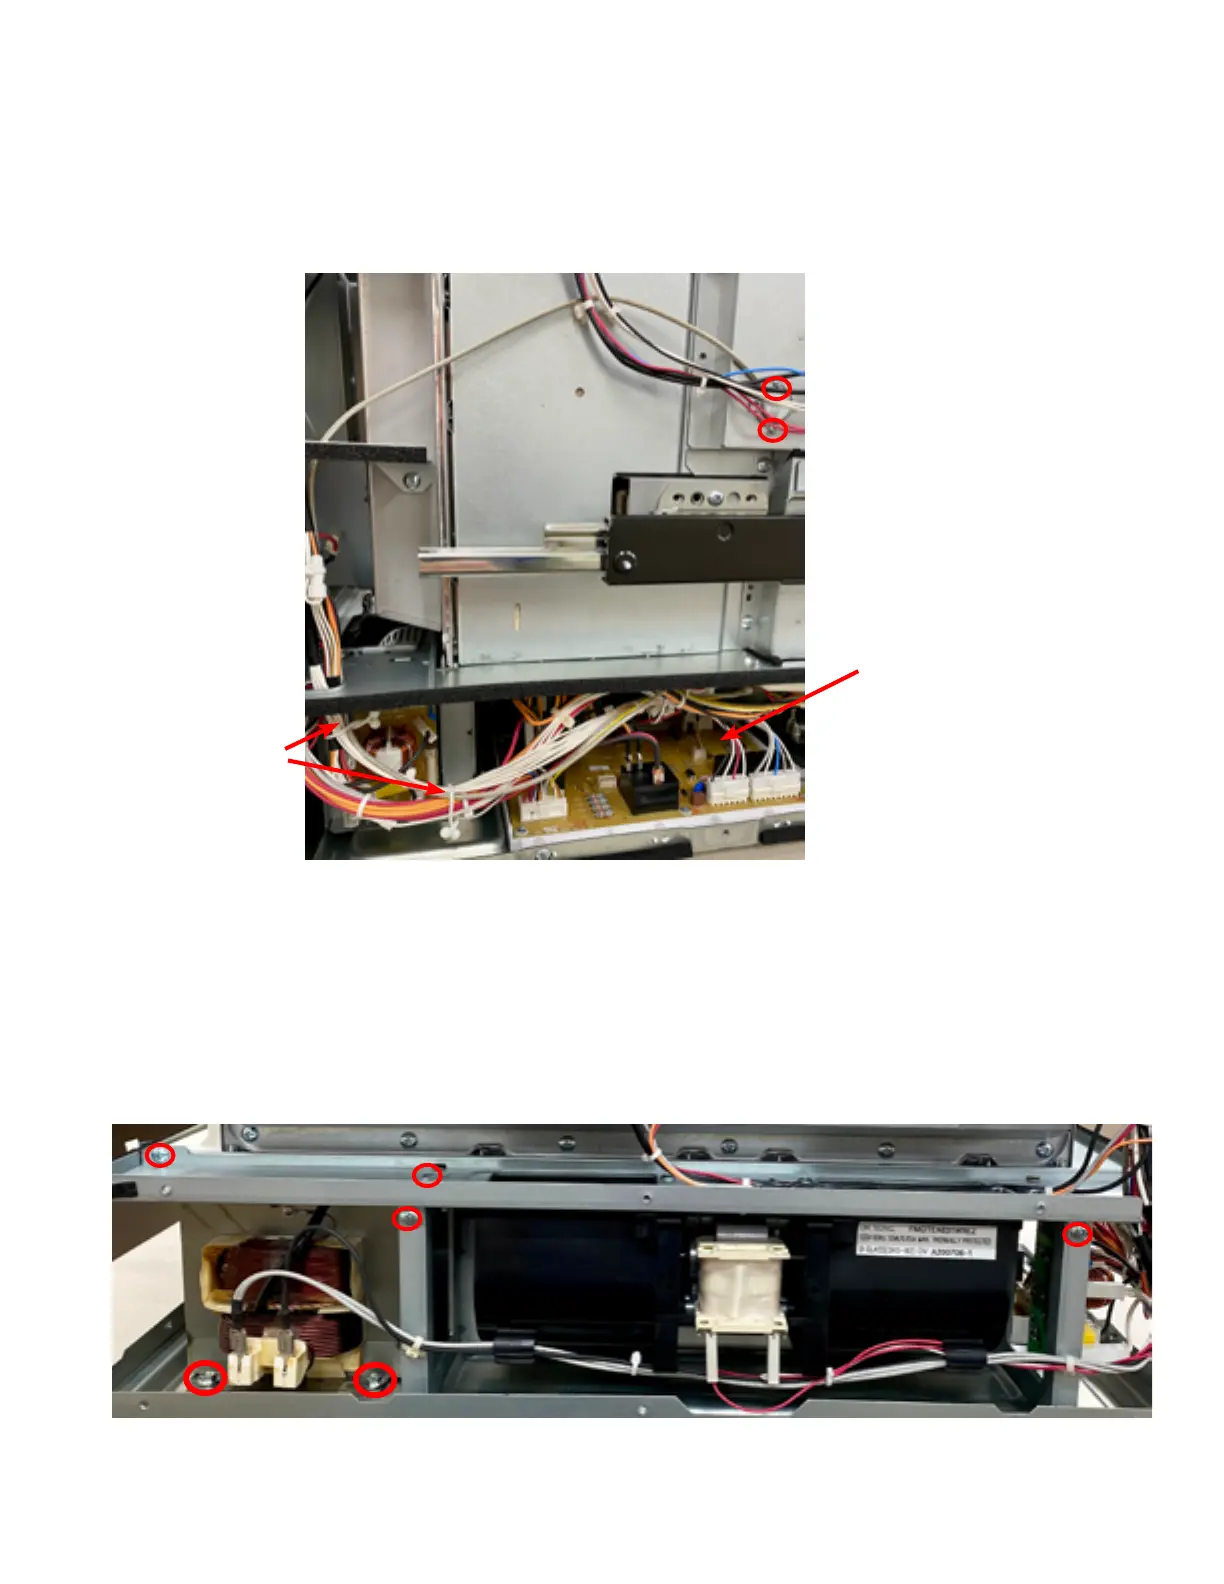
Fig. S-1
Purse Lock
SENSOR ASSY REMOVAL
1. Remove the left Outercase cabinet.
2. Remove (2) screws holding Sensor Assy to Damper Assy (Fig. S-1).
3. Unlock Purse Locks holding the Sensor wire to harness.
4. Unhook Sensor connector to PSU Unit.
5. Replace with new Sensor Assy and reverse order to reinstall.
SENSOR ASSY AND PSU UNIT / POWER UNIT / RELAY REMOVAL
Sensor Assy
connection
TRANSFORMER REMOVAL
1. Remove the Right & Rear Outercase cabinet.
2. Unplug the Magnetron & Capacitor wires from the Transformer.
3. There are two ways to remove the Transformer screws (2): (Fig. T-1)
a. You can use a 5/16 or 8mm socket wrench to remove screws.
b. Remove the (4) Duct screws and move the Duct out of the way to access the (2) Transformer screws (phillips screwdriver).
4. Install new Transformer in reverse order.
Fig. T-1
CAUTION:
The Noise Filter coil is very dangerous.
Avoid touching and/or letting any wires
touch it.