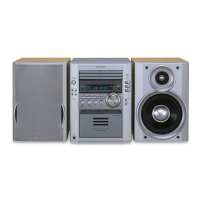
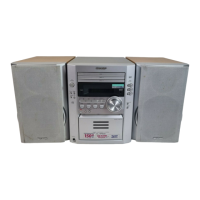
XL-HP700
,
/,-,
,
'-I
,--,
C':
,_
'-
'-'
o'--I
------.Jlo
After use:
Press the ON/STAND-BY button
to
enter the power stand-by
mode.
• To turn the power on
Press the ON/STAND-BY button to turn the power
on.
Notes:
• The unit will start the tape initialization when plugged
in
to the
AC
outlet. During this process,
an
initializing sound will be heard and
the unit cannot be turned
on.
Wait until the process
is
finished.
• Unplug the AC power cord from the
AC
outlet if the unit will not
be
in
use for a prolonged period of time.
• Demonstration mode
The first time the unit
is
plugged
in,
the
unit will enter the demonstration mode.
You will see words scroll.
To cancel the demonstration mode:
When the unit is
in
the power stand-by mode (demonstration mode),
press the X-BASS/DEMO button. The unit will enter the low power
consumption mode.
To return to the demonstration mode:
When the unit
is
in
the power stand-by mode, press the X-BASSI
DEMO button again.
Note:
When the power
is
on,
the X-BASS/DEMO button can be used
to
select the extra bass mode.
Incorrect
Incorrect
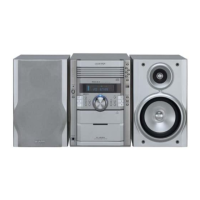
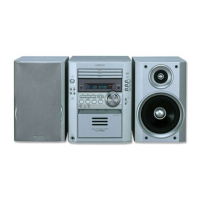
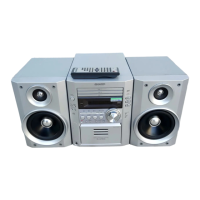
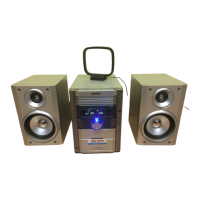
Speaker grilles are removable:
Make sure nothing comes into contact
with the speaker diaphragms when you
remove the speaker grilles.
• Connecting the AC power cord
After checking all the connections have been made correctly, plug
the AC power cord of this unit into the AC outlet.
If
you plug
in
the
unit first, the unit will enter the demonstration mode.
Caution:
• Connect the speaker wires to the
speakers first, then to the
unit.
• Use speakers with
an
impedance of 6 ohms or more, as lower
impedance speakers can damage the unit.
•
Do
not mistake the right and the left channels. The right speaker
is
the one
on
the right side when you face the unit.
• Do not let the bare speaker
wi
res touch each other.
•
Do
not allow any objects to fall into or to
be
placed
in
the bass
reflex ducts.
•
Do
not stand or sit
on
the speakers. You may
be
injured.
• Speaker connection
Connect the black wire to the minus
(-)
terminal, and the
red
wire to
the plus
(+) terminal.
11