EN
EN – 15EN – 15
Before operation
• Plug in the oven. The oven display will display: [“0:00”], an audible signal will sound once.
• This model has a clock function and the oven which consumes less than 1.0 W in standby mode. [To set the clock,
see below.]
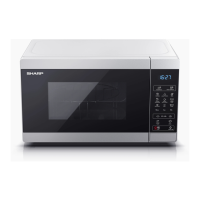
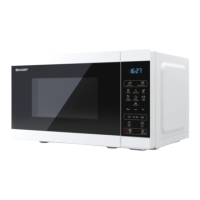
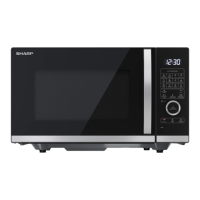
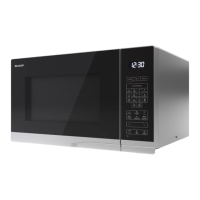
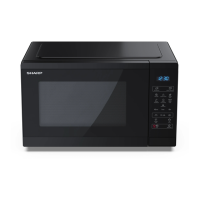
Setting the clock
Your oven has a 12 hour and a 24 hour clock mode.
1. Press the [SET CLOCK] button
once and the display will show 24H. Within 3 seconds, press the button once
again to choose the clock mode 12H or 24H. Press the [START/+30S] button to con rm the clock mode.
2. Press the time buttons and enter the current time. Enter the hours by pressing the [10 min] button and enter the
minutes by pressing the [1 min] and [10 s] buttons.
3. Press the [SET CLOCK] button
to nish clock setting.
NOTES:
• If the clock is set, when cooking is complete, the display will show the correct time of day. If the clock has not been
set, the display will only show “0:00” when cooking is complete.
• To check the time of day during a cooking process, press the [SET CLOCK] button and the LED will display the time
of day for 2-3 seconds. This does not a ect the cooking process.
• While in the clock setting mode, if the [STOP] button is pressed or if there is no operation within 1 minute, the oven
will go back to the former setting.
• If the electrical power supply to your microwave oven is interrupted, the display will intermittently show “0:00” after
the power is reinstated. If this occurs during cooking, the programme will be erased. The time of day will also be
erased.