EN-46 Original User Guide | Pedelec Shimano Steps Version 1
6.3 Functions
6.3.1 Charging the battery
DANGER
Readandfollowtheinformationonthechargerspecicationplate,
otherwise there is a risk of misuse resulting in serious injuries.
Damaged batteries must not be charged.
The battery can remain on the pedelec during the charging
process. It can also be removed and charged elsewhere.
1. Connect the power cable to the battery charger.
2. Fold up the protective cap on the battery.
3. Connect the charging cable to the battery charging socket (it clicks into
place).
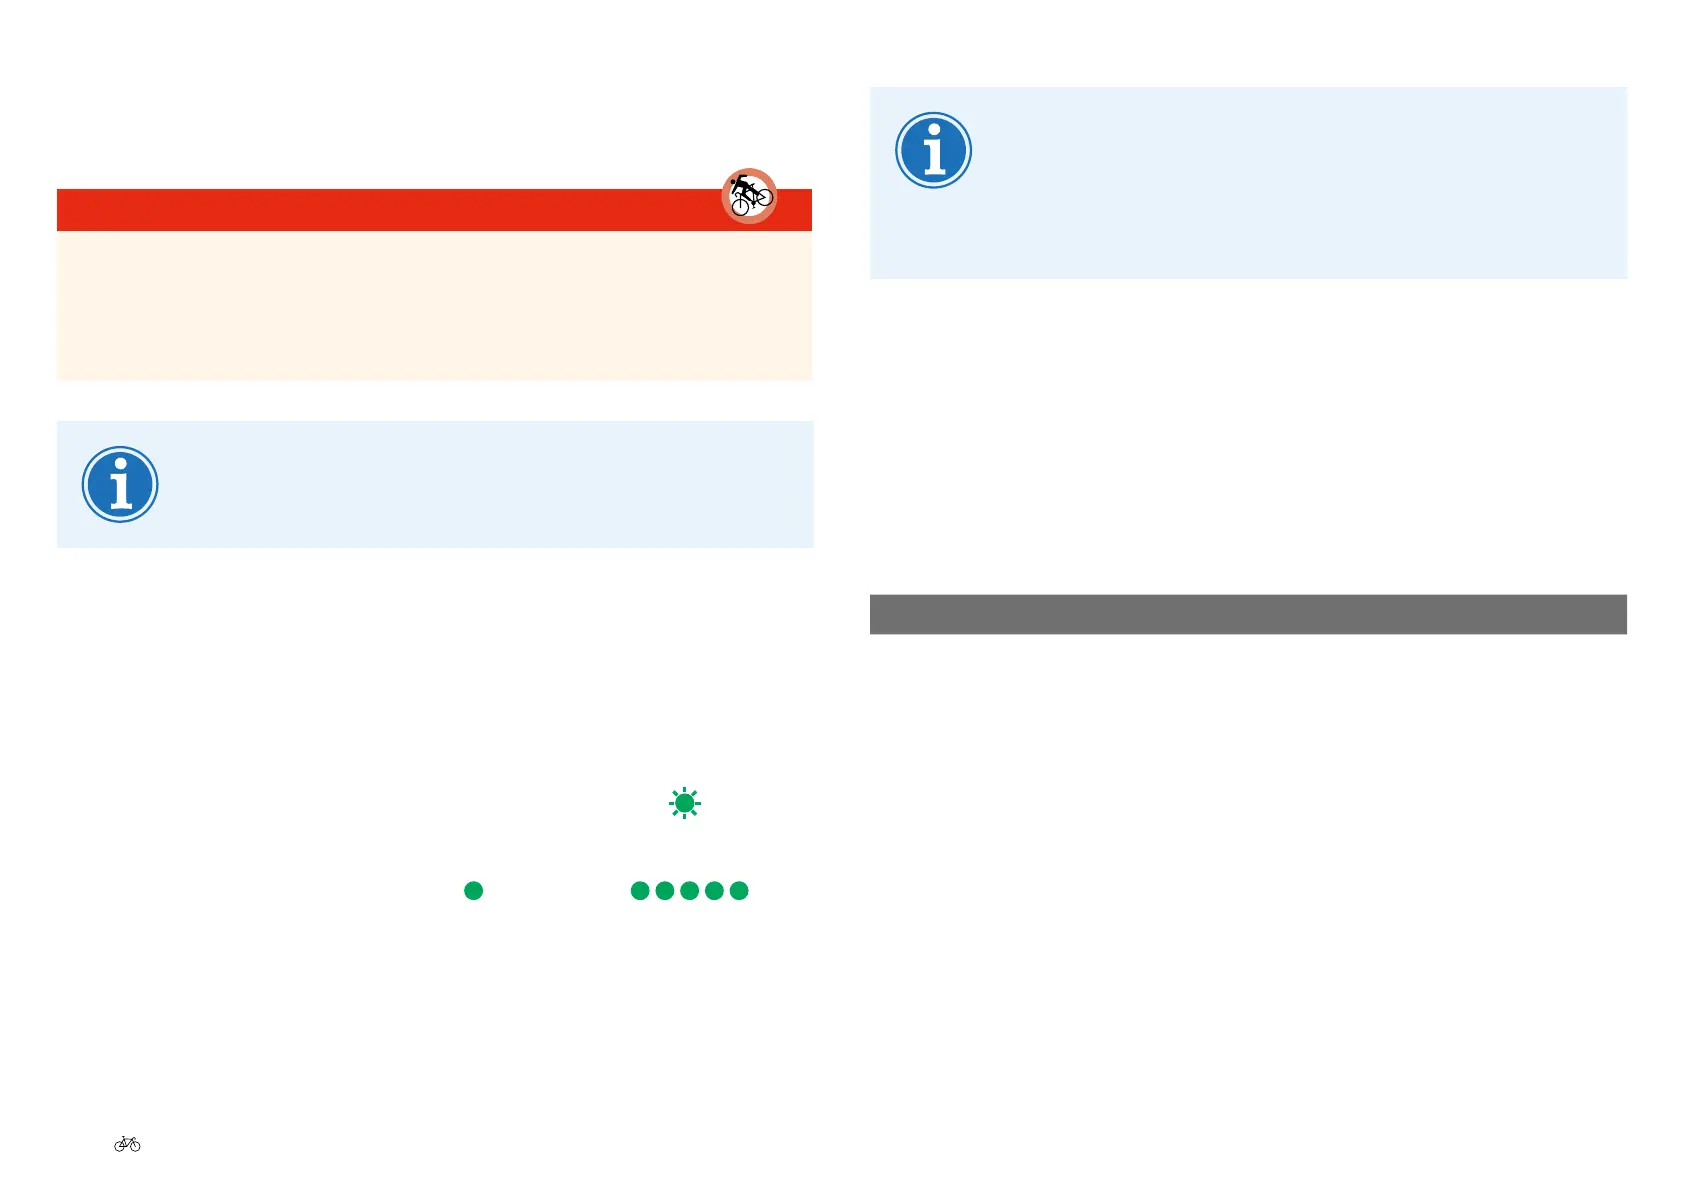
4. Insert the mains plug into a power socket. The red LED lights red
briey
, then the green LED ashes at a constant speed .
5. The charger switches o once the battery is fully charged. The green
LED on the charger is continually on
. All ve LEDs on
the battery light continually. No LED ashes.
If the battery now stays on the charger, the charger
regularly checks whether the battery is still fully charged.
The charger LED starts to ash again. After checking and
ascertaining that the battery is full, the charger switches
back to “light continually”.
6. Remove the power cable from the socket after completing the charging
process.
7. Remove the charging cable from the battery charging socket.
8. Fold down the protective battery cap.
6.3.1.1 Battery display during charging
Display Description Battery charge level
5 LEDs light up and no LED ashes 100 – 97 %
4 LEDs light up and the 5th LED ashes 80 – 96 %
3 LEDs light up and the 4th LED ashes 60 – 79 %
2 LEDs light up and the 3rd LED ashes 40 – 59 %
1 LED lights up and the 2nd LED ashes 20 – 39 %
1 LED ashes 0 – 19 %