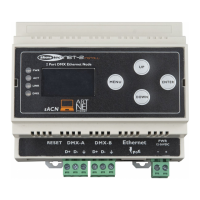
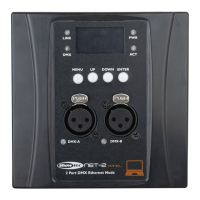
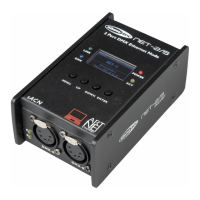
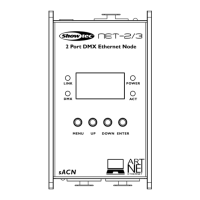
Settings Configuration via Web Browser
The Net-2 Install can be configured remotely via web interface.
01) Connect the Net-2 Install to a laptop/computer.
02) Configure the network address of the laptop /computer in the correct range (IP 2.x.x.x or 10.x.x.x and
Subnet 255.0.0.0).
03) Open your web browser and enter the IP address of the Net-2 Install in the address bar. For the
current IP address of the device, check the Status Menu on the display of the device (see Status
Menu on page 11).
04) Press Enter on the laptop/computer keyboard.
05) Enter the log-in details when prompted:
● Log-in account: Admin
● Password: Admin (You can change the password after you log in.)
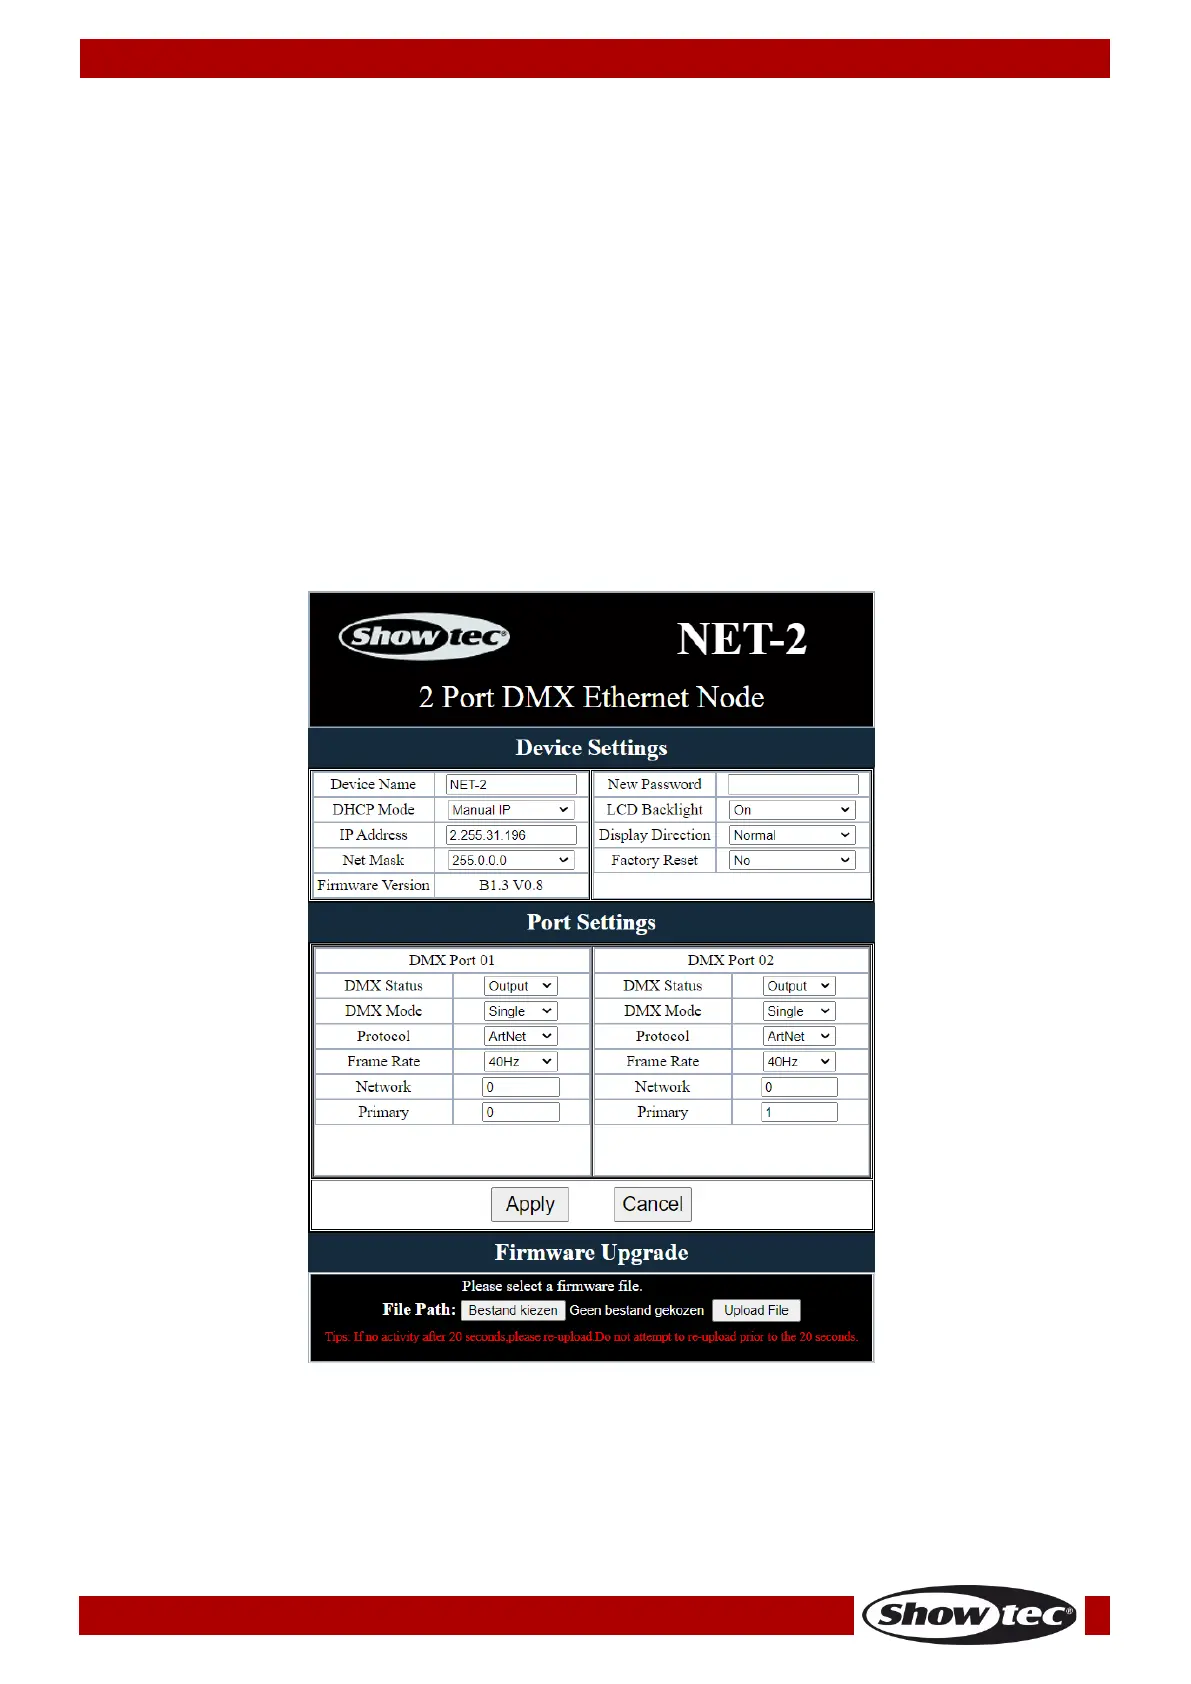
The web interface offers the same configuration settings as the control panel. For the available
configuration options, refer to the respective sections in Main Menu Options on pages 13–16.
Note: If you change a setting via the control panel, you need to refresh the web browser to see the new
setting in the browser window.
● Use the drop-down menus or enter the respective values to configure the settings of the device and
the 2 DMX ports.
● Click on Apply to save the changes.
● Click on Cancel to discard the changes.