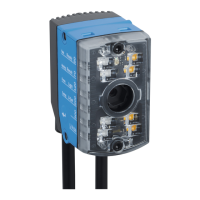
11. Define a suitable aperture setting for the depth of field. In order to do this, check
the settings with the test code. Adjust the aperture to a higher value (e.g., “8”). If a
greater depth of field is required, select a value higher than “8”.
NOTE
The higher the aperture number the lower the image brightness. The image bright‐
ness can be increased in SOPAS ET using the Brightness slider. Increasing the
image brightness will, however, reduce the image quality.
12. Use the lock nut fitting to fix the aperture ring setting in place.
13. Remove the external ICL ring illumination unit again and disconnect the connect‐
ing cable.
14. Attach the optics protective hood again and screw it tight.
15. Mount and connect the external ring illumination unit again.
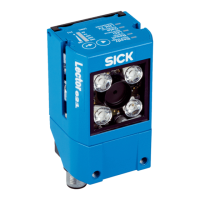
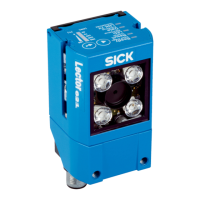
Variants with an S-mount lens: adjusting the brightness and sharpness
1. Adjust the focus using the manual focus screw on the top side of the device so
that the online image shows a sharp, clear image of the test code with no distor‐
tion. Use hexagon key a/f 2 for this purpose.
✓
The test code in the image comes into focus and the edges are clearly discernible.
✓
Available in Extended mode: The sharpness diagnostic bar is now at its maximum
position.
2. If necessary, use the Shutter time, Brightness and Contrast sliders to optimize the
brightness and contrast.
3. To avoid inadvertently changing the setting, lock the manual focus screw on the
top side of the device.
Continuing configuration
1. Make settings for additional functions during planned operation such as codes,
trigger, data processing, data interface, etc.
2. In the Online Images window, click the Operation button and test the settings in oper‐
ational use.
Completing the configuration
1.
To permanently save the parameter set in the device: Click the button.
2.
To permanently save the parameter set on the PC: Click the button.
7.2 Configuring the device via buttons without configuration software (SOPAS ET)
The two function buttons, the second display level of the status LEDs and the bar graph
display are used to manually adjust the reading characteristics of the device with Setup.
NOTICE
Setup is not supported for a Pharmacode.
1. Start Setup mode.
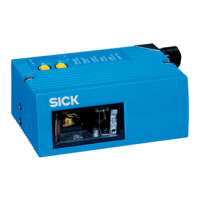
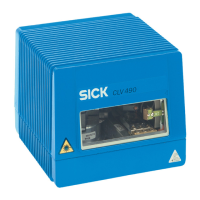
COMMISSIONING 7
8018071/16XD/2020-05-06 | SICK O P E R A T I N G I N S T R U C T I O N S | Lector63x Flex C-mount and S-mount
55
Subject to change without notice

 Loading...