5 Mounting
5.1 Overview of mounting procedure
NOTE
The mounting procedure described here for the device meets the requirements for use
in the target system.
Additional or different requirements may become necessary in the laboratory and dur‐
ing preparation, and should be taken into account as necessary, see "Commissioning",
page 20. If you have any questions or anything remains unclear in this regard, please
contact our service team.
•
Mounting the device.
•
Connect the cables.
•
Connecting peripheral devices.
•
Connecting the voltage supply.
5.2 Scope of delivery
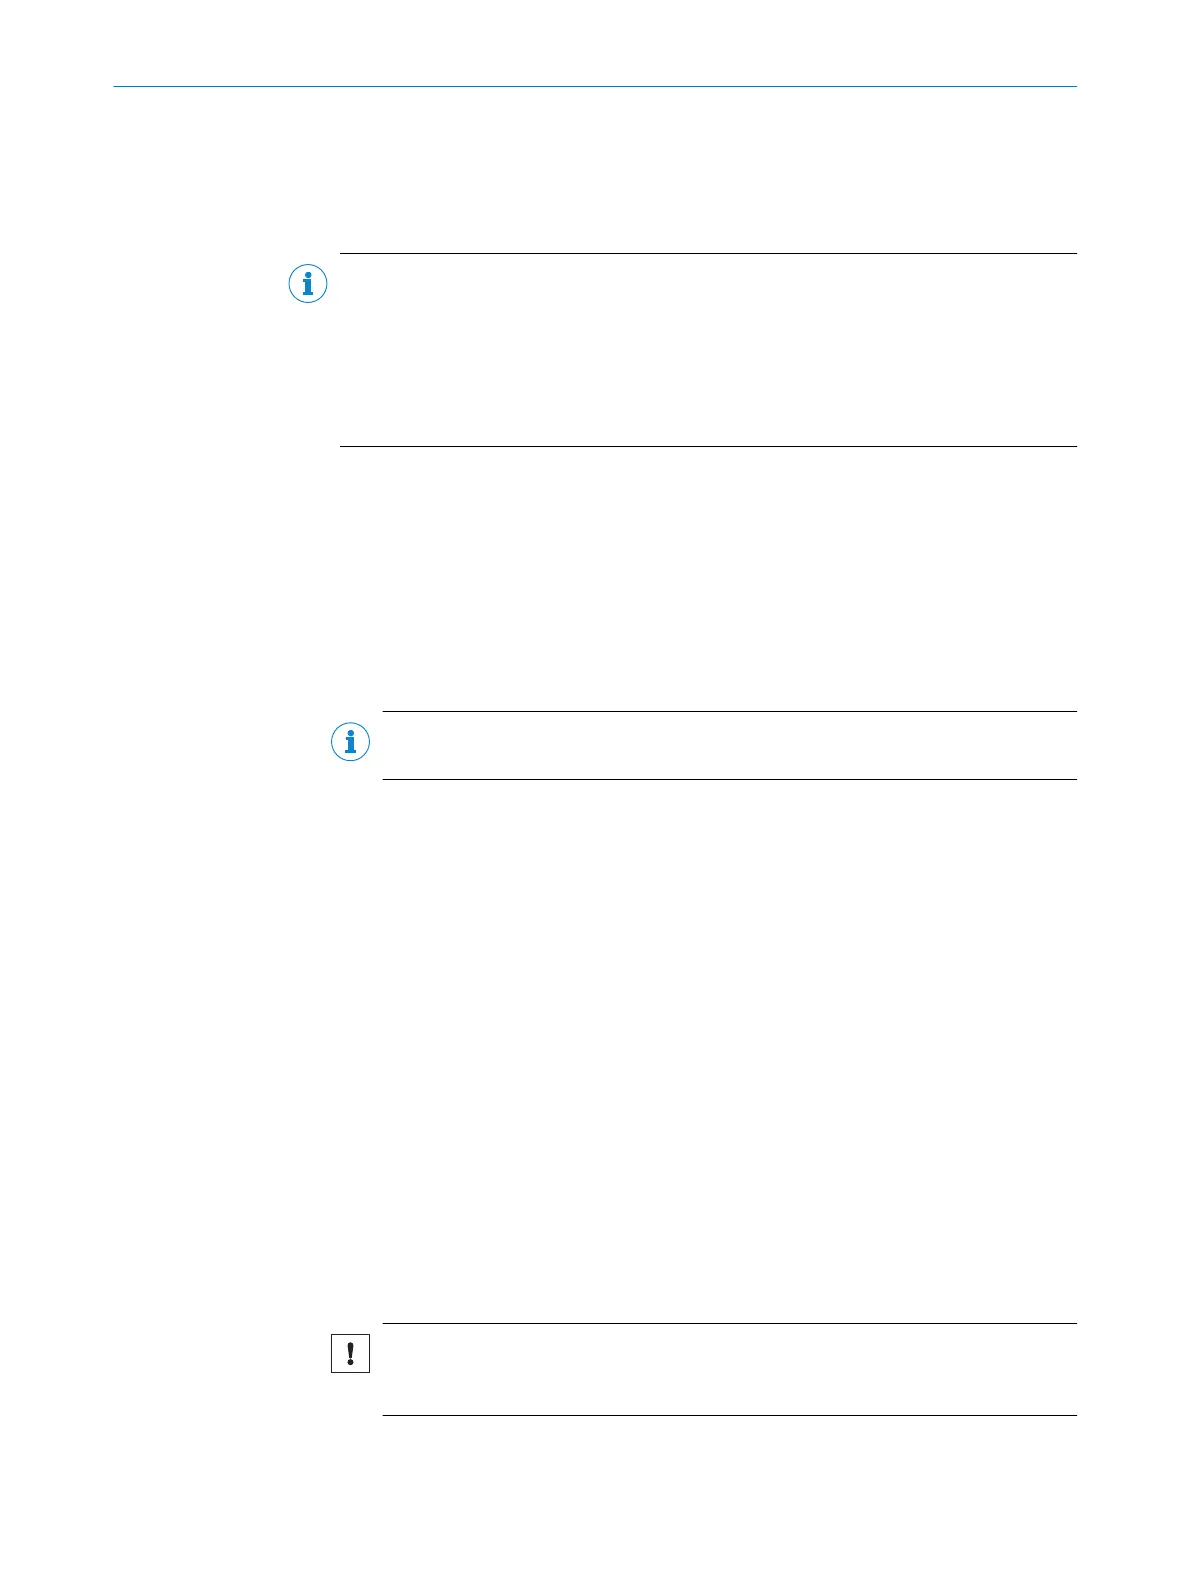
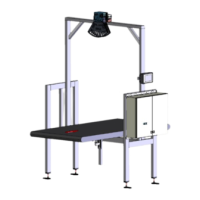
•
SIM800
•
Safety note
•
Optional: ordered accessories
NOTE
For a list of cables suitable for use with the device, see: supportportal.sick.com.
The actual scope of delivery may differ for special designs, additional orders or due to
the latest technical changes.
5.3 Preparing for mounting
Installation requirements
•
Select the mounting site: Plan space requirements and sufficient distance from
other devices. Be aware of the possibility of heat dissipation.
•
Unpack the device and allow to acclimatize to avoid formation of condensation.
Preparing for mounting
1. Place the device at the mounting site.
2. Mark the mounting holes.
3. Proceed to drill the mounting holes.
5.4 Mounting the device
1. Place device at mounting site.
2. Mount the device using at least two M6 cylinder head screws. Screw length
depends on the mounting surface (wall thickness). Max. tightening torque 5Nm.
NOTICE
Use self-locking or lock nuts on mounting sites that are exposed to vibrations to
prevent the holding plates from loosening.
5 MOUNTING
14
O P E R A T I N G I N S T R U C T I O N S | SIM800 8028935//2023-09-26 | SICK
Subject to change without notice