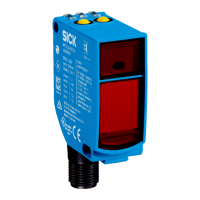
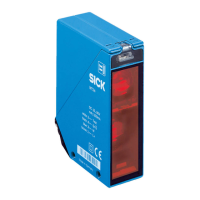
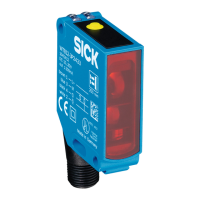
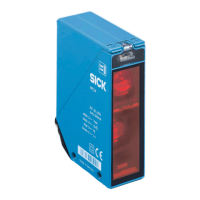
Table 1: Display and operating elements
t
2
t
2
t
1
t
1
t
1
+ t
2
t
0
PNP
NPN
D
H
1
2
3
6
4
5
7
1.0
1
Yellow LED indicator
2
Potentiometer: adjust‐
ment of sensing range
3
Switch: light (L)/dark
(D)
4
Switch: NPN/PNP
5
Potentiometer: adjust‐
ment of time delay t
2
6
Potentiometer: adjust‐
ment of time delay t
1
7
Potentiometer: adjust‐
ment of time stage
1
Yellow LED indicator
2
Potentiometer: adjust‐
ment of sensing range
3
Switch: light (L)/dark
(D)
4
Switch: NPN/PNP
t
2
t
2
t
1
t
1
t
1
+ t
2
t
0
D
H
1.0
1
2
3
5
4
6
1
Yellow LED indicator
2
Potentiometer: adjust‐
ment of sensing range
3
Switch: light (L)/dark
(D)
4
Potentiometer: adjust‐
ment of time delay t
2
5
Potentiometer: adjust‐
ment of time delay t
1
6
Potentiometer: adjust‐
ment of time stage
1
Yellow LED indicator
2
Potentiometer: adjust‐
ment of sensing range
3
Switch: light (L)/dark
(D)
4 Mounting
Mount the sensorusing a suitable mounting bracket (see the SICK range of accesso‐
ries).
Note the sensor’s maximum permissible tightening torque of 2Nm.
Note the preferred direction of the object relative to the sensor, cf. see „Dimensional
drawing“, page 16.
5 Electrical installation
The sensors must be connected in a voltage-free state. The following information must
be observed, depending on the connection type:
– Plug connection: note pin assignment: when the lid is open, the male connector
can be swiveled horizontally and vertically.
– Terminal connection: Note the permissible cable diameter of 5 to 10mm. When
the lid is open, the M16 connector can be swiveled horizontally and vertically.
Unscrew the M16 connector and remove sealing plug. Lead voltage-free supply
cable through and connect sensor in accordance with table 2 and table 4.
Retighten M16 connector with seal so that the IP enclosure rating of the device is
ensured.
OPERATING INSTRUCTIONS
8008784.1DMA/2022-07-12 | SICK O P E R A T I N G I N S T R U C T I O N S | WT24-2
7
Subject to change without notice
en