=USNJVOTPKV=G=fkpq^iiqflk=fkpqor`qflkp=Ua^=G=oÉîáëáçå=MP 27
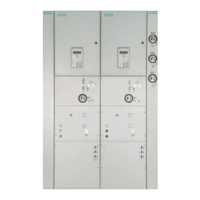
fåëí~ää~íáçå
! Check whether the busbars have been pre-assembled with a post insulator a .
! Align busbar and post insulator horizontally with each other using the clearance of
the busbar hole.
! Align the busbars and the links so that the busbar sections are in line and the fixing
bolts will fit through the holes.
! Tighten the fixing bolts just a little. The busbar sections must still be able to move.
7.3 Installing further transport units
! Repeat the work operations (see Page 20, "Assembling the switchgear") until all
transport units are installed.
7.4 Completing switchgear installation
As a precondition for this work, the switchgear must have been completely assembled
as described above (see Page 20, "Assembling the switchgear").
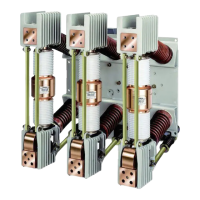
Tightening the busbar fix-
ing bolts
! Tighten the fixing bolts of all busbars and fixed contacts at all panel joints of the
switchgear. Tightening torque: 40 Nm.
! Check overlapping of disconnector contacts using a mirror. In the CLOSED position,
the contact blades must hold the fixed contacts centrally.
! If the contact blades don not hold the fixed contacts centrally in the CLOSED
position, the contact overlapping must be corrected with the disconnector coupling
rod (see below).

 Loading...