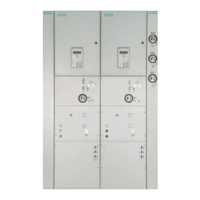
fåëí~ää~íáçå
46 oÉîáëáçå=MP=G=fkpq^iiqflk=fkpqor`qflkp=Ua^=G=USNJVOTPKV=
12 Final installation work
12.1 Mounting cables with plugs
! Proceed according to the installation instructions of the corresponding plug
manufacturer.
! Fit cable strain relieves. Distance between the lower edge of the flange dome and
the cable strain relief: 450 mm as a minimum.
! Connect the cable shield at the cable strain relief.
12.2 Connecting low-voltage cables
! Remove the metal covers from the frames.
! Open the doors of the low-voltage compartments.
! Fix the low-voltage cables at the holders provided for this purpose.
! Connect the ends of the cables to the terminals in the low-voltage compartments
according to the circuit diagram.
! Close the doors of the low-voltage compartments.
12.3 Mounting the metal covers
! Screw all metal covers to the supporting frames again.
13 Tests
13.1 Checking the SF
6
-gas filling
Checking the gas pressure Before commissioning or a rated short-duration power-frequency withstand voltage test
the gas pressures of all gas compartments must be checked.
! On all gas compartments filled at site: After having filled the gas compartments,
observe a temperature compensation time of 24 hours. Do not check the gas
pressure before that time.
! Check the gas pressure in all gas compartments filled at site. If the limit values
adjusted on the indicators are underflown or exceeded, correct the gas pressure.
ATTENTION!
The dust-proof caps supplied on the sockets of the multiple panel connections do not
provide sufficient shock protection.
! Close unused sockets of multiple panel connections with dummy plugs.
DANGER!
Operation with an incorrect SF
6
-gas pressure can destroy parts of the switchgear.
! Do not put the switchgear into operation with too high or too low SF
6
-gas
pressures.

 Loading...