Do you have a question about the Siemens iQ500 HR578G5 6B Series and is the answer not in the manual?
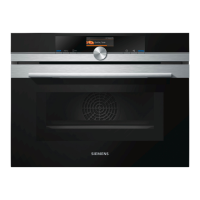
| Energy Efficiency Class | A |
|---|---|
| Capacity | 71 liters |
| Cleaning System | Pyrolytic self-cleaning |
| Temperature Range | 30-300 °C |
| Display | TFT display |
| Connectivity | No |
| Power Consumption | 3.6 kW |
| Voltage | 220-240 V |
| Frequency | 50/60 Hz |
| Installation Width | 560 mm |
| Installation Depth | 550 mm |
| Color | Stainless steel |
| Child Lock | Yes |
| Cooling Fan | Yes |
| Door Cooling | Yes |
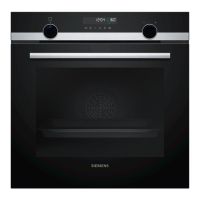
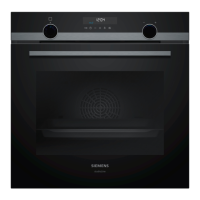
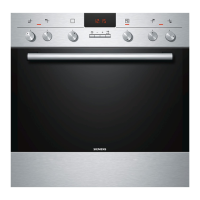
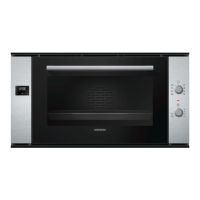
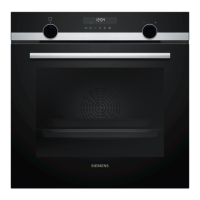
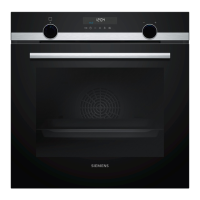
| Type | Built-in oven |
| Heating Methods | hot air, pizza setting, bottom heat |
| Control Type | Rotary knob, Touch control |
| Installation Height | 59.5 cm |
| Self-cleaning | Yes |
| Programs | Automatic programs |
Appliance designed for built-in kitchen units. Read special installation instructions.
Follow safe use guidelines and be aware of fire risks.
Avoid combustible objects, handle greaseproof paper safely.
Be cautious of hot surfaces, steam, and accessories.
Avoid contact with hot steam escaping the appliance.
Handle parts with sharp edges with care.
Only use genuine spare parts and ensure correct repairs.
Avoid damage from alcoholic vapours, water, hot surfaces, and acidic food.
Use steam for crisp crusts and juicy meat.
Instructions for filling the water tank with water or descaling solution.
Set a cooking time up to 23 hours and 59 minutes; operation stops automatically.
Instructions for correctly inserting the meat thermometer into food.
Measure internal food temperature and set cooking compartment temperature.
Connect appliance to mobile device via Home Connect app.
Adjust network and appliance settings for Home Connect.
Remotely control the appliance using the Home Connect app.
Use appropriate cleaning agents to avoid appliance damage.
Instructions for cleaning door panels, cover, handle, and seal.
Set cleaning function, level, and duration.
Start the descaling process using recommended descaler.
Perform the first rinse cycle after descaling.
Perform the second rinse cycle.
Perform the final rinse cycle; descaling is complete.
Remove the appliance door for thorough cleaning.
Reattach the appliance door securely.
Table of common faults and their causes/troubleshooting steps.
Troubleshooting for appliance door not opening.
Interpreting and resolving error messages like F8 or E5 1-22.
Safety and preparation steps before installing the appliance.
Installation dimensions and instructions for fitting under a worktop.
Ensures proper air exchange for appliance ventilation.
Installation dimensions and instructions for fitting in a tall unit.
Installation instructions for fitting appliances one above another.
Installation dimensions and instructions for corner fitting.
Instructions for safely connecting the appliance to the electrical system.
Connect appliance to a correctly installed protective contact socket.
Instructions for connecting by a licensed professional without a plug.
Steps for sliding and securing the appliance in place.
Steps to disconnect and remove the appliance.