72 / 94
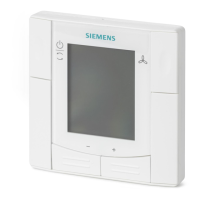
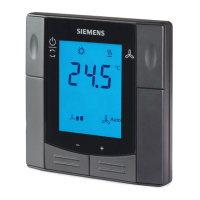
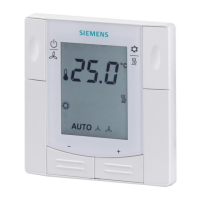
Siemens RDF800KN.., RDF800KN/VB, RDD810KN/NF Basic documentation CE1P3174en
Smart Infrastructure 2020-02-21
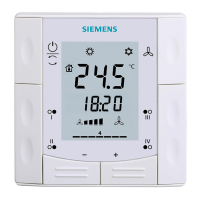
4.2 Commissioning
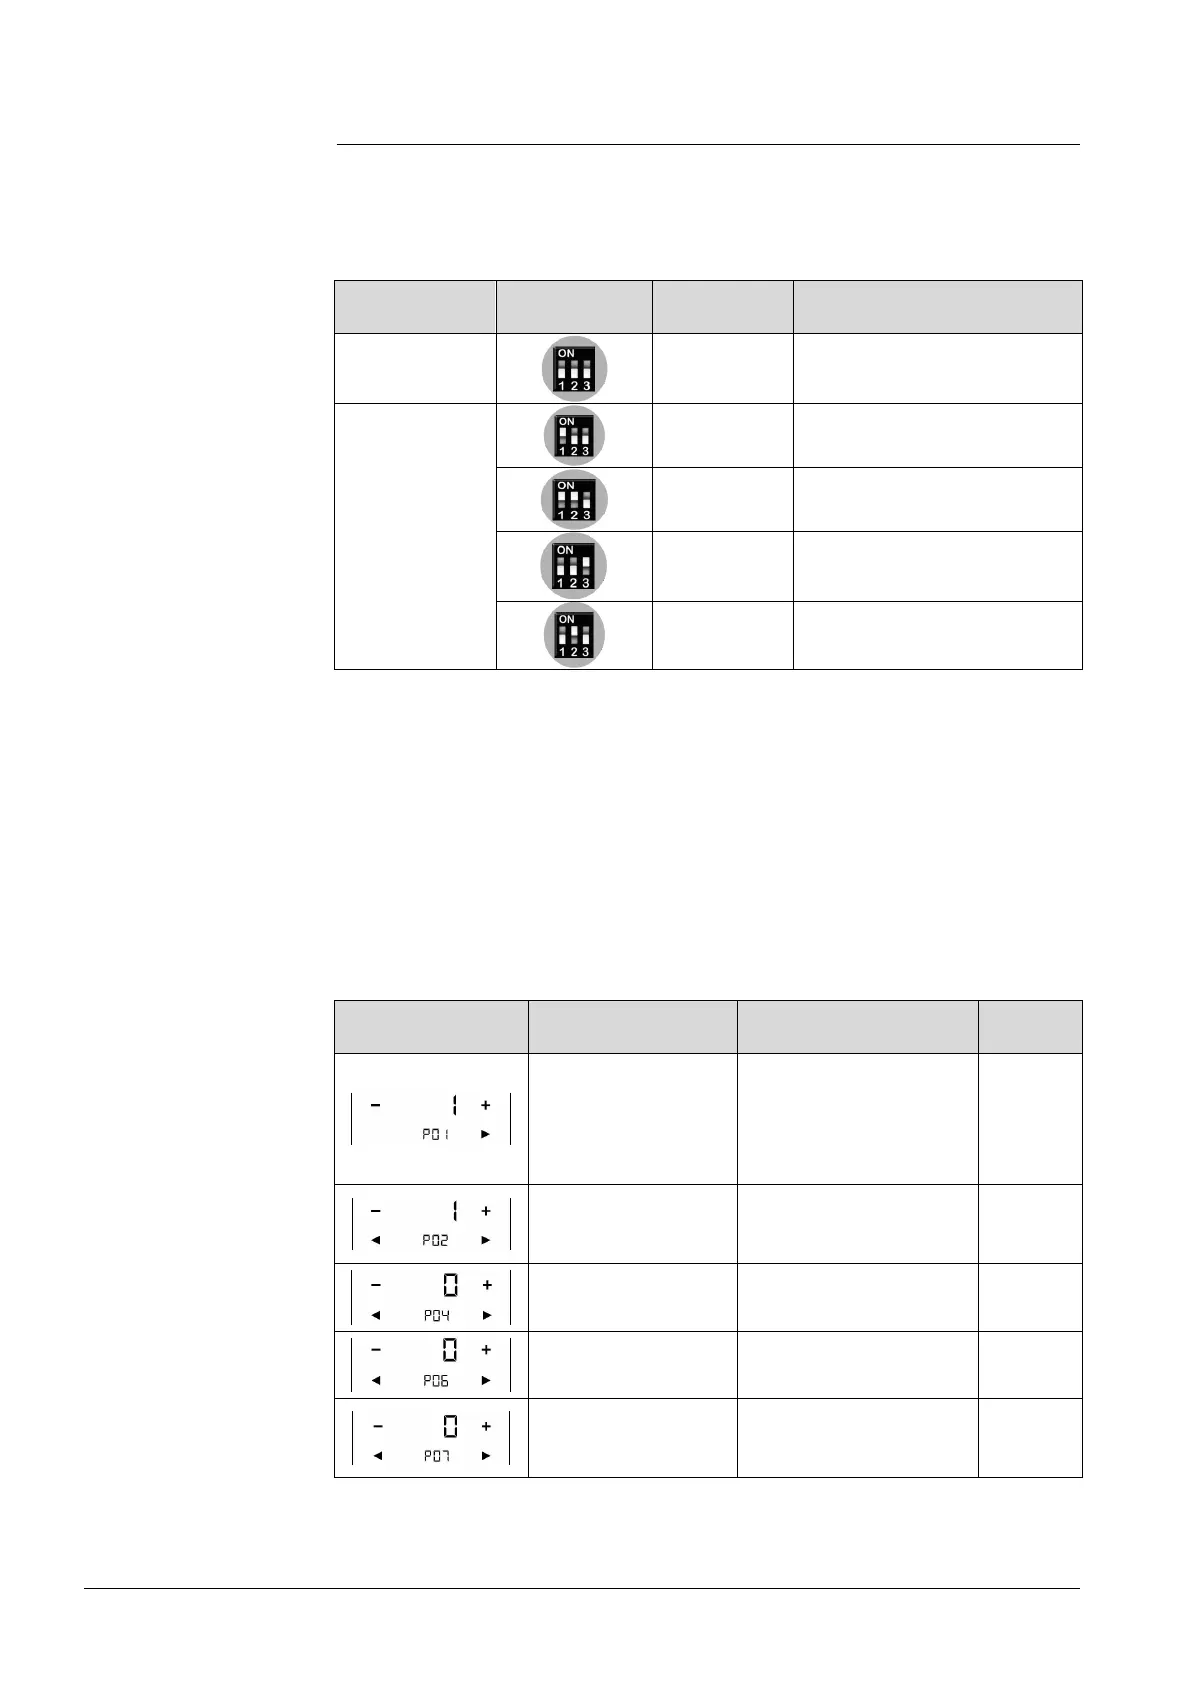
Before powering up, set the DIP switches for the desired application. Do one of the
followings:
· For remote setup via the tools, set all DIP switches to OFF;
· For local setup, set the DIP switches to select applications (see table below).
Commissioning
DIP switches LCD Application
Remote setup
APP
NONE
-
Local setup
APP
2P
2-pipe
APP
2PEH
2-pipe with electric heater
APP
4P
4-pipe
APP
2P3P
2-pipe with 3-position output
After setting the DIP switches, complete the installation and power up the
thermostat.
As soon as the application is changed, the thermostat reloads the factory settings
for all control parameters, except for the KNX device and the zone addresses!
After setting the DIP switches (not required with RDD810KN/NF) and powering
up the thermostat, the wizard function guides you through configuring the basic
parameters for normal operation according to the table below.
· Touch / to advance/return to any parameter;
· Touch +/- to change values.
LCD Parameter Range
Factory
Control sequence
(RDF800KN..,
RDF800KN/VB only )
0: Heating only
1: Cooling only
2: Manual changeover
3: Auto changeover
2-pipe = 1
4-pipe = 4
User operating mode
profile
1: Comfort > Protection
2: Comfort > Economy >
1
Selection of
°C or °F
0: °C
1: °F
0
Standard display
0: Room temperature
1: Setpoint
0
Display info line
(2
nd
line of LCD)
0: --- (no display)
3: Time of day (12h) via bus
0
Before powering up
(only for RDF800KN..,
 Loading...