Chapter 2
Installing the Device
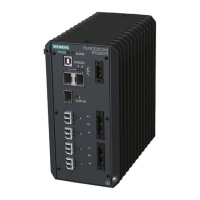
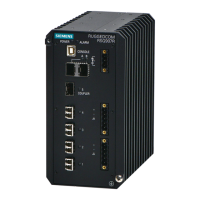
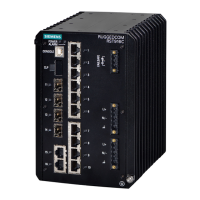
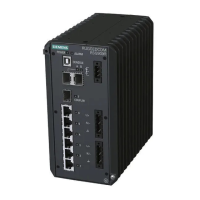
RUGGEDCOM RSG909R
Installation Guide
6 General Procedure
Section2.1
General Procedure
The general procedure for installing the device is as follows:
1. Review the relevant certification information for any regulatory requirements.
For more information, refer to Section6.1, “Approvals”.
2. Unpack and inspect the device.
For more information, refer to Section2.2, “Unpacking the Device”.
3. Mount the device.
For more information, refer to Section2.4, “Mounting the Device”.
4. Connect the failsafe alarm relay.
For more information, refer to Section2.5, “Connecting the Failsafe Alarm Relay”.
5. Connect power and ground the device.
For more information, refer to Section2.6, “Connecting Power”.
6. Connect the device to the network.
For more information, refer to Section2.7, “Connecting the Device to the Network”.
7. Configure the device.
For more information, refer to Section3.2, “Configuring the Device”.
Section2.2
Unpacking the Device
When unpacking the device, do the following:
1. Inspect the package for damage before opening it.
2. Visually inspect each item in the package for any physical damage.
3. Verify all items are included.
IMPORTANT!
If any item is missing or damaged, contact Siemens for assistance.
Section2.3
Installing the Device in Hazardous Locations
The RUGGEDCOM RSG909R is designed to comply with the safety standards for Class I, Division 2, Zone 2
hazardous locations where concentrations of flammable gases, vapors or liquids may be present, as opposed to
normal operating environments.
 Loading...