There is a threaded hole M36 at the bottom of the machine where you can fasten the support
base.
● Mount the support base so that no additional mechanical tensions can occur in the housing.
WARNING
Mechanical tensions
The machine may be damaged by additional mechanical tensions in the housing caused
by incorrect mounting of the support base. The machine or machine parts may loosen
during operation.
This can result in death, serious injury or material damage.
● Mount the support base so that no additional mechanical tensions can occur in the
housing.
See also
Tightening torques for screw and bolt connections (Page 157)
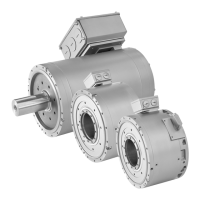
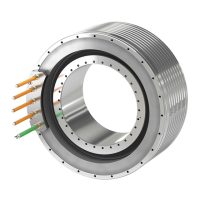
5.3.7 Aligning the machine to the driven machine and attaching it to it (IM V1, IM V10)
The standard flange is provided with a centering. The choice of fit for the mating flange on the
driven machine is the system manufacturer's or the plant operator's responsibility.
Note
If the machine is not fitted with a standard flange, align the machine to suit the driven machine.
Procedure
The machine axis must be vertical when it is lifted and the flange must be parallel to the mating
flange, so as to avoid seizing and stressing. Otherwise damage to the centering will result.
1. Grease the centering flange with assembly paste to make the process easier.
2. Screw in two studs into tapped holes on opposite sides of the driven machine flange. The
studs act as positioning aids.
3. Lower the machine slowly toward the driven machine and into the centering, so that the
flanges do not quite touch. Lowering too quickly risks damaging the centering.
4. If necessary, rotate the machine into the right position so that the clearance holes in the
flange are central to the tapped holes.
5. Lower the machine completely onto the mating flange so that it is fully in contact; then
remove the studs.
6. Fix the machine using the flange fixing bolts.
Assembly
5.3 Installing the machine
SIMOTICS TN Series N-compact 1PQ8
Operating Instructions 11/2018 65