Commissioning
4.5 Commissioning with STARTER
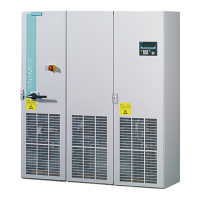
Inverter with CU240B-2 and CU240E-2 Control Units
Operating Instructions, 07/2010, FW 4.3.2, A5E02299792B AA
73
4.5 Commissioning with STARTER
4.5.1 Overview
If you are working with STARTER for the first time, you must initially carry out the following
steps:
1. Install STARTER.
2. Install the USB interface.
3. Create a new STARTER project, or open an existing project.
4. Set-up the online connection from your PC or PG to the inverter.
After you have done this, perform the basic commissioning of your drive.
4.5.2 Requirements
The STARTER commissioning tool features a project Wizard that guides you step-by-step
through the commissioning process.
The following is required to commission the inverter via the PC:
● A PC connection kit for connecting the inverter to a PC. This comprises:
– USB cable for connecting inverter to PC
– Installation DVD for STARTER
● A PC with installed STARTER software V4.1.5 or higher.
Information on the actual STARTER version and a possibility of downloading it from the
Internet under STARTER
(http://support.automation.siemens.
com/WW/view/en/26233208).
● The motor must be connected to the inverter.
Note
The STARTER screens show general examples. You may therefore find that a screen
contains more or fewer setting options than are shown in these instructions. A
commissioning stage may also be shown using a Control Unit other than the one you are
using.
 Loading...