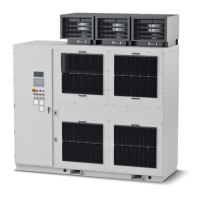
4. Screw the motor cables onto the terminals. Connect the conductors in the following
sequence: U2/T1, V2/T2, W2/T3!
Frame size max. cable cross-section mm
2
FXL 2 x 95
GXL 2 x 240
HXL 4 x 185
JXL Busbar
NOTICE
Danger of thermal destruction
Cables that have not been properly secured at the connection point, represent a high
electrical
transition resistance, which can result in thermal destruction (contact corrosion).
Tighten the M12 screws with the appropriate torque of 50 Nm.
5. To
avoid placing mechanical strain on the terminals, connect the motor cables to the cable
retaining rail.
6. When shielded motor cables are used, the shields must be secured to the EMC shield bus
in an EMC-compliant manner.
Note
For the position of the connections for motor cables, see the layout diagrams included on
the supplied customer CD.
Route
the motor grounding cable directly to the cabinet. Connect the motor grounding cable
to the PE busbar.
Direction of motor rotation
Connect three-phase induction motors with a clockwise phase sequence (when viewing the
drive shaft) to the converter as follows:
Table 5-1
Converter and motor connection terminals
Converter (motor connection terminals) Motor (connection terminals)
U2/T1 U
V2/T2 V
W2/T3 W
For a counterclockwise rotating field (when viewing the drive shaft), interchange two phases
with respect to a clockwise rotating field.
Electrical connection
5.3 Connection
Applications for Cabinet Modules, liquid cooled
82 Operating Instructions, 04/2015, A5E35974555A
 Loading...


