25SIPROTEC 4/5, Injection Unit 7XT71, Product Information
C53000-B1174-C128-7, Edition 09.2016
✧ Carefully pull the plug-in module out of the housing and put it down so that DIP
switch S1 is accessible.
✧ If you have performed all necessary work on the printed circuit board assembly,
reinstall the plug-in module in the reverse sequence.
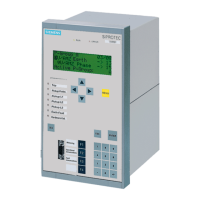
Removing and Installing the Plug-in Module of the Injection Unit in the Flush-mount-
ing Housing 7XT7100-0EA00
✧ Switch off the device that supplies the auxiliary voltage to the
Injection Unit 7XT71.
✧ Switch off all signal voltages that supply the device.
✧ Remove the 2 cover caps on the front cover upward and downward,
respectively (see figure 8-1).
✧ Unscrew and remove the center screws on the upper and lower front cover.
✧ Carefully pull the plug-in module out of the housing and put it down so that DIP
switch S1 is accessible.
✧ If you have performed all necessary work on the printed circuit board assembly,
reinstall the plug-in module in the reverse sequence.
 Loading...