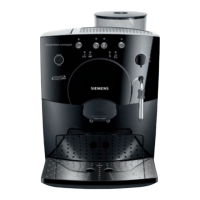
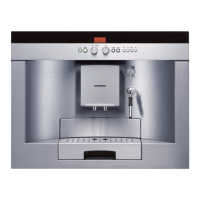
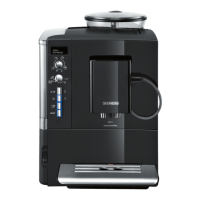
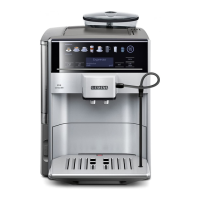
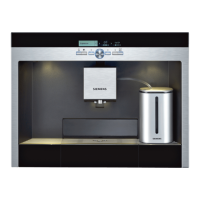
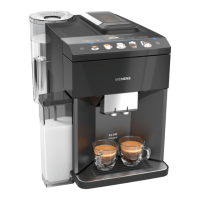
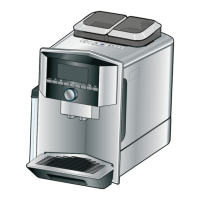
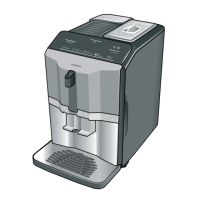
= on each occasion the display
In this case, check that all drip trays are in
place, and press button f (large cup); the
serves to reset all settings changed in
programming mode and any changes to the
liquid quantity are reset to the original ex
Danger of electric shock!
Before cleaning, unplug the appliance
Never immerse the appliance in water.
Do not use a steam cleaner.
● All loose parts must be washed by hand.
● Wipe the housing and window, using only
● Do not use abrasive cleaning materials.
● Rinse out the water tank
● Remove the large drip tray
with the cover grille and the capsule
, by pulling forwards (Fig.
● Wash all parts with a mild detergent
● When relocating, ensure that all parts are
● First pull the coffee dispenser
out of its location, followed by the capsule
● Clean with a detergent solution and a soft
brush (not dishwasher-safe).
● Slide the capsule holder
position, followed by the coffee dispenser
Nozzle 10 for hot water/steam
● Dismantle all parts (Fig.
● Clean with a detergent solution and a
soft-bristled brush. Clean the front tip of
● Rinse all parts with clean water, and dry
The individual parts of the frothing
must always be kept clean.
Even the smallest milk residue will impair
Accordingly, the frothing attachment
be rinsed through with water immediately
● Dip the tube in a vessel containing cold
● Place a second vessel under the nozzle
of the frothing attachment
● Set the selector of the frothing attachment
● When the display alternates between
● Rinse the frothing attachment
● To terminate the process, press the
Depending on usage, the frothing
should be disassembled and
cleaned daily, or at least once a week.
● Pull the frothing attachment
● Disassemble the frothing attachment
● Clean the individual parts carefully with a
detergent solution and a soft brush. Rinse
all parts clean, and dry off. Do not place
 Loading...
