6.3.5. Access Control Mode
•
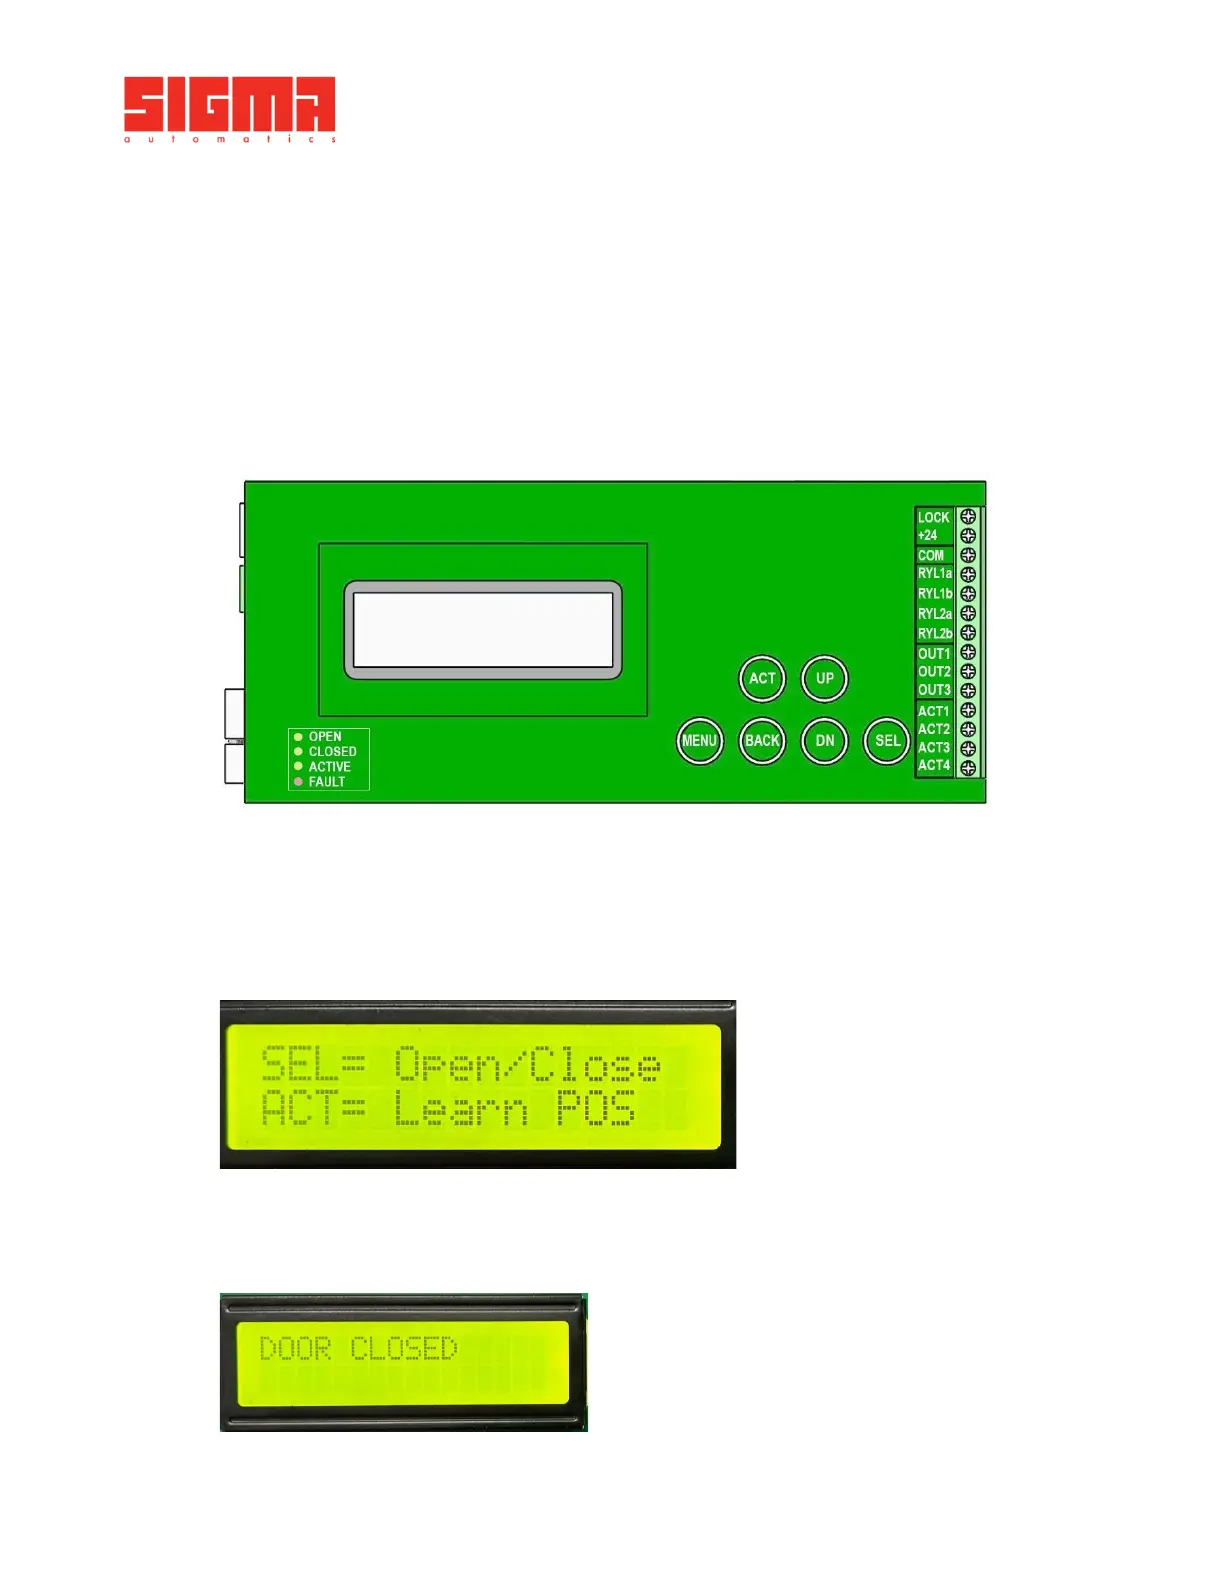
Press the MENU button on the control Board to enter the Programming Menu.
•
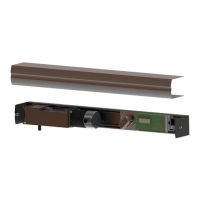
Install the door operator for required application based on installation instructions.
•
Adjust parameters for basic setup. (As per 6.3.3)
•
Follow the Access Control wiring diagram to connect all the devices to proper terminals.
See Section 5.5 for wiring details.
•
Signal from access control panel needs to be dry (0 Volts) to connect device and signal from access control
panel to proper terminals.
•
Once the devices are wired and door operator is programmed for basic setup, access the settings and
change the CONTROL MODE parameter from 1 (Regular) to 3 (Access Control).
•
Test to ensure proper functioning.
Once the door is closed the display will show “DOOR CLOSED [Access Denied].”
6.4. Programing
Install the operator based on the following instructions and use the required tools.
•
Ensure the door is fully closed and no obstacles are in the doorway.
•
Turn Power ON. Screen will display 2 options as in image below.
• Press ACT. Door will run 2 cycles. First cycle the operator learns door position. Second cycle the operator learns
door speeds.
• Once proper learn is complete, screen will display DOOR CLOSED.