SKMP 1300 D4
GB
│
IE
│
25 ■
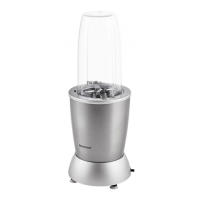
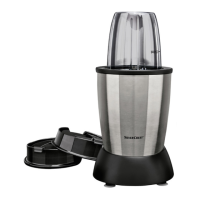
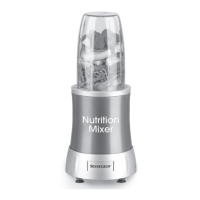
Working with the blender
WARNING! RISK OF INJURY!
► Always allow hot fluids to cool down to a
lukewarm temperature (approx. 30–40°C)
before pouring them into the blender 6.
WARNING! RISK OF INJURY FROM
SHARP BLADES/ROTATING DRIVE!
► Never put your hand into the attached
blender 6!
► Remove the blender 6 only when the blade 1
is at a complete standstill.
► Do not operate the blender 6 without the
blender lid 0, lid catch . and measuring
jug !.
► In the event of malfunction, switch the appli-
ance off and remove the plug from the wall
socket to prevent the appliance from being
switched back on unintentionally.
ATTENTION! PROPERTY DAMAGE!
► The drive shaft for the attachments -3
rotates while the blender 6is in use. Never
use the mixing bowl and blender 6 at the
same time! This will overload the motor!
► When working with the blender 6, we
recommend allowing the appliance to cool
down after 3 minutes of operation.
Proceed as follows to prepare the blender 6 for
operation. Use figure C on the rear fold-out page
as a guide.
1) Press the release lever upwards and push
the swivelling arm downwards into the
working position.
2) Pull the drive unit lid % off to the right (see
fig. C/fold-out page).
NOTE
► Ensure that the rotary switch is turned
to "0" before you place the blender 6 on
the blender drive unit ,. Otherwise, the
appliance will start immediately as soon as
the blender 6 has locked into place.
3) Place the blender 6 on the blender drive unit
, so that the lock tabs on the underside of
the blender 6 lock into the recesses on the
blender drive unit ,. The arrow symbol ▼
on the blender 6 must line up with the arrow
symbol ▲ on the appliance. Twist the blender
6 clockwise (towards
) until it noticeably
locks into place.
4) Add the ingredients.
5) Attach the blender lid 0:
– Place the blender lid 0 on the blender so
that the lip of the blender lid 0 seals the
spout.
– Attach the lid catch .so that the lock tabs
on the lid catch . slide through the gaps
in the blender lid 0. The wide tab marked
with lock symbols (
) must point at
the European scale (ml/litre), as in fig. 2.
Fig. 2
 Loading...