Other RCA
jacks(usually
audio in)
AUDIO IN
Digital Optical
AUDIO OUT
OPTICAL
AUDIO OUT
(need extra 6.35mm
to 3.5mm adapter,
purchase separately)
(need extra digital to
analog converter,
purchase separately)
Digital
AUDIO OUT
Coaxial
COAXIAL
Jack
Options
Natively
supported?
Please refer
to Point
6.35mm
Phone jack
PHONE
3.1
AUX/3.5mm
3.3
RCA jacks
labled
AUDIO OUT
R
L
AUDIO OUT
3.2
N/A
3.4 3.4
Fig 1-1
2.3 Turn on the Headphone
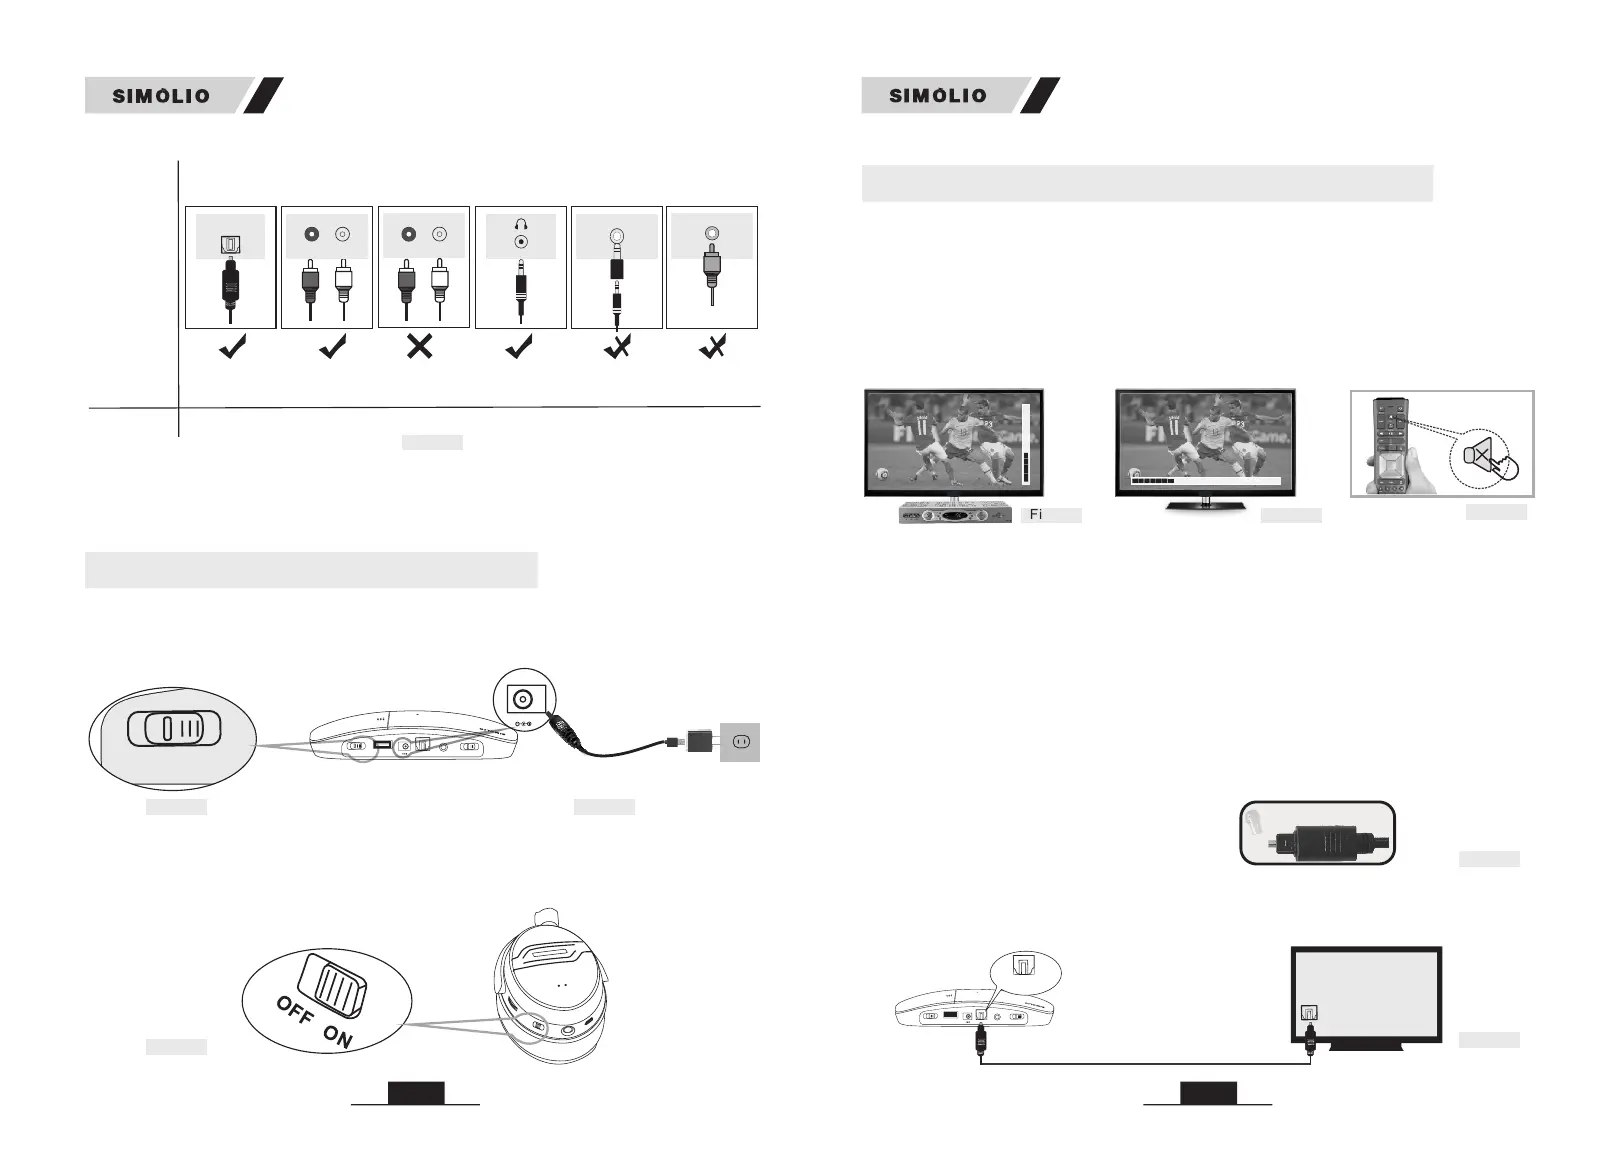
Slide ON/OFF switch to “ON” position.
2.2 Turn on the Transmitter (Ref. Fig 2-2)
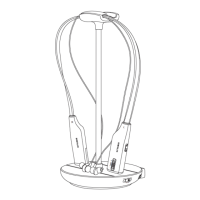
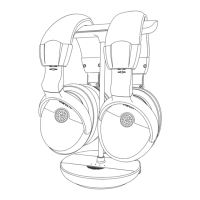
Slide OFF/MONO/STEREO switch to “MONO” or “STEREO” position.
2.1 Power the Transmitter (Ref. Fig 2-1)
Plug the supplied AC adapter into a standard electrical outlet, plug the other end
of the AC adapter into the port labeled “DC 5V” on the back of the transmitter.
2. Turn on the Transmitter and Headphone
• If your audio source device has an optical audio out port, please connect
SIMOLIO to this port preferentially. If not, you can also connect SIMOLIO to the
RCA or AUX/3.5mm or other audio out port of the audio source device.
Fig 2-2
Transmitter
PO
W
ER OUT
DC 5
V
/
50
0mA
STER
E
O
MO
NO
O
FF
O
FF/O
N
DC 5V
PO
W
ER IN
OP
TICA
L I
N
AUD
I
O I
N
B
AS
S
TR
EB
L
E
NORMA
L
TONE
Fig 2-1
Power in
Power adapter
D
C 5
V
PO
WER I
N
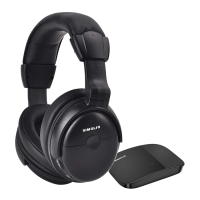
SM-826D
SM-826D
3.1 Digital Optical Connection
This part will instruct you on how to connect the SIMOLIO SM-826D transmitter
to your television, satellite, or cable box using an optical digital audio cable.
3. Connect the Transmitter to Your TV/Audio Source
CAP
Step 1. Hook up SIMOLIO to the Optical Audio Out Port of the TV/other
Audio Device
Remove the protective plastic caps
from both ends of the optical digital
audio cable.
• Be aware that the base should be placed at least 4 feet away from your Router/
smart WiFi TV/TV sticks/WiFi TV box to avoid interference.
Fig 3-4
• If you cannot get to the back of your TV and you only watch the programs
through a fixed TV box (cable/satellite box/DVD etc.), you can also use these
instructions to install the system to your TV box.
Plug either end of the optical audio cable into the “Digital Audio Out (Optical)”
port on the back of the TV. Plug the other end of the optical digital audio cable
into the port on the back of the transmitter labeled “OPTICAL IN”.
Optical Audio Cable
Digital Audio Out
(Optical)
POWER OUT
DC 5V/500mA
STEREO
MONO
OFF
OFF/ON
DC 5V
POWER IN
OPTICAL IN
AUDIO IN
BASS
TREBLE
NORMAL
TONE
O
P
TI
C
A
L
IN
07
06
Fig 2-3
Set the volume of the audio source to a level sufficient for people with normal
hearing to clearly listen to the TV to ensure stable audio output.
i.e. set the TV box VOL ≥ 30 % & TV VOL ≥ 40% (Ref. Fig 3-1) (Ref. Fig 3-2)
For watching TV quietly without disturbing others, the right way is: Mute your TV
by pressing the MUTE button on the remote control or choose any speaker option
other than TV Speaker in the TV Sound Output settings.(Ref. Fig 3-3)
• The above settings may differ from various TVs.
TV box VOL ≥ 30 %
Fig 3-1
Mute
Fig 3-3
TV VOL ≥ 40 %
Fig 3-2
Fig 3-5