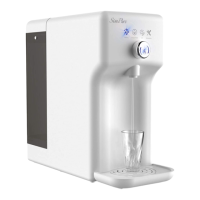
Control and Display Panel
Filtering
Indicates purifier is filtering water.
Change Water
Indicates feed tank water needs to be disregarded and refilled.
UV
Indicates the Ultraviolet light is operating to control virus/germs.
Maintenance.
This indicates when filter cartridges require changing.
See Page 10 for full detailed descriptions of each function
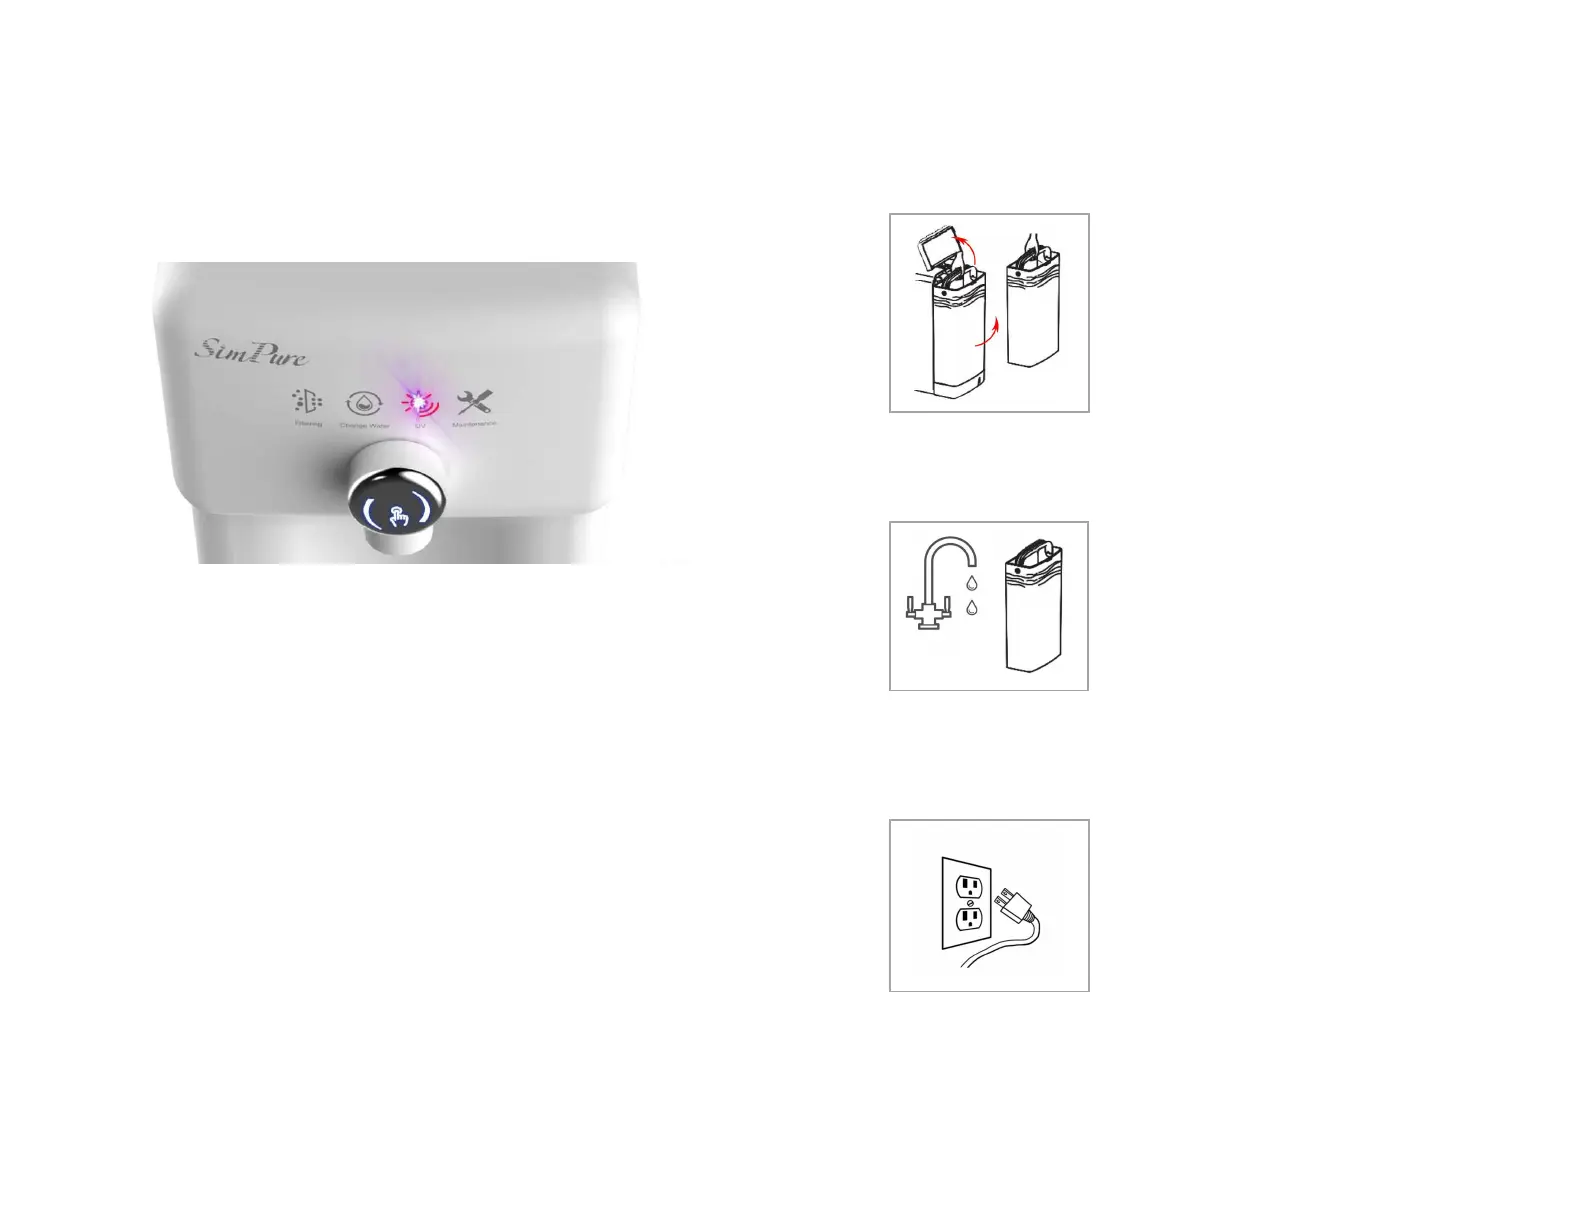
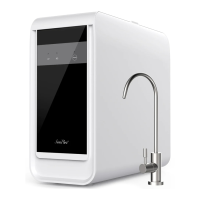
Connecting up the System
Step 1
Unpacking- Choose a suitable countertop,
flat, secure, and out of easy reach of small
children. Place the drip tray under the
outlet. Allow rear space for access. Open the
feed water tank cover and lift out the water
tank. The system is already pre-fitted with
the filter cartridges for your convenience.
Fill water tank- Fill with potable (tap)
water then carefully fit the feed water tank
into the base of the purifier.
Note: When refilling the tank, always
disregard remaining water before filling
with fresh water. DO NOT exceed MAX
level.
Turn the system on - Plug into an electrical
outlet. You should hear a beep.
Flushing Purifier – After powering up the
system, it will automatically flush for 2
minutes. The indicator light ‘Filtering’ is on
during the system flushing.
Notes:
1. If new purifier or has not been used for a long time, please dispense 3-5
tanks of water to flush the system.
2.There’s no power switch; unplug device should you need to turn it off.