| 25
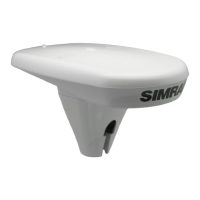
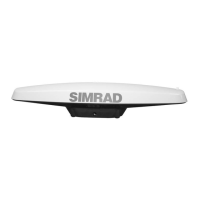
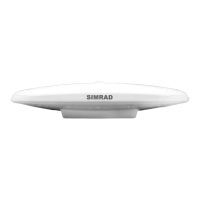
Installation | HS60 GPS Compass User Guide
¼ Note: You do not necessarily need to orient the antenna precisely
as you can enter a software offset to accommodate for any bias in
heading measurement due to installation.
Before ush mounting the HS60
• Determine your mounting orientation. See “Mounting Orientation”
on page 20 for more information.
• Choose a location that meets the mounting location requirements.
• Using the fixed base as a template, mark and drill the mounting
holes as necessary for the mounting surface.
Flush mounting the HS60
1. Mark the mounting hole centers and connector center on the mounting
surface.
2. Place the HS60 over the marks to ensure the planned hole centers align
with the true hole centers (adjusting as necessary).
3. Use a center punch to mark the hole centers.
4. Drill the mounting holes to a diameter of 6.8 mm (0.26 in) appropriate for
the surface.
5. Drill the connector hole to a diameter of 28.6 mm (1.13 in) appropriate for
the surface.
6. Pull the cable through the center connector hole and attach the cable
directly to the HS60, ensuring the connector is fastened securely to the unit.
7. Place the HS60 over the mounting holes and insert the mounting screws
through the top of the HS60 and through the mounting surface.
8. Use two M6 washers and M6 nuts to secure the HS60 to the mounting plate
(washers and nuts not included).
Warning: When installing the HS60, hand tighten only. Dam-
age resulting from over-tightening is not covered by the war-
ranty.