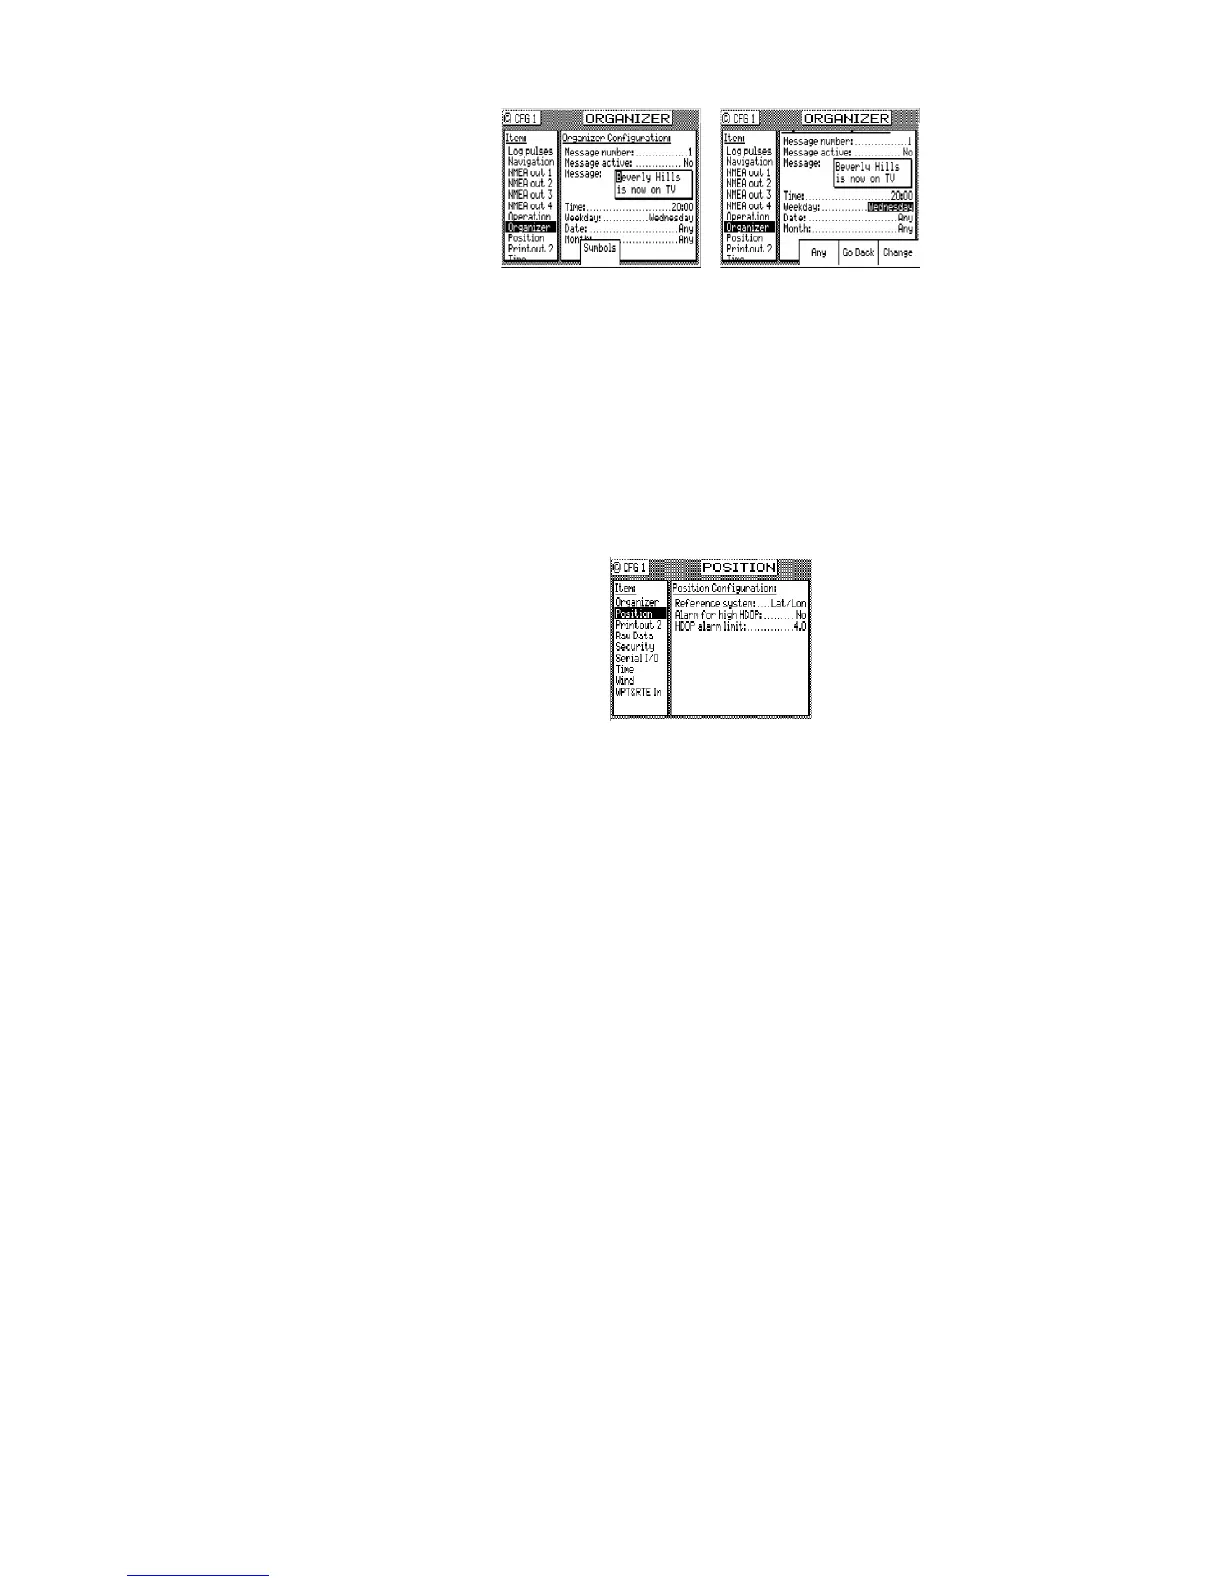
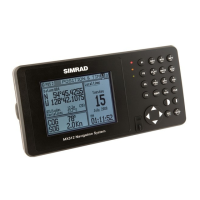
The setup is straight forward. Use the Change softkey to increment forward through the
available choices. Use the Go Back softkey to increment backward through the available
choices. You can also use the left and right cursor keys to accomplish these same operations.
Enter text the same as you do for the waypoints and routes. Use the numeric key pad to
enter the appropriate time. Don’t forget to set Message Active to Yes when you are finished
editing, to enable the alarm.
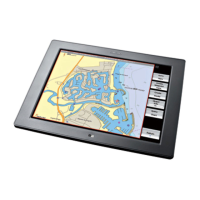
Position - Positioning Reference, Mode, & Alarm Control
This configuration screen controls several important parameters which determine your
present position.
Reference System:
This setting controls the coordinate system used to display your position. The
available choices are Lat/Lon (default) or UTM (Universal Transverse Mercator).
The MX51x will automatically convert any waypoint in the Route Bank or Waypoint
Bank when a different coordinate system is entered. Note that when you select a
coordinate system other than Lat/Lon, data in the NMEA 0183 records will remain
in the Lat/Lon format, as defined in the NMEA 0183 standard.
When you select UTM, you can set the Zone yourself (Man), or let the MX51x
calculate the zone for you (Auto, default).
Alarm For High HDOP:
This allows the MX51x to create an alarm for HDOP values which rise above a
number that you determine. This indicates that position accuracy is becoming
bad, due to poor satellite geometry relative to your position and/or the number of
satellites currently under track. You may want to set the alarm to Yes if position
accuracy is critical to you. Otherwise this alarm is normally set to No.
HDOP Alarm Limit:
Sets the HDOP value which will cause the alarm to sound. The default value is 4.
The valid range is from 1.0 to 9.9. The higher your HDOP value, the more error you
will have in your position fix. Refer to the GPS1 Current Satellite Status section of
this manual for more information about the HDOP value.