12 |
Installation | HS80/HS80A/MX575C/MX575D UserManual
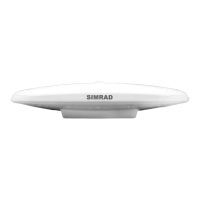
4. Place the Smart GPS compass over the marks to ensure the planned hole centers align with the
true hole centers (adjusting as necessary).
5. Use a center punch to mark the hole centers.
6. Drill the mounting holes with a 9 mm bit appropriate for the surface.
7. Place the Smart GPS compass over the mounting holes and insert the mounting screws
through the bottom of the mounting surface into the Smart GPS compass.
Warning: When installing the Smart GPS compass, hand tighten only.
Damage resulting from over tightening is not covered by the warranty.
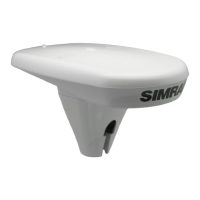
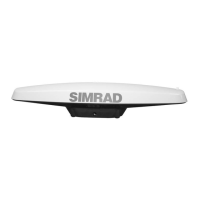
Pole mounting the Smart GPS compass
If you need the GPS-assisted roll measurement, install the Smart GPS compass perpendicular to
the vessel’s axis. If you do not need this measurement, install the Smart GPS compass parallel
with the vessel’s axis. For more information refer to Figure 2-2 on page 8 and Figure 2-3 on
page 9.
Complete the following steps to pole mount the Smart GPS compass:
1. Determine the desired location and proper orientation for the Smart GPS compass. See
“Mounting orientation” on page 8“ for information on determining the desired orientation.
2. Hand tighten the Smart GPS compass on the pole until snug (unit is stable on pole) while
ensuring correct orientation.
Warning: Hand tighten only. Damage resulting from over tightening
is not covered by the warranty.
3. Use the set screws on the long sides of the base (see Figure 2-6 on page 10) to secure the
Smart GPS compass in place (3/16” Allen wrench not included).