35
Simrad RS10 Operation and Installation Manual
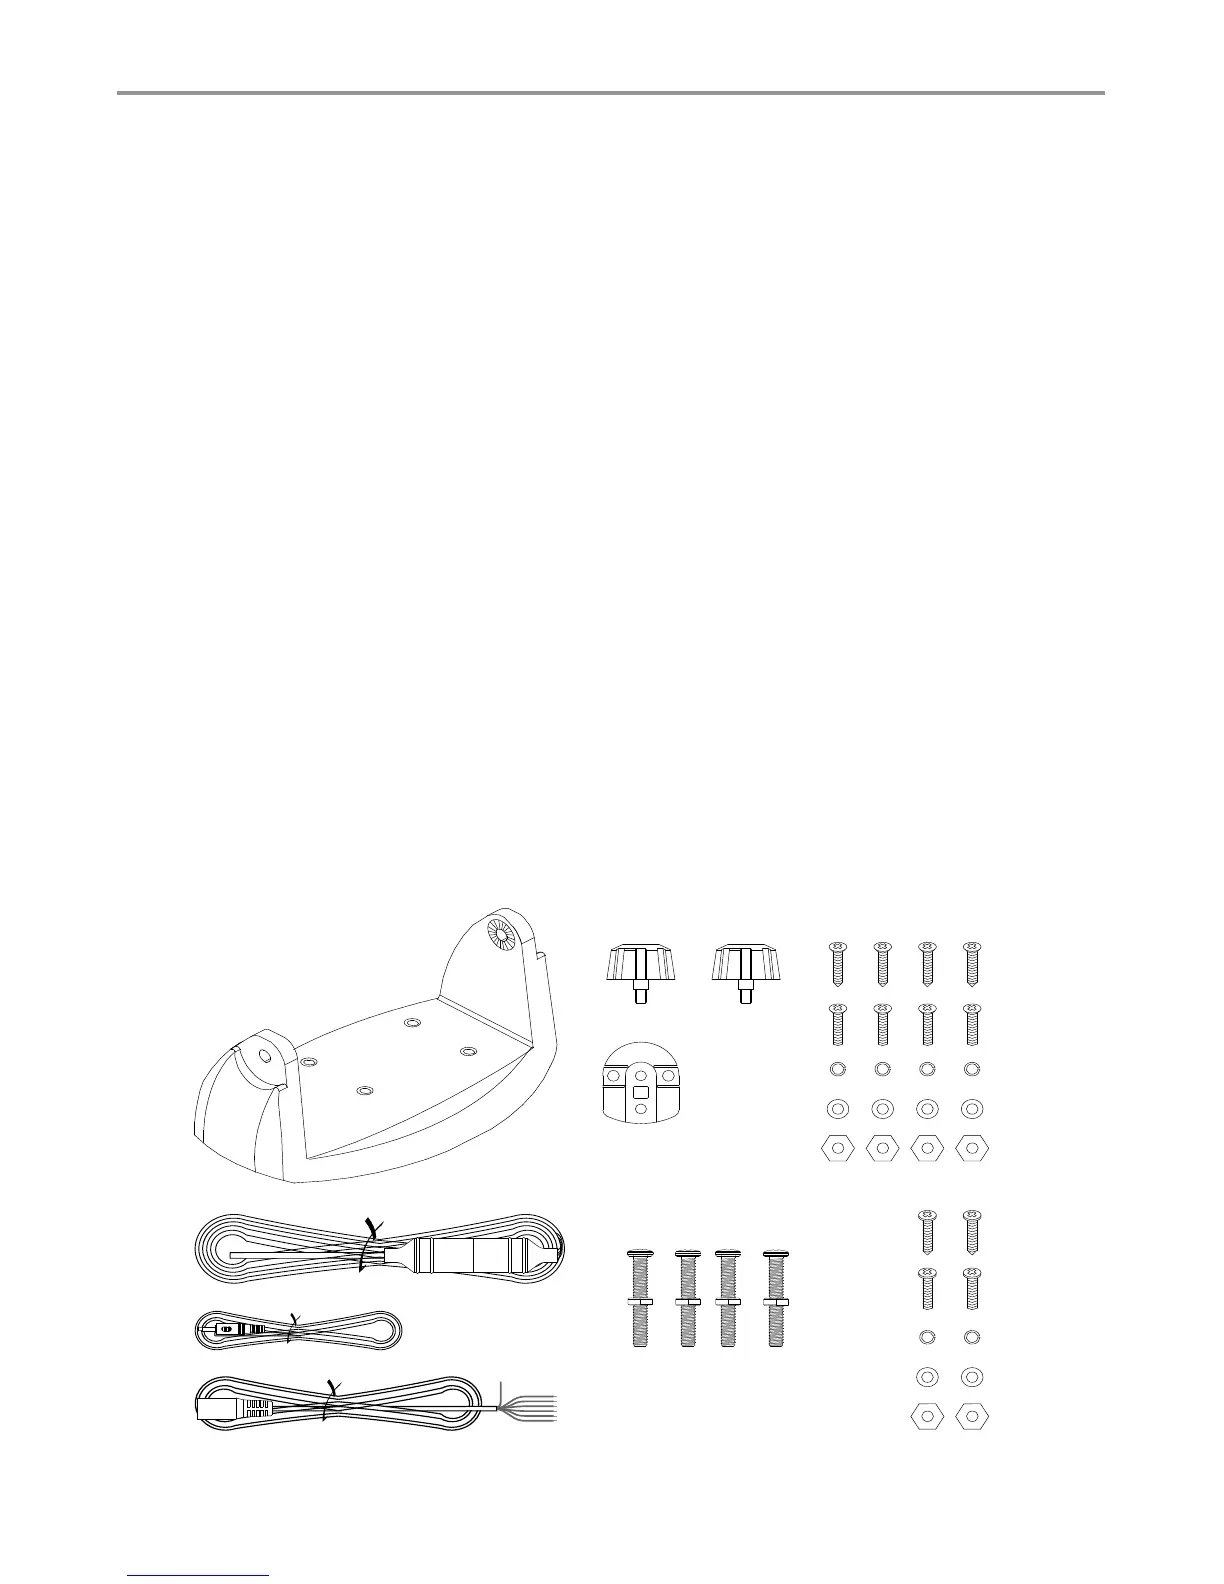
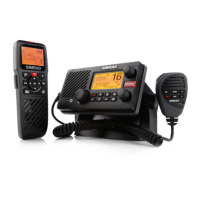
Mounting gimbal for the VHF radio1.
Power supply cable with in built 7 Amp 2.
fuse
External speaker connection cable with 3.
white (+) wire and black (-) wire
GPS connection cable (RS10 only)4.
Two mounting knobs5.
Microphone bulkhead mount6.
Four self-tapping screws for the mounting 7.
gimbal
Four at screws for the mounting gimbal8.
Four spring washers for the mounting 9.
gimbal
Four plain washers for the mounting 10.
gimbal
Four nuts for the mounting gimbal11.
Two self-tapping screws for the 12.
microphone bulkhead mount
Two at screws for the microphone 13.
bulkhead mount
Two spring washers for the microphone 14.
bulkhead mount
Two plain washers for the microphone 15.
bulkhead mount
Two nuts for the microphone bulkhead 16.
mount
Four M5x32 screws for recessed installation17.
Four nuts for the recessed installation18.
Not pictured: Two plastic stoppers for the
recessed installation. Installation template. One
7 Amp spare fuse in case of accidental reverse
of battery polarity. Base unit and microphone.
Protective cover.
7-1 Checklist
The following items should be supplied in the box. Check before starting the installation and contact
your dealer if an item is missing.
Note: An antenna is not provided. Consult your Simrad dealer for advice if necessary.
1
3
4
2
6
5
7
8
9
10
11
12
13
14
15
16
17
18