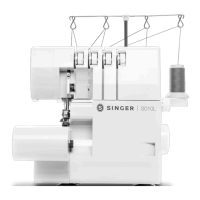
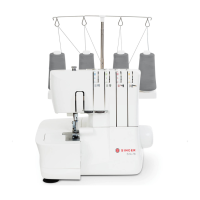
KNOWING YOUR SEWING MACHINE
12
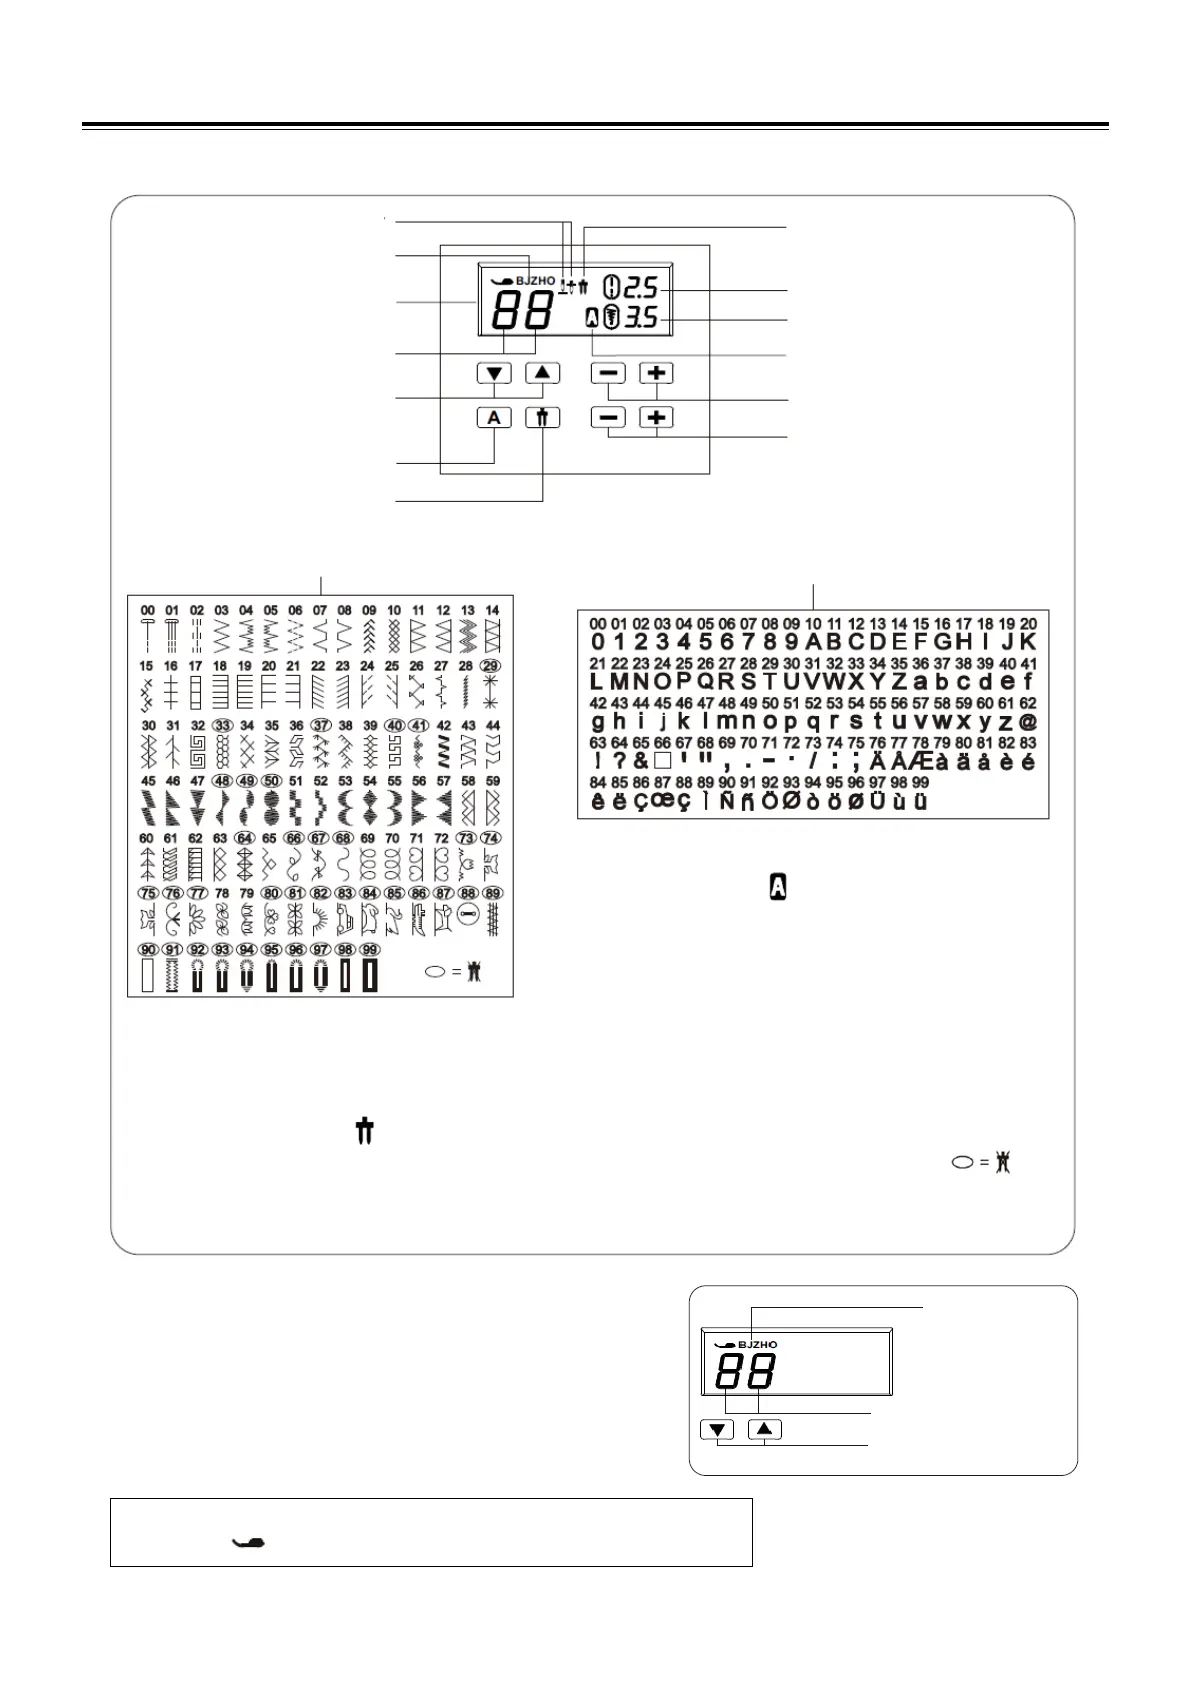
FUNCTIONS OF CONTROL PANEL
PATTERN NUMBER SELECTION BUTTONS
When the machine is turned on, straight stitch is selected and pop-up
screen for individual preference settings appears on the LCD
display.
Press the or side of to increase or decrease the number by one.
Long press the or side of to decrease or reduce the number by
ten.
NOTE: The presser foot to be used is indicated by the letter (B,J, Z,H,O)
right to the right of the stitch number.
Needle position indicator
Letter pattern mode button
Twin needle mode indicator
Letter stitch mode indicator
Stitch length adjustment button
Stitch width adjustment button
Pattern number reference guide
Letter pattern number
reference guide
Letter pattern mode
While the button is pushed, will be appeared on the LCD.
Press the
or . The number of the selected letter number is
displayed.
The machine sews automatically one complete cycle of pattern
string and stops.
Twin needle mode
When using twin needles, push the twin needle mode button regardless of the stitch you selected. Doing so will
reduce the stitch width automatically and save broken needles and possible damage to your machine.
When the button is pushed, will appear on the LCD.
Patterns with circled numbers in the pattern reference guide cannot be selected and a beep will sound.
Presser foot
indicator
(B,J,Z,H,O)
Buttons for pattern number
selection