ASSEMBLY AND OPERATION
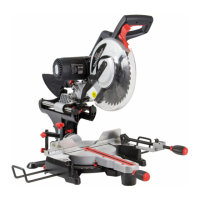
TRANSPARENT BLADE GUARD
The transparent blade guard will automatically
retract under the upper blade guard as the
handle is lowered to make a cut.After finishing
the cut, raise the main handle and the lower
blade guard will automatically return to it’s
original position cov-ering the blade.
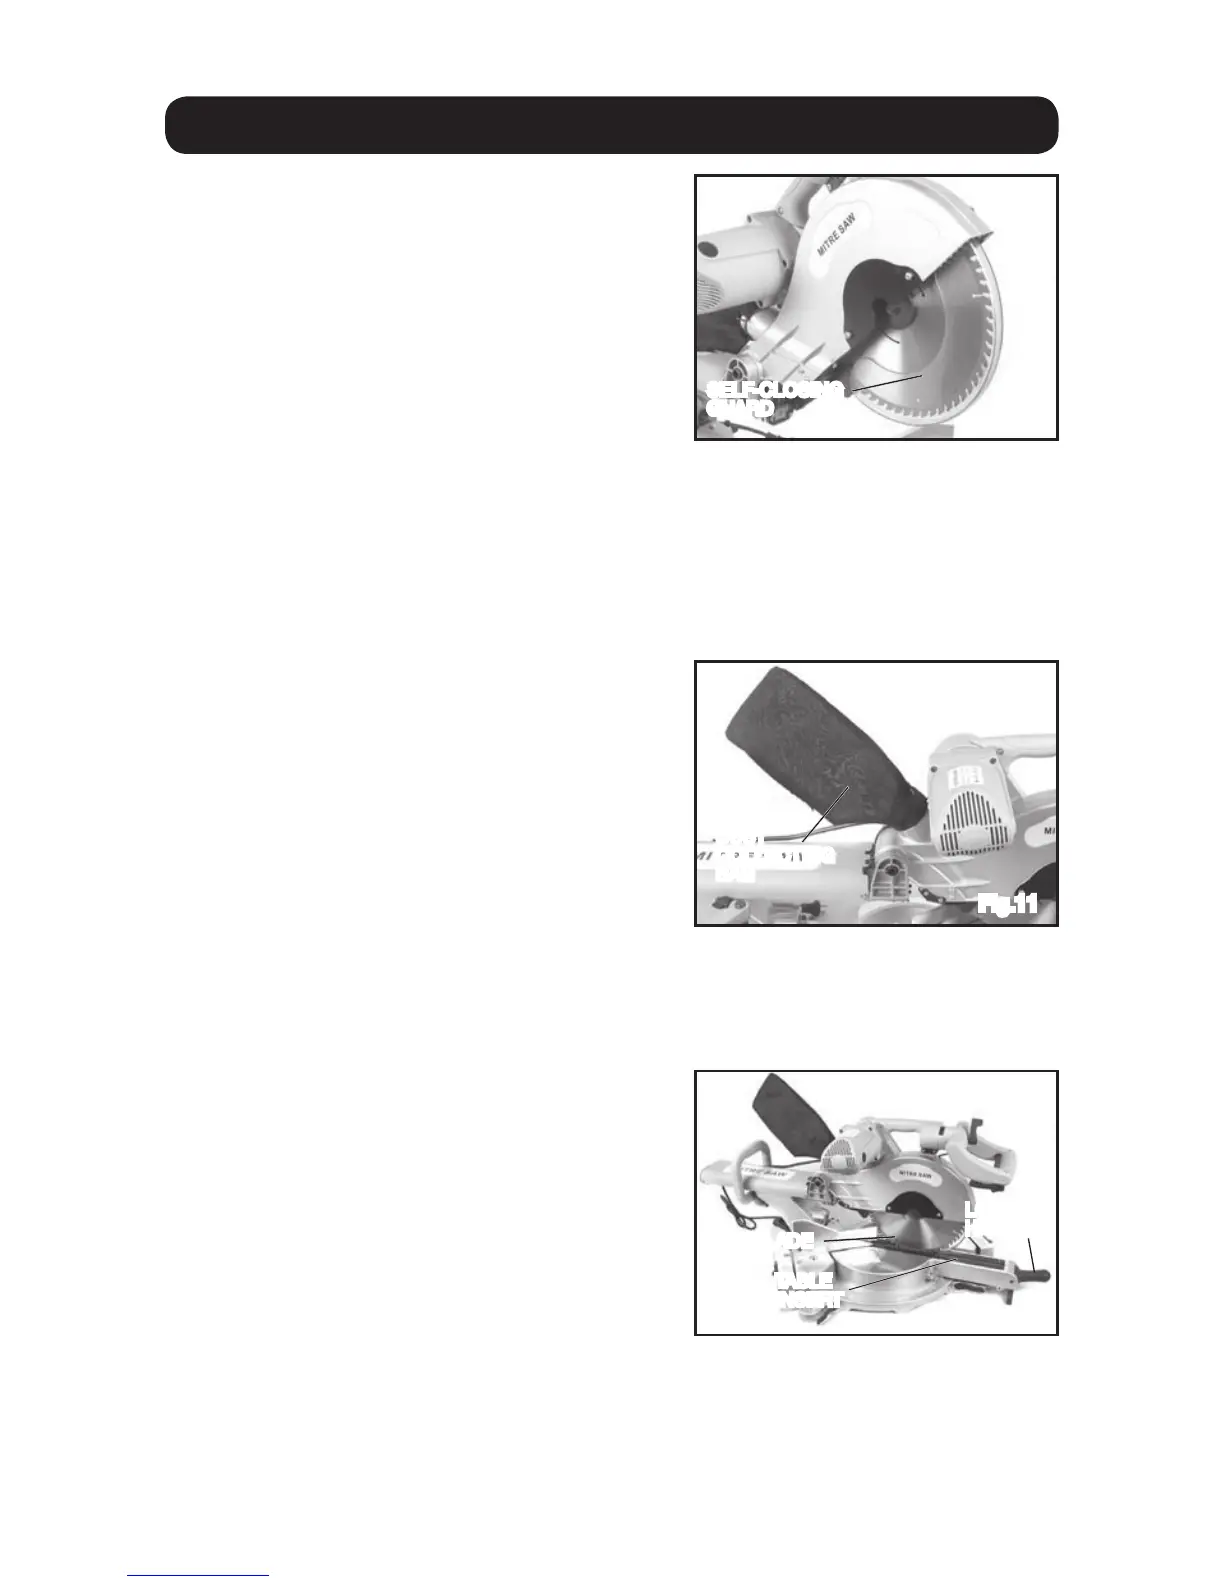
DUST BAG
To reduce dust etc. from getting into the environment the dust collection bag should
be used. Fit it over the dust outlet on the
saw (fig. 11).
POSITION THE TABLE INSERT
The table insert has been set in the correct position at the factory during production, during
normal operation it may need to be adjusted to ensure that the saw blade does not come
into contact with it.
Fig.10
SELF-CLOSING
GUARD
Fig.11
Fig.12
SAW BLADE
DUST
COLLECTING
BAG
TABLE
INSERT
LOCKING
HANDLE
14
The operator should regularly check that the
blade guard operates correctly. The saw
should not be operated and the guard should
be repaired or replaced if any damage, or abnormalities are present.
The operator should have a clear view of the work-piece whilst making a cut; if not,
the inside of the guard should be cleaned with a damp cloth. Never use harsh
solvents, petrol etc. to clean the guard (fig. 10).
Empty the dust bag when it is not more
than half full. This allows for better air
flow through the bag.
Note: For more efficient dust removal
connect a dust collector, or similar to the
outlet port rather than the collection bag.
Ensure the saw is turned off and that the plug is removed from the mains power
supply.
Loosen the 6 screws that hold the table
insert in place. Pull the saw head down
into it’s lowest position and adjust the
insert so that it does not contact the blade.
Set the saw head at the maximum bevel
angle (left then right) and adjust the table
in-sert so that it does not contact the blade.
Tighten the screws to hold the table insert in
position.