10
HORIZONTAL
135˚
105˚
VERTICAL
LOCK
TRIGGER
5" MAX
HAND CRANK
SEAT
SECTION
BACK
SECTION
Figure 3-19. Optional Kidney Lift
To operate, connect the handle to the drive mecha-
nism on either side of the back section. Rotate the
handle clockwise to raise the lift and counterclock-
wise to lower it.
CAUTION
To prevent damage to the kidney lift,
make sure the kidney lift is completely
down before raising the back section.
See figure 3-20.
b. The use of the optional support rod allows the
table top to be rotated 90° from the base. See
figure 3-16.
WARNING
•Make sure the TOP ROTATION LOCK
HANDLE is tightened and the brakes
are set before transferring the patient.
•Exercise caution with the table top
rotated 90° to the base since an im-
properly distributed patient load may
cause the table to be tipped over.
Figure 3-16. 90 Degree Top Rotation
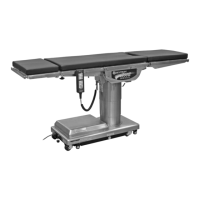
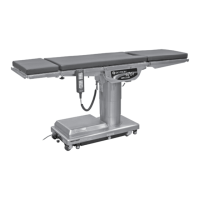
3-5. Leg Section (Elite/6000 only)
The Elite/ 6000 series table has movable split-leg
sections. The individual sections can be rotated
both vertically and horizontally. To position a
section vertically, lift up slightly on the leg section side
rail and pull the LOCK TRIGGER outward. See
figure 3-17. The positioning range is from horizontal
to 105° below horizontal, in 15° increments.
Figure 3-17. Leg Vertical Positioning
To position the leg section horizontally, loosen the
LOCK HANDLE at least one full turn counterclock-
wise. See figure 3-18. Position the leg section as
desired and tighten the LOCK HANDLE. To re-
move the leg section, turn the LOCK HANDLE at
least five full turns counterclockwise and lift the leg
section up to remove it.
CAUTION
DO NOT sit on the end of the leg
sections as damage may result.
Figure 3-18. Leg Horizontal Positioning
3-6. Kidney Lift
The optional, built-in kidney lift is operated by a
manual hand crank system and allows 5 inches of
lift. See figure 3-19. The hand crank is stored in a
bracket on the lower right hand side frame (as
viewed from the head end of the table).
Figure 3-20.
SUPPORT
ROD
 Loading...
