SL-10N Cloud
23 24
Choose one of the schedule types under schedule table and then click on the time you want to apply this
type of setting in the schedule table. One square in the schedule table matches one hour time interval.
The rst left square of the table matches the time from 00:00 to 01:00 and the last one matches the time
from 23:00 to 00:00. When all the settings are done then press button to save all the
changes.
Alternative way to set all the schedule is to set the schedule for one day and then copy it on the other days
of the week. Use «Copy» bar under schedule. Choose the day which you want to copy schedule from in the
left block and choose the day(s) you want current schedule to be applied to. Press button
to start copying, and then press button to save all the settings.
Copy
Save
Save
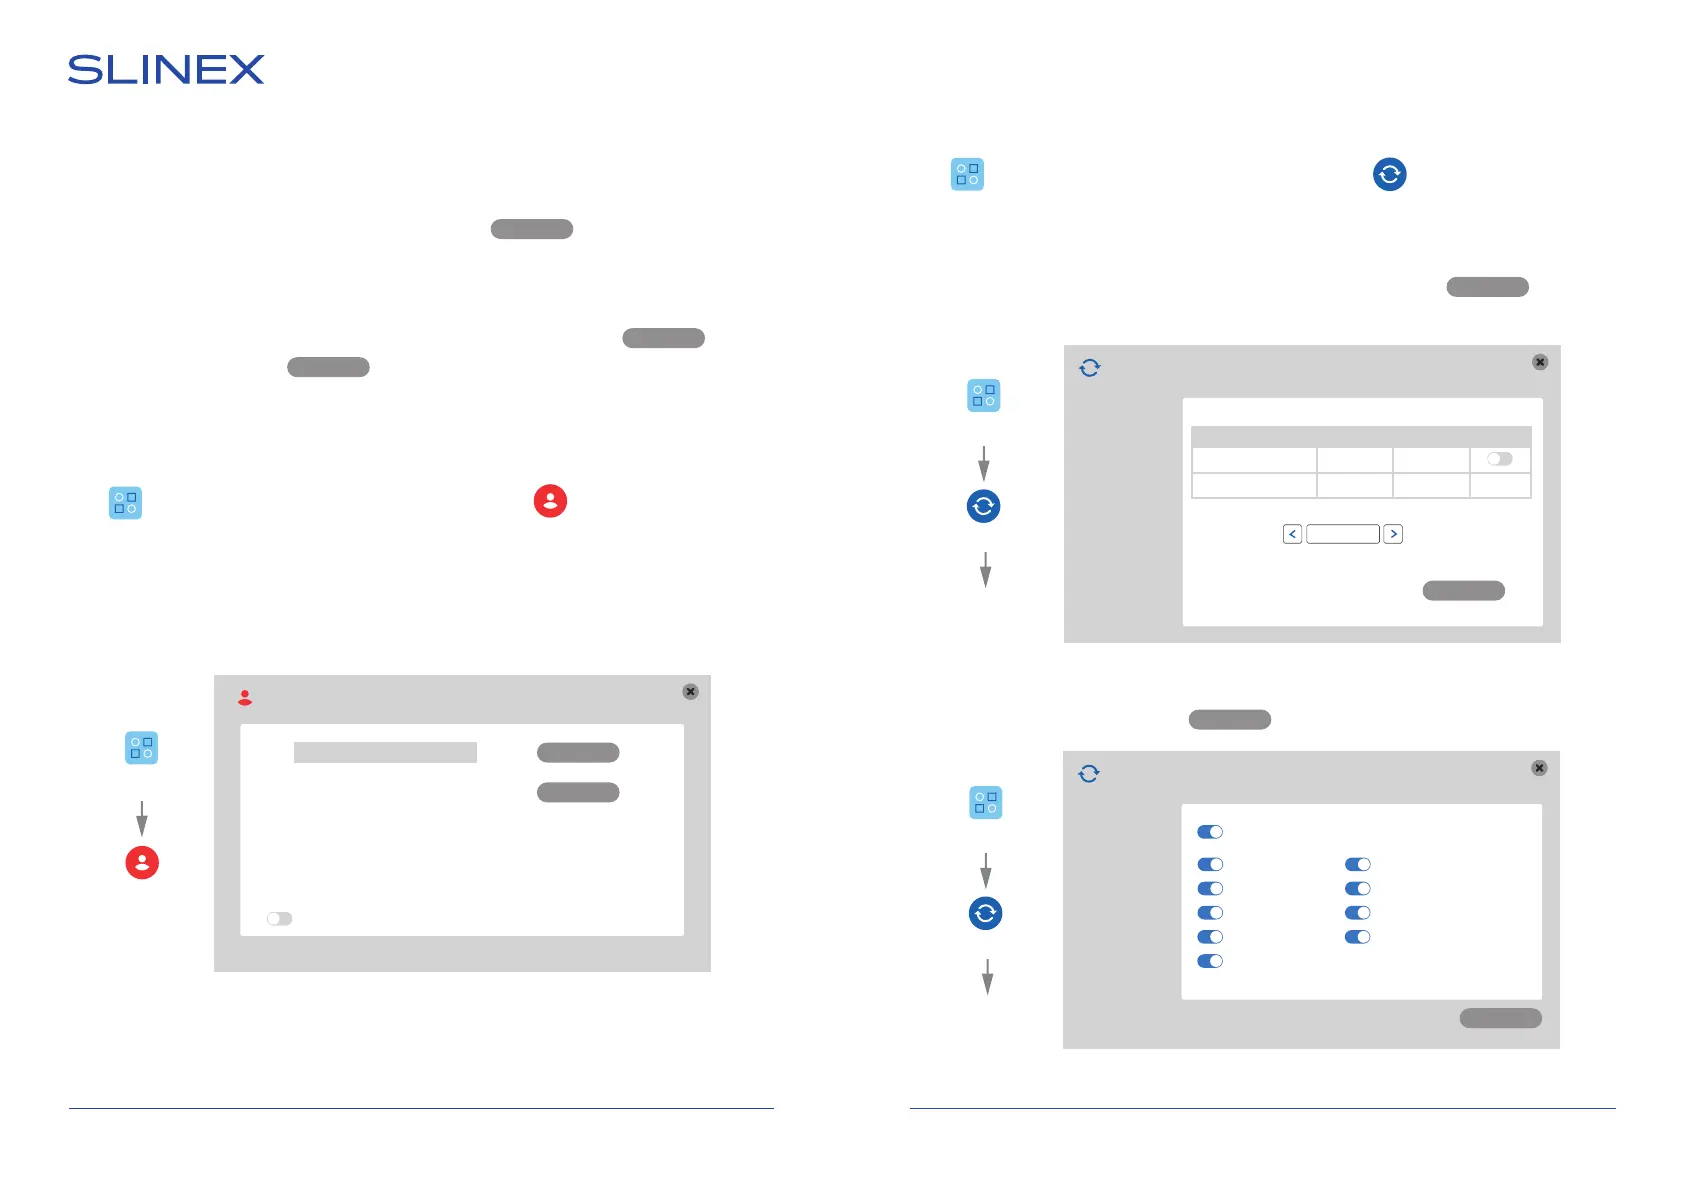
6.3.6. Accounts settings
Press icon on the tool bar to enter monitor settings, then press icon to enter accounts
settings.
Settings → User
Add user − add new user;
Delete user − delete selected user;
Login with password − enable/disable password request to enter the tool bar;
User
Delete user
Add user
Admin
Login with password
6.3.7. Maintenance settings
Press icon on the tool bar to enter monitor settings, then press icon to enter maintenance
settings.
Settings → Maintenance → SD
Auto overwrite − enable/disable overwriting when SD card is full (Auto or Disable);
Format − SD card format (enable «Format» switch in the table, then press button on
the bottom of the screen);
Settings → Maintenance → Default
Choose the settings to restore then press button.
SD
SD
Default
Upgrade
Size/Free Free time Status Format
7616 М/7552 М xxx Мин Ок
Auto overwrite
Format
Auto
Format
Confirm
Settings
Maintenance
SD
Settings
Maintenance
Default
Restore to default
SD
Default
Upgrade
Confirm
Time Maintenance
Color and margins Network
Record schedule Network advanced
User Alarm setup
Tuya
All
User
Settings