‐CW420/430
31
Remove the filters (simply lift them out as shown here),
taking care that no large residues fall into the sump
underneath.Cleanthemtoremoveresiduesandrinsewith
plenty of water, then put themcorrectly backinplace; do
notusesharporpointedtools.
Clean away any limescale deposits to prevent excessive
build‐ups;
‐ Ifpossible,leavethedoorajarwhennotinuse;
‐ Clean surfaces thoroughly and often with a damp
cloth; use neutral, non‐abrasive detergents which
donotusechlorinecompounds, whichcorrodeand
damagestainlesssteel.
Donotusetheproductsmentionedaboveevenwhencleaningthefloorunderneathorinthevicinityof
thedishwasher,
toensurethatfumesordropscannotdamagethesteelsurfaces.
IMPORTANT:Thedishwasher automaticallyperforms program“P0”at thestart ofthe dayif waterhas
beenleftinthetankandhasdroppedbelowthetemperatureof40°C
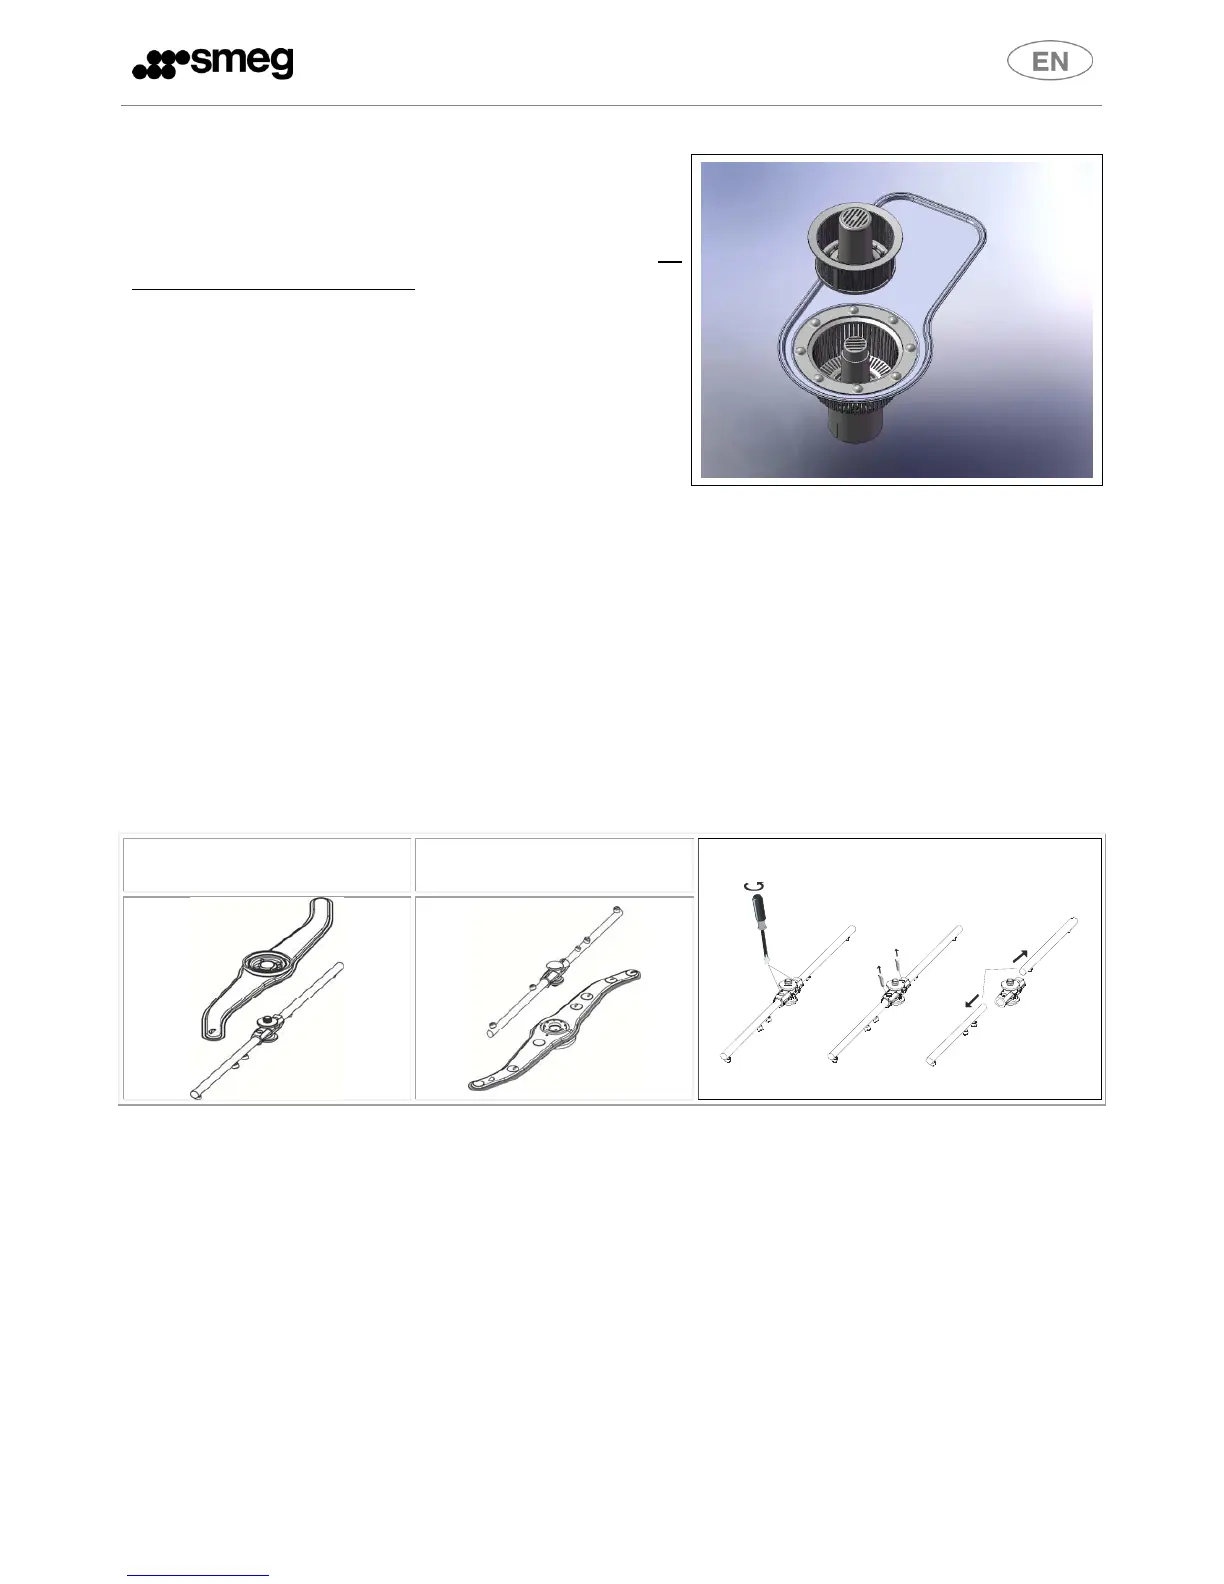
11.2 Routineinspectionofthesprayarms
Removethewashingandrinsing(topandbottom)sprayarmsbyunscrewingthecentralscrew;remove
the rinsing spray arms 3 and remove the screws 2 as shown. Do not unscrew the nozzles. Clean the
holes and nozzles under a jet of clean running water; do not use tools which might cause damage.
Reassemblethesprayarmswithcare.
TOP SPRAY ARMS
stainless steel
BOTTOM SPRAY ARMS
stainless steel
Cleantheoutsideoftheappliancewithadampclothandneutralsoap,rinsinganddryingthoroughly.
11.3 Lengthyperiodsoutofuse
If the dishwasher is to be out of use for a fairly long period of time, the detergent and rinse aid
dispenserdevicesmustbe emptiedto preventcrystallisationanddamageto thepumps: removethe
intakehosesfromthedetergentandrinseaidcontainersandplacetheminacontainerofcleanwater,
thenperformafewwashcyclesfollowedbyacompletepump‐out.
Finally,turnoffthemasterswitch,closethewaterintakevalveandleavethedoorajaruntiltheinterior
iscompletelydry.Thedetergentandrinseaidintakehosesmustbeputbackintothe
containerswhen
thedishwasheris returned toservice,takingcarenotto swapthem over(redhose=detergent,blue
hose=rinseaid).
3
1
2
 Loading...