8
snom PA1+ User Manual Setting Up
Setting up
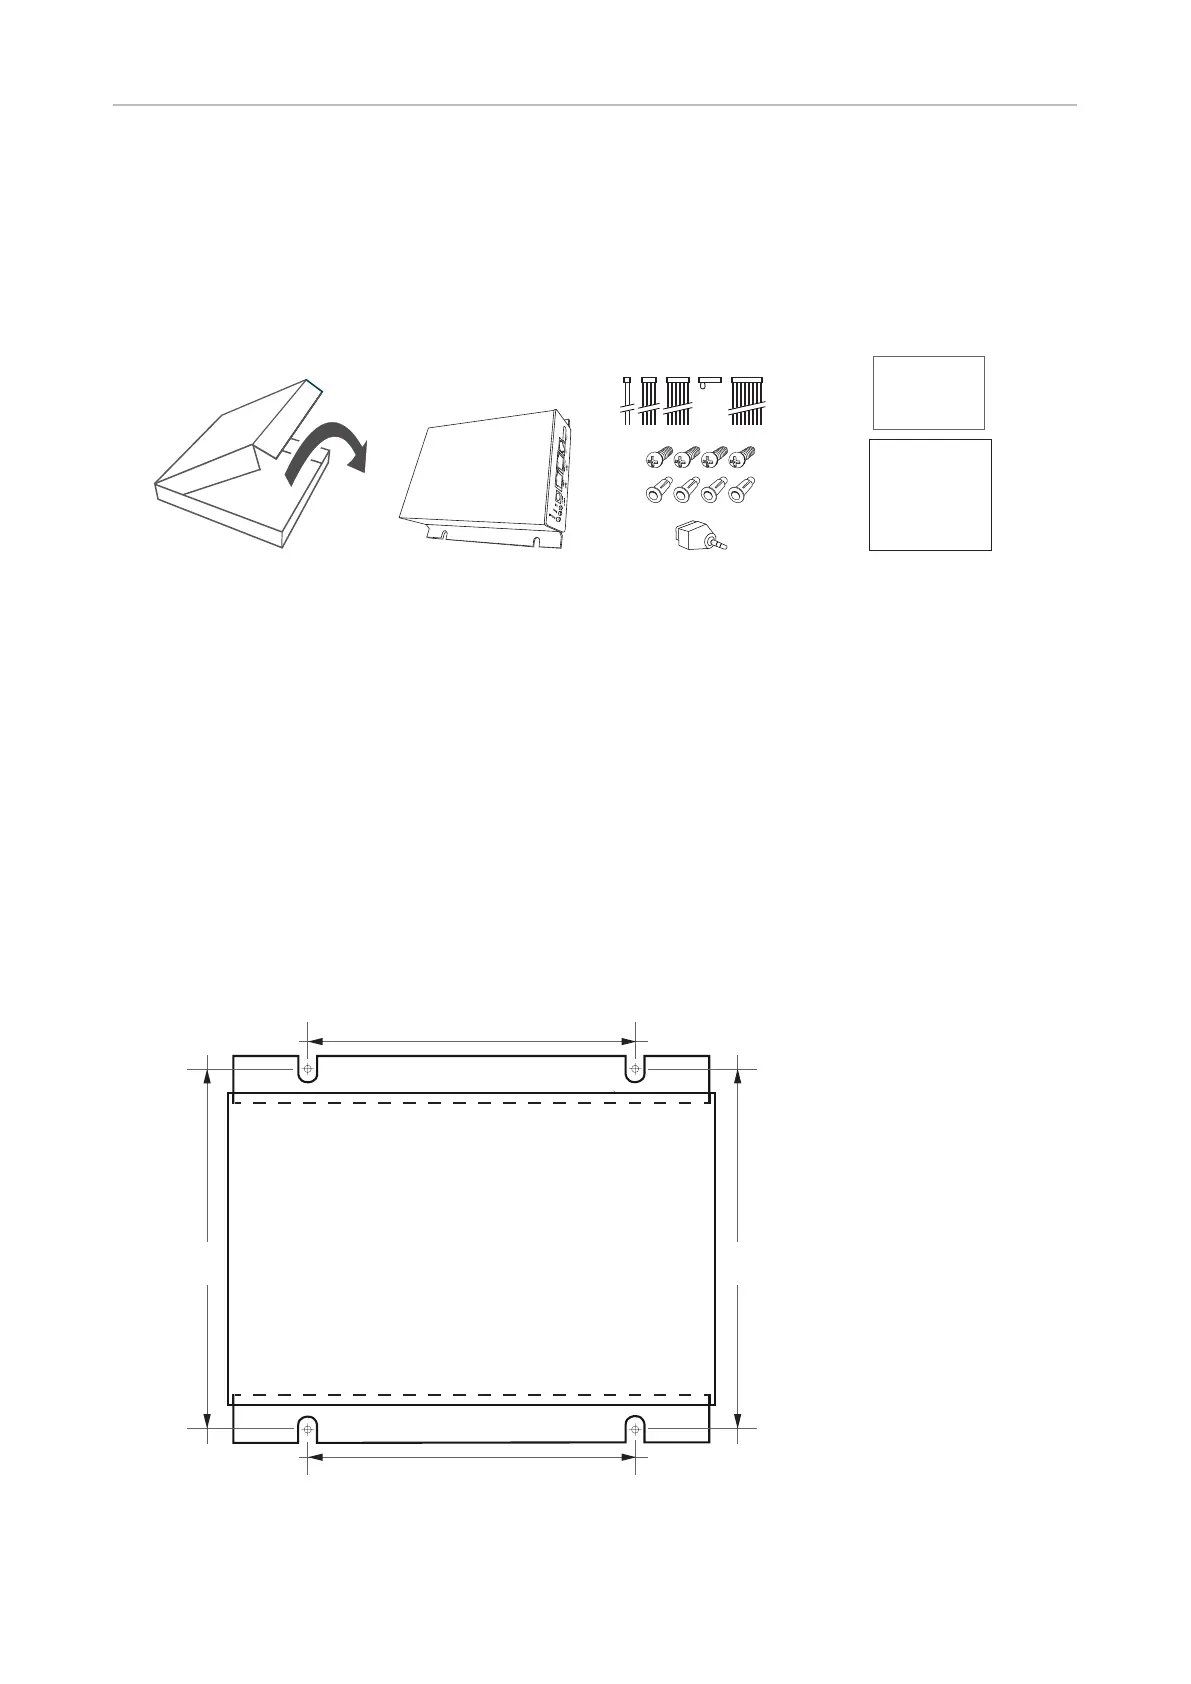
Delivery Content
GNU
General Public License
Quick Installation
Guide
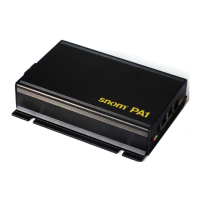
PA1+
◦ Base unit
◦ 2 brackets for wall mounting (pre-assembled)
◦ 4 screws (Ø 8 mm, length 16 mm) + 4 expansion anchors for wall mounting
◦ Cable set (5 proprietary Snom cables for connecting periphery devices)
◦ 1 audio adapter 3-pin screw terminal < - > 3.5 mm jack plug
◦ Quick Start Guide
Wallmounting
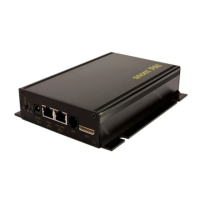
Note: The Ethernet cable must not be bent to avoid damage and loss of the network
connection. We recommend that you place the PA1+ so that the PoE connector is facing
toward the LAN port in your network. We also recommend that you place the PA1+ in a
location where you can see the LEDs from your desk or work station.
121 mm
(4.764")
(4.764")
110 mm (4.331")
110 mm (4.331")
Fig. 1
1. Use the measurements in Fig. 1 to mark the positions of the four holes to be drilled in the wall, or
use the template at "Appendix 1 — Drilling template for wallmounting" on page 26.