5. INSTALLATION
5.1. Choose an installation location
An appropriate installation location will optimize system performance, reduce
the chances of malfunctions, and prolong product lifespan. Please follow the
guidelines below for an appropriate location:
• Avoid excessive high temperature or high humidity;
• Keep away from dust, volatile gases, excessive salt content, or
corrosive gases;
• Do not use outdoors.
To avoid over temperature because of heat accumulation, please ensure the product is installed in a ventilated area.
5.2. Installation Procedure:
1. Open package and note the packaging layers. Keep the box and packaging material in case further
transportation is required.
2. Check for damage to the Statys XS from shipping and handling. Please contact your local distributor if the
product is damaged.
3. Check the input power cable/socket and output socket of the delivered Statys XS model with your order.
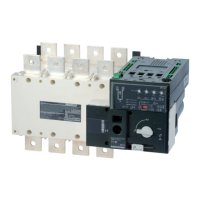
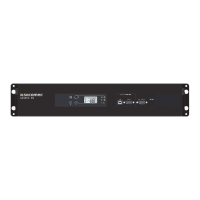
4. Afx the backplate (Figure 1) onto the Statys XS (Figure 2). Afx the Statys XS onto the frame of the chassis
(Figure 3).
5. Insert the load plugs into the Statys XS sockets labelled "OUTPUT" and spreading them as evenly as possible.
6. Check that the total load does not exceed Statys XS specications (e.g. voltage, current).
7. Supply power to the Statys XS. The Statys XS automatically boots up after 1 second and supplies the capacity
power to the connected load.
5.3. Electrical power installation
External upstream protection :
The circuit breaker ratings bellow are recomended values. These protective devices still need to be selected and
congured taking into account the installation and the diameter of cable used.
Circuit breaker rating A:
• 16A STATYS XS : 16A circuit breaker ; tripping curve D
• 32A STATYS XS : 32A circuit breaker ; tripping curve D
 Loading...