21 / 47
6. Operation
6.1. Double Check
Please double check the following before operation.
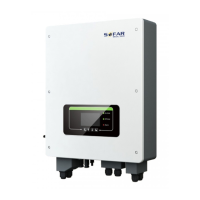
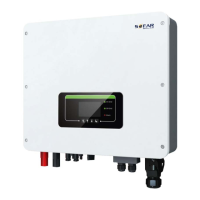
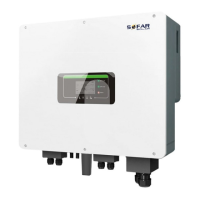
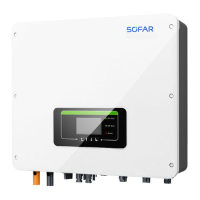
1. HYD-ES inverter is firmly fastened to the mounting bracket on the wall;
2. PV+/PV- wires are firmly connected, polarity and voltage are correct;
3. BAT+/BAT- wires are firmly connected, polarity and voltage are correct;
4. DC isolator is correctly connected between battery & HYD-ES inverter, DC isolator: OFF;
5. GRID / LOAD cables are firmly / correctly connected;
6. AC circuit breaker is correctly connected between HYD-ES inverter GRID port & GRID, circuit breaker: OFF;
7. AC circuit breaker is correctly connected between HYD-ES inverter LOAD port & critical load, circuit breaker: OFF;
8. For lithium battery, please ensure that the communication cable has been correctly connected;
9. For the lead-acid battery, please ensure that the NTC wire has been correctly connected.
6.2. First Time Setup (IMPORTANT!)
IMPORTANT: PLEASE FOLLOW THE FOLLOWING PROCEDURE to switch ON HYD-ES inverter
1. Make sure there’s no power generation in HYD-ES inverter’s phase.
2. Turn ON DC switch.
3. Switch ON the battery. Turn ON DC isolator between battery & HYD-ES inverter.
4. Turn ON AC circuit breaker between the HYD-ES inverter GRID port & GRID.
5. Turn ON AC circuit breaker between the HYD-ES inverter LOAD port & critical load.
6. HYD-ES inverter should start to operate now.
You need to set the following parameters before HYD-ES inverter starts to operate.