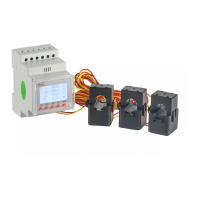
4
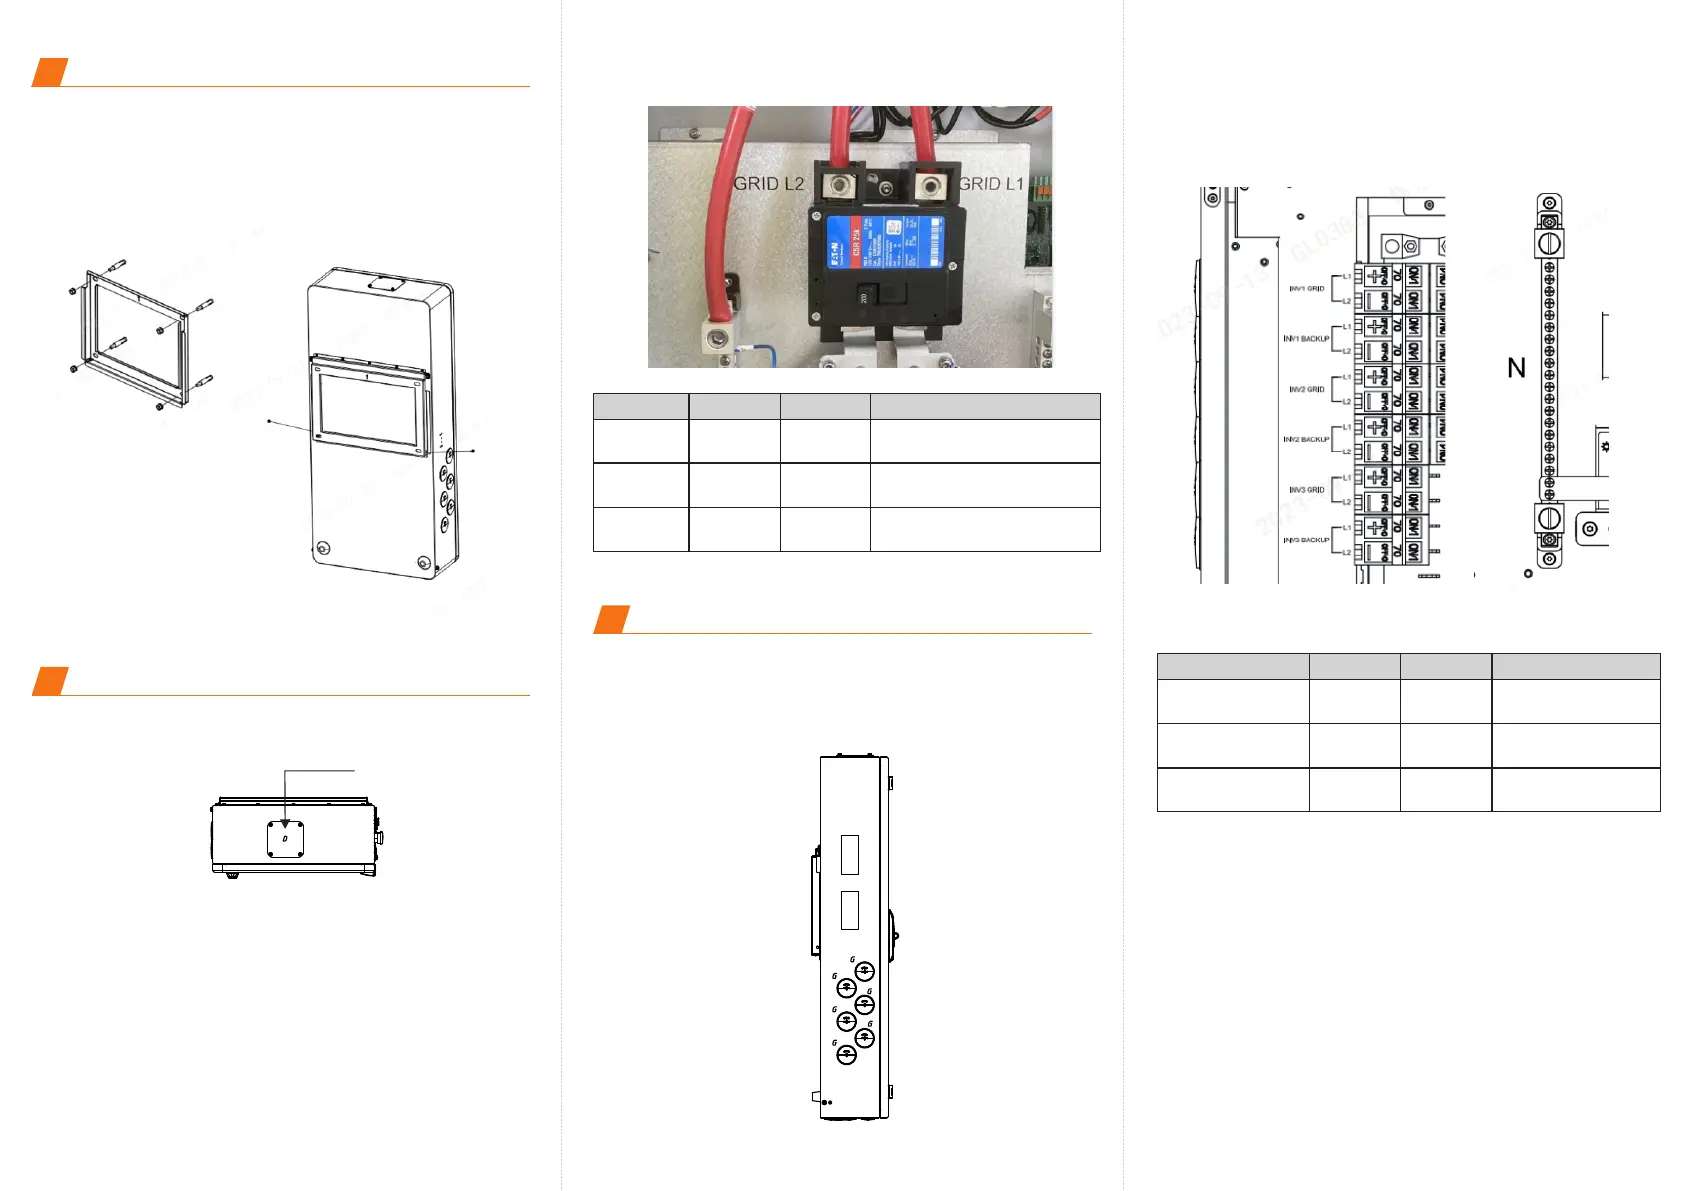
Mounting the inverter
Step 1. Drill holes for the mounting bracket. Use suitable expansion
bolts to fix the bracket onto the wall.
Step 2. Hang the Solis Hub onto the mounting bracket.
Step 3. Use xxx screws to fasten the Solis Hub with the mounting
bracket.
Torque: 1.7-2.0N.M
5
250 Lb.In
M14 Hexgonal Screwdriver
Terminal
Torque
Screwdriver Type
AC Incoming Supply Connection
Step 1. Remove the AC connection cover at the top of Solis Hub.
Step 2. Insert the AC cables into the Solis Hub.
Step 3. Connect Grid L1 / Grid L2 / Neutral wire to the corresponding
terminals
Wire Size
GRID L1 1 AWG
250 Lb.In
M14 Hexgonal Screwdriver
GRID L2 1 AWG
250 Lb.In
M14 Hexgonal Screwdriver
Neutral
1 AWG
Grid input
φ77.7
6
Hybrid Inverter Connection
Step 1. Use the 6 conduits on the left side of the Solis Hub to run
the Solis hybrid inverter’s AC Grid Cable and AC Backup Cable
into the Solis Hub.
Step 2. Connect the AC Grid L1 & L2 , AC Backup L1 & L2 and
neutral accordingly.
250 Lb.In
Slotted screwdriver
Terminal
Torque
Screwdriver Type
Wire Size
AC Grid L1/L2 6 AWG
250 Lb.In
Slotted screwdriver
AC Backup L1/L2
6 AWG
250 Lb.In
Slotted screwdriver
Neutral
6 AWG