Making Measurements
4-82
Load your Project
Select your Project from the File menu in the PVA software. This Project must have been created
specifically for this PV installation.
Mount SolSensor
Attach SolSensor to a PV module frame using the provided bar clamp. It must face in the same
direction as the PV module itself.
Remove the black rubber cover (like a lens cap) that protects the irradiance sensor (the small white
disc). Never touch this disc, it is a highly sensitive optical instrument.
If there is dirt anywhere on the top or sides of the small white irradiance sensor disc, hold the body
of SolSensor in your hand, rotate it so the irradiance sensor facing downward, spray up at the
irradiance sensor with purified water, and let the water carry the dirt downwards, away from the
irradiance sensor. Then use the special microfiber cloth to wipe away the excess moisture. A spray
bottle of purified water and a microfiber cloth are provided in the SolSensor gear pouch.
Attach SolSensor thermocouple
You will need to use a thermocouple on the backside of the PV module even if you are using the
SmartTemp temperature measurement method.
Unwind the thermocouple and straighten the lead. Avoid kinking the lead.
Insert its yellow plug in the T1 socket at the end of SolSensor.
Straighten the last few inches of the thermocouple lead. The tiny ball at the end is where
temperature is measured.
Place the last few inches of the thermocouple wire against the back of the PV module. Choose a
location that is away from the cooler outer edges of the array.
Apply the green disc of high temperature tape to the tip of the thermocouple. Role your thumb over
the disc to work out any wrinkles. The tip should be near the center of the disc and in firm contact
with the back of the module. Do not use ordinary electrical tape or duct tape, because these will sag
with the heat of the module and allow the tip of the thermocouple to pull away from the backside of
the module. This causes large temperature errors.
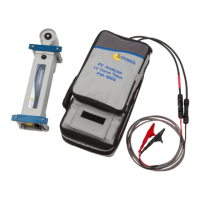
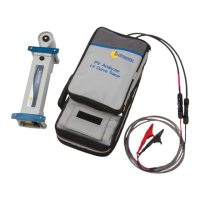
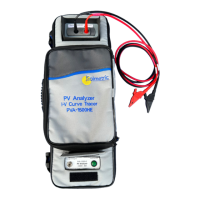
Turn on the I-V Measurement Unit, and connect wirelessly to your PC
Press and release the pushbutton LED.
The PVA-1500 creates a Wi-Fi hotspot. Find and connect to that hotspot in the network list of your
PC.
 Loading...