Getting
Started
Reseltilg
the
unit
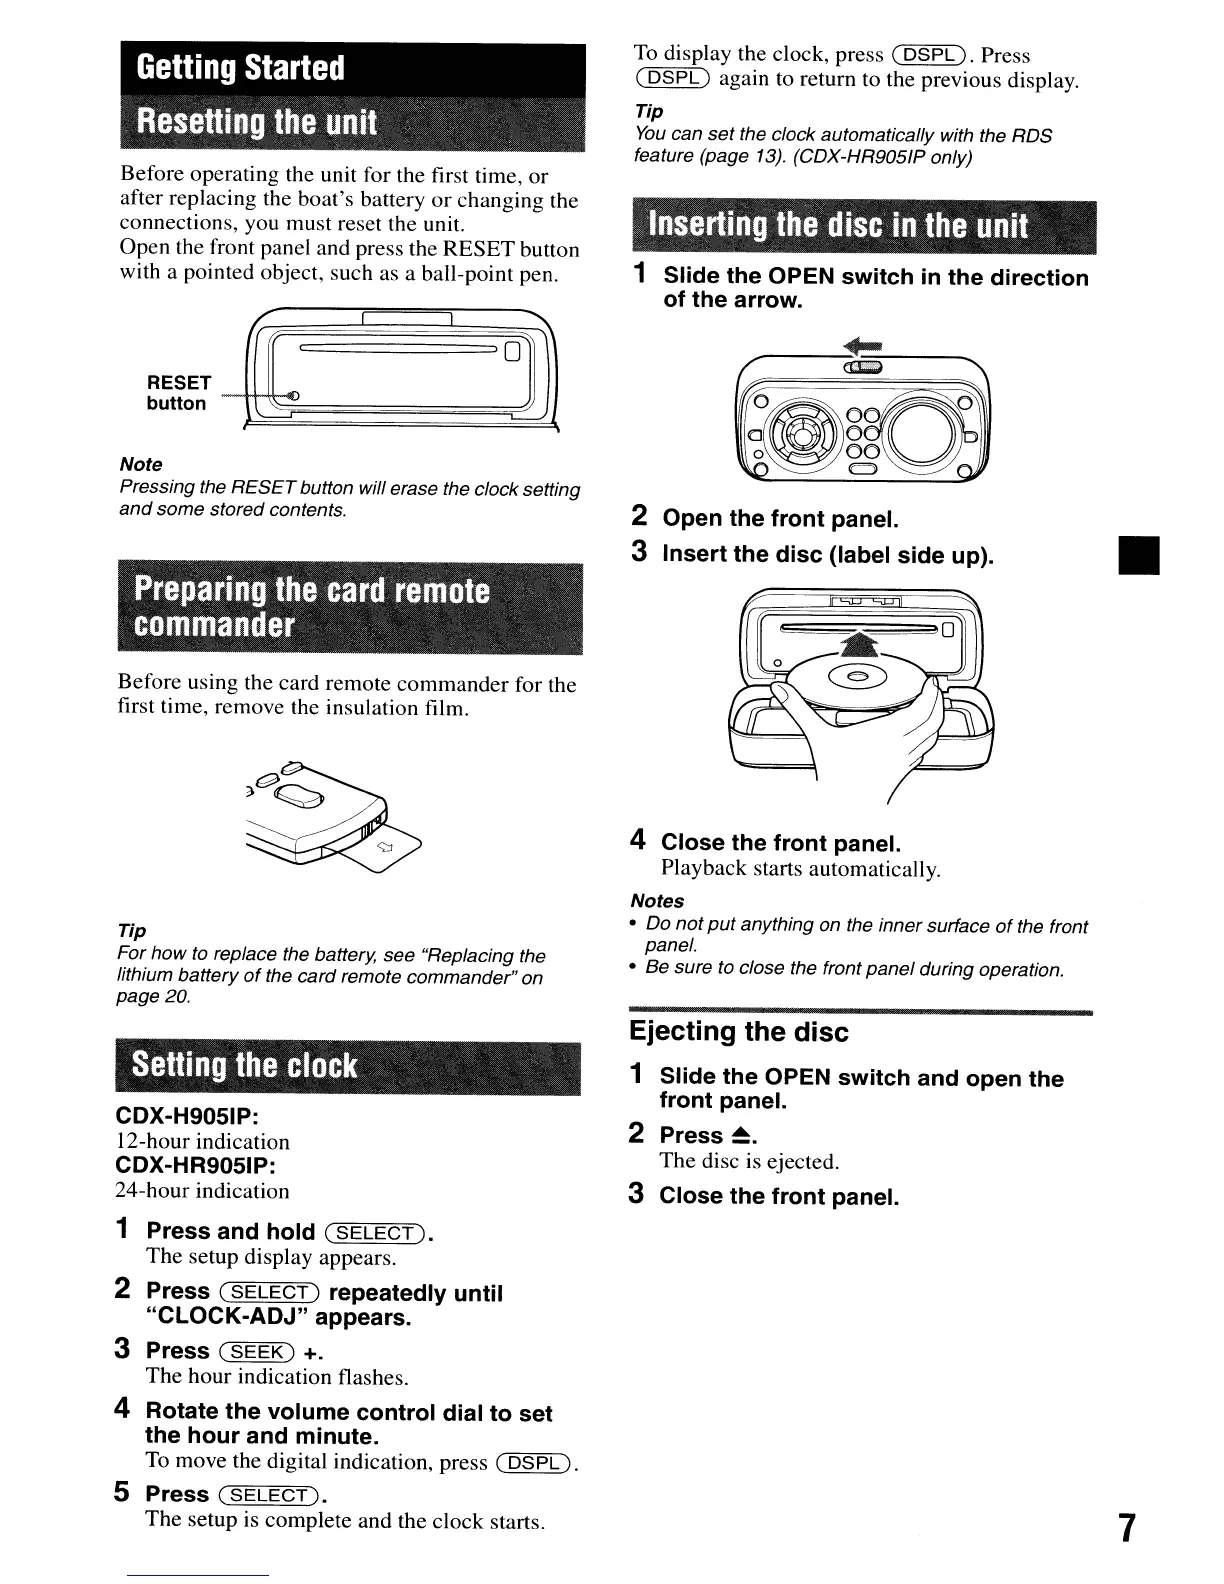
Before operating the unit for the first time, or
after replacing the boat's battery
or
changing the
connections, you must reset the unit.
Open the front panel and press the RESET button
with a pointed object, such as a ball-point pen.
To display the clock, press
(DSPL).
Press
(
DSPL)
again to return to the previous display.
Tip
You
can
set
the clock automatically with the RDS
feature (page 13). (CDX-HR905IP only)
Inserting
the
disc
in
the
unit
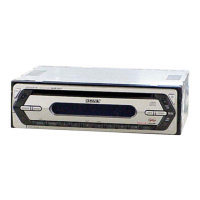
1 Slide the OPEN switch
in
the direction
of the arrow.
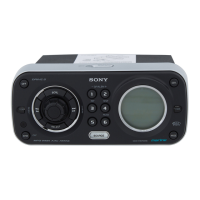
Before using the card remote commander for the
first time, remove the insulation film.
Note
Pressing the
RESET
button will erase the clock setting
and
some stored contents.
•
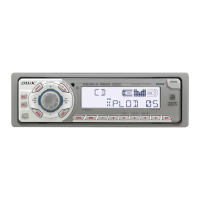
4 Close the front panel.
Playback starts automatically.
Notes
• Do
not
put
anything on the inner surface
of
the front
panel.
• Be sure
to
close the front
panel
during operation.
2 Open the front panel.
3 Insert the disc (label side up).
/'
.........
c
'0
'-
Preparing
the
card
remote
commander
RESET
button
Tip
For
how
to
replace the battery, see "Replacing the
lithium battery
of
the
card
remote commander" on
page 20.
Setting
the
clock
CDX-H905IP:
12-hour indication
CDX-HR905IP:
24-hour indication
Ejecting the disc
1 Slide the OPEN switch and open the
front panel.
2
Press~.
The disc is ejected.
3 Close the front panel.
1 Press and hold
(SELECT).
The setup display appears.
2 Press
(SELECT)
repeatedly until
"CLOCK-ADJ" appears.
3 Press
(SEEK)
+.
The hour indication flashes.
4 Rotate the volume control dial to set
the hour and minute.
To
move the digital indication, press
(DSPL).
5 Press
(SELECT
).
The setup is complete and the clock starts.
7