masterpage:Right
specdef v20060111
filename[G:\FM\Sony\0508\3212589121\3212589121DAVIS10\gb04gsb.fm]
model name [DAV-IS10]
[3-212-589-12(1)]
9
US
Getting Started – BASIC –
Unpacking
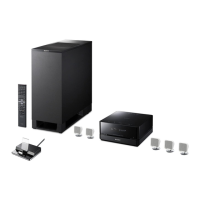
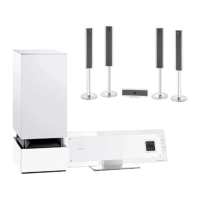
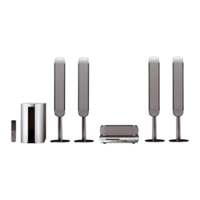
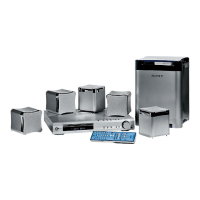
• Control unit (1)
• Speakers (5)
• Subwoofer (1)
• AM loop antenna (aerial) (1)
• FM wire antenna (aerial) (1)
• Video Cord (1)
• Remote Commander (remote) (1)
• R6 (size AA) batteries (2)
• Calibration mic (1)
• Brackets (5)
• Wrench (1)
• Operating Instructions
• Quick Start Guide (card) (1)
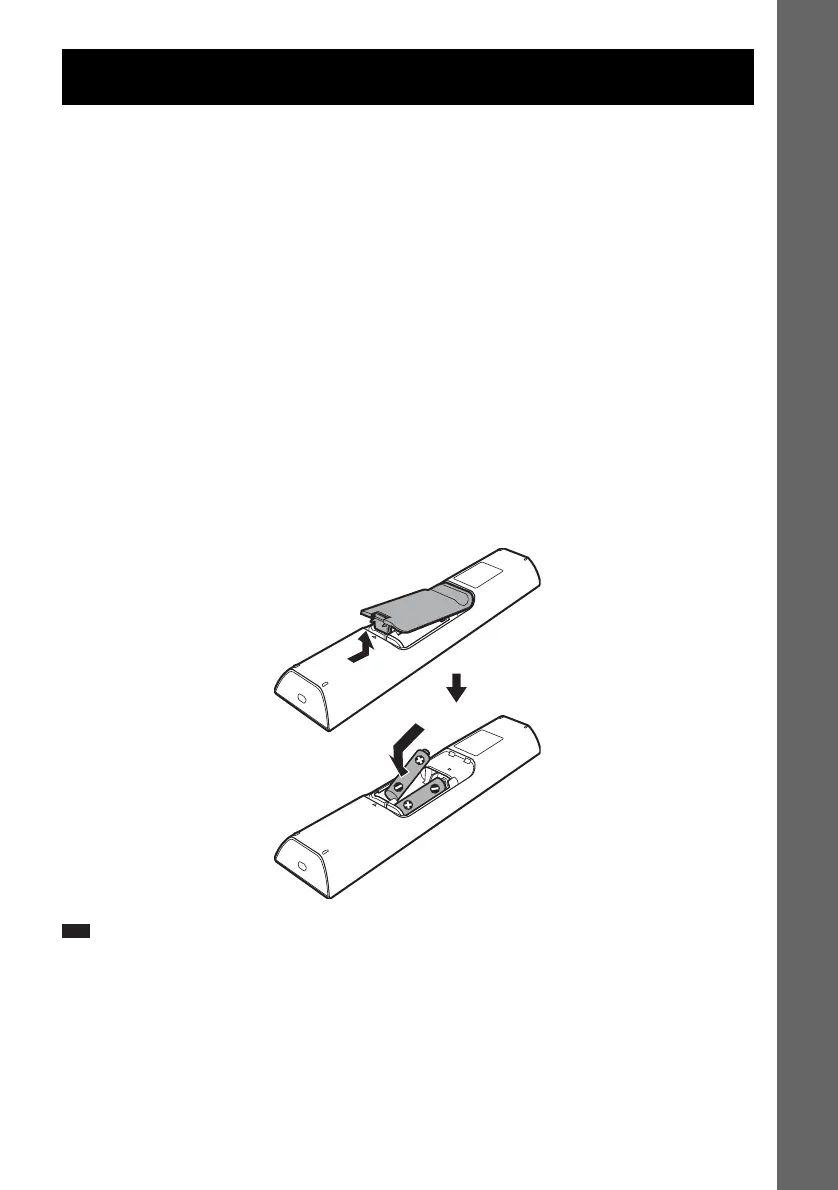
Inserting batteries into the remote
You can control the system using the supplied remote. Insert two R6 (size AA) batteries by matching
the 3 and # ends on the batteries to the markings inside the compartment. To use the remote, point it
at the remote sensor on the control unit.
Note
• Do not leave the remote in an extremely hot or humid place.
• Do not use a new battery with an old one.
• Do not drop any foreign object into the remote casing, particularly when replacing the batteries.
• Do not expose the remote sensor to direct sunlight or lighting apparatus. Doing so may cause a malfunction.
• If you do not intend to use the remote for an extended period of time, remove the batteries to avoid possible damage
from battery leakage and corrosion.
Getting Started – BASIC –