The window used for specifying
cropping area is displayed. Proceed
with step @.
To create a message from the
history:
Press <J/t>/fi.IV to select the
desired message from the history list
and then press ENTER.
The selected message is placed in the
center
of
the preview screen.
Skip to step
® for color selection.
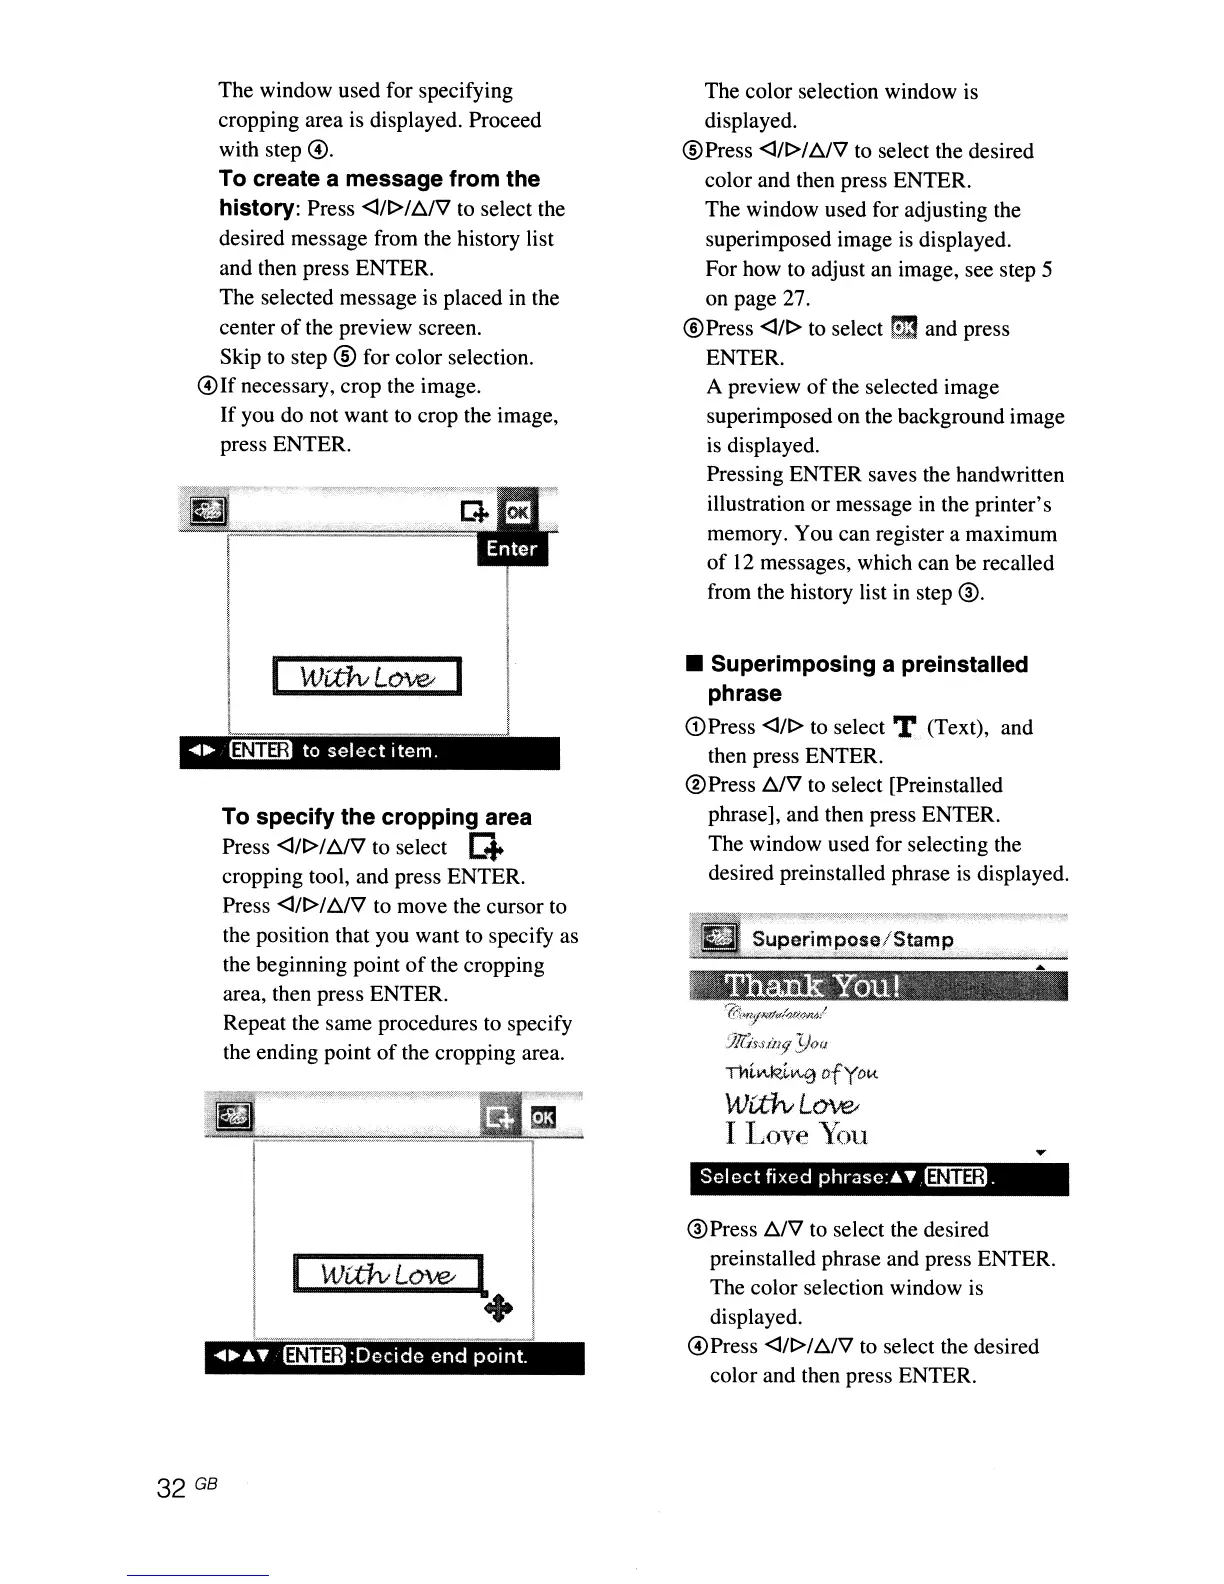
@Ifnecessary,
crop the image.
If
you do not want to crop the image,
press ENTER.
-4.
~
to
select
item.
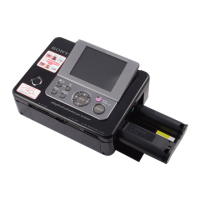
To specify the cropping area
Press <J/t>IAIV to select G
cropping tool, and press ENTER.
Press
<J/t>It::./V to move the cursor to
the position that you want to specify as
the beginning point
of
the cropping
area, then press ENTER.
Repeat the same procedures to specify
the ending point
of
the cropping area.
The color selection window is
displayed.
@Press
<J/t>lt::.IV to select the desired
color and then press ENTER.
The window used for adjusting the
superimposed image is displayed.
For how to adjust an image, see step 5
on page 27.
®Press <lIt> to select
t;m
and press
ENTER.
A preview
of
the selected image
superimposed on the background image
is
displayed.
Pressing ENTER saves the handwritten
illustration
or
message in the printer's
memory. You can register a maximum
of
12
messages, which can be recalled
from the history list in step
®.
• Superimposing a preinstalled
phrase
(DPress <lIt> to select T (Text), and
then press ENTER.
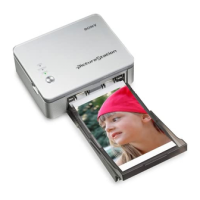
®Press t::.IV to select [Preinstalled
phrase], and then press ENTER.
The window used for selecting the
desired preinstalled phrase
is
displayed.
~uperlm
pose/St~m
p
".,,"
."
;::';'~"
"
'.
"
':'.'
?',...~.
:,,,
~
»,,'
""~",
.'JJ(;'W11'1
Yoa
Tl1i.Ii\,f<z.i.~
of
yo
fA.
W~L~
I Love
You
Select
fixed
phrasc:.~
@ni3il.
I
WU:fvL~
l
+
ENTER
:Decide
end
point.
®Press t::.IV to select the desired
preinstalled phrase and press ENTER.
The color selection window is
displayed.
@Press
<I/t>lt::.IV to select the desired
color and then press ENTER.