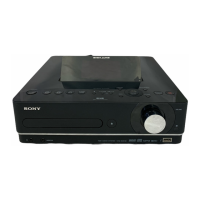
25
GB
NAS-E35HD.GB.3-292-247-11(1)
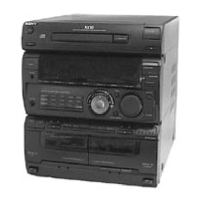
Recording from a radio
broadcast, DAB service*, or
externally connected device
You can record a radio broadcast, a DAB
service*, or from an external device. Tracks are
automatically recorded and stored in the MP3
audio format and at a bit rate of 128 kbps.
* For the UK model only
1
Prepare the unit for recording.
Select the function according to the item to
be recorded.
To record a radio broadcast or DAB
service*:
Tune in the desired radio program or DAB
service (page 32 or 33).
* For the UK model only
To record from an external device
(AUDIO IN):
Select the AUDIO IN function, and then
connect an external device to the AUDIO
IN jack (page 36).
To record from an external device
(DMPORT):
Select the DMPORT function, and
then connect an external device to the
DMPORT (page 37).
2
Press HDD REC
.
Recording starts.
e unit automatically adds a track mark at
60-minute intervals.
To cancel recording
Press .
To pause recording
Press HDD REC .
Tips
A track mark is added whenever you press the HDD
REC button. Track marks can only be added for
tracks with a minimum length of 4 seconds.
e recorded data are named as follows in the HDD
Jukebox.
Recording
source
Artist
directory
Album
directory*
1
Track
directory*
1
FM (TUNER
FM)
FM0001 Track01
AM (TUNER
AM)
AM0001 Track01
DAB*
2
(TUNER
DAB)
DAB0001 Track01
AUDIO IN (AUDIO) AUDIO
0001
Track01
DMPORT
(DMPORT)
DMPORT
0001
Track01
*
1
e number added to a title depends on how many times
recordings have been made from the given recording
source.
*
2
For the UK model only
Recording programmed tracks
When the play mode is set to “PGM” (program)
with the CD or USB function active, you can
record a program to the HDD Jukebox (page 39).
1
With the unit stopped, program
play set, and the respective
function active, press HDD REC
.
2
Press
/
to select “All Step”, and
then press ENTER.
Recording starts.