14
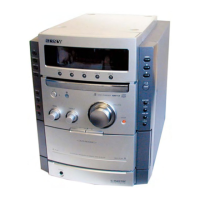
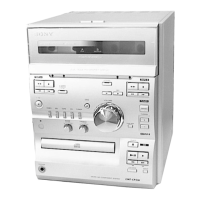
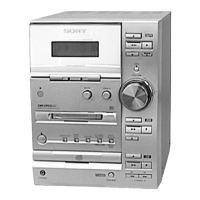
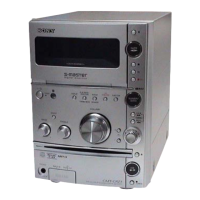
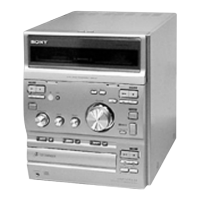
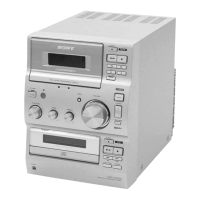
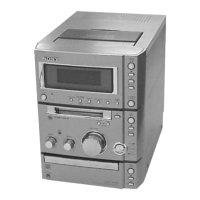
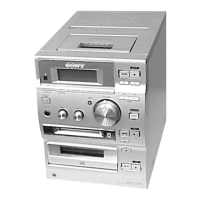
HCD-CPX22/NXM3
SECTION 4
TEST MODE
[Change-over of AM Tuner Step between 9 kHz and 10 kHz]
•A step of AM channels can be changed over between 9 kHz
and 10 kHz.
Procedure:
1. Press
?/1
button to turn the set ON.
2. Select the function “TUNER”, and press [TUNER/BAND]
button to select the BAND “AM”.
3. Press
?/1
button to turn the set OFF.
4. Press x and
?/1
buttons simultaneously, and the display
of fluorescent indicator tube changes to “AM 9 kHz step” or
“AM 10 kHz step”, and thus the channel step is changed over.
[Cold Reset]
• The cold reset clears all data including preset data stored in
the RAM to initial conditions. Execute this mode when
returning the set to the customer.
Procedure:
1.
Press three buttons x , [DIMMER] ,and
?/1
simultaneously.
[Switching MD/VIDEO Functions]
Procedure:
1. Press the
?/1
button to turn the set ON.
2. Press the
?/1
button while holding the VIDEO (MD)
button depressed to toggle between “MD” and “VIDEO.” The
selected mode is displayed.
[Error code indication]
Procedure:
1. Press the
?/1
button to turn the set ON.
2. Select the “CD” function.
3. Press the x , X , and [DISPLAY] buttons simultaneously.
4. The error code is displayed.
5. Press the [TUNING +] button to display the next error code.
Press the[TUNING -] button to display the previous error
code.
[Aging Mode]
This mode can be used for operation check CD section and Tape
deck section.
• If an error occurred:
The aging operation stops and is displayed status.
• If no error occurs:
The aging operation continues repeatedly
1. Aging mode in CD section
Procedure:
1. Press
?/1
button on the set ON
2. Select the function “CD”
3. Press three buttons x , X , and [DISC 3] simultaneously.
The “Aging in” display and aging mode is set.
4. Press [DISC 1] button, starts aging mode of all trays check.
5. Press [DISC 2] button ,starts measurement loading time.
6. To exit from the aging mode perform [Cold Reset].
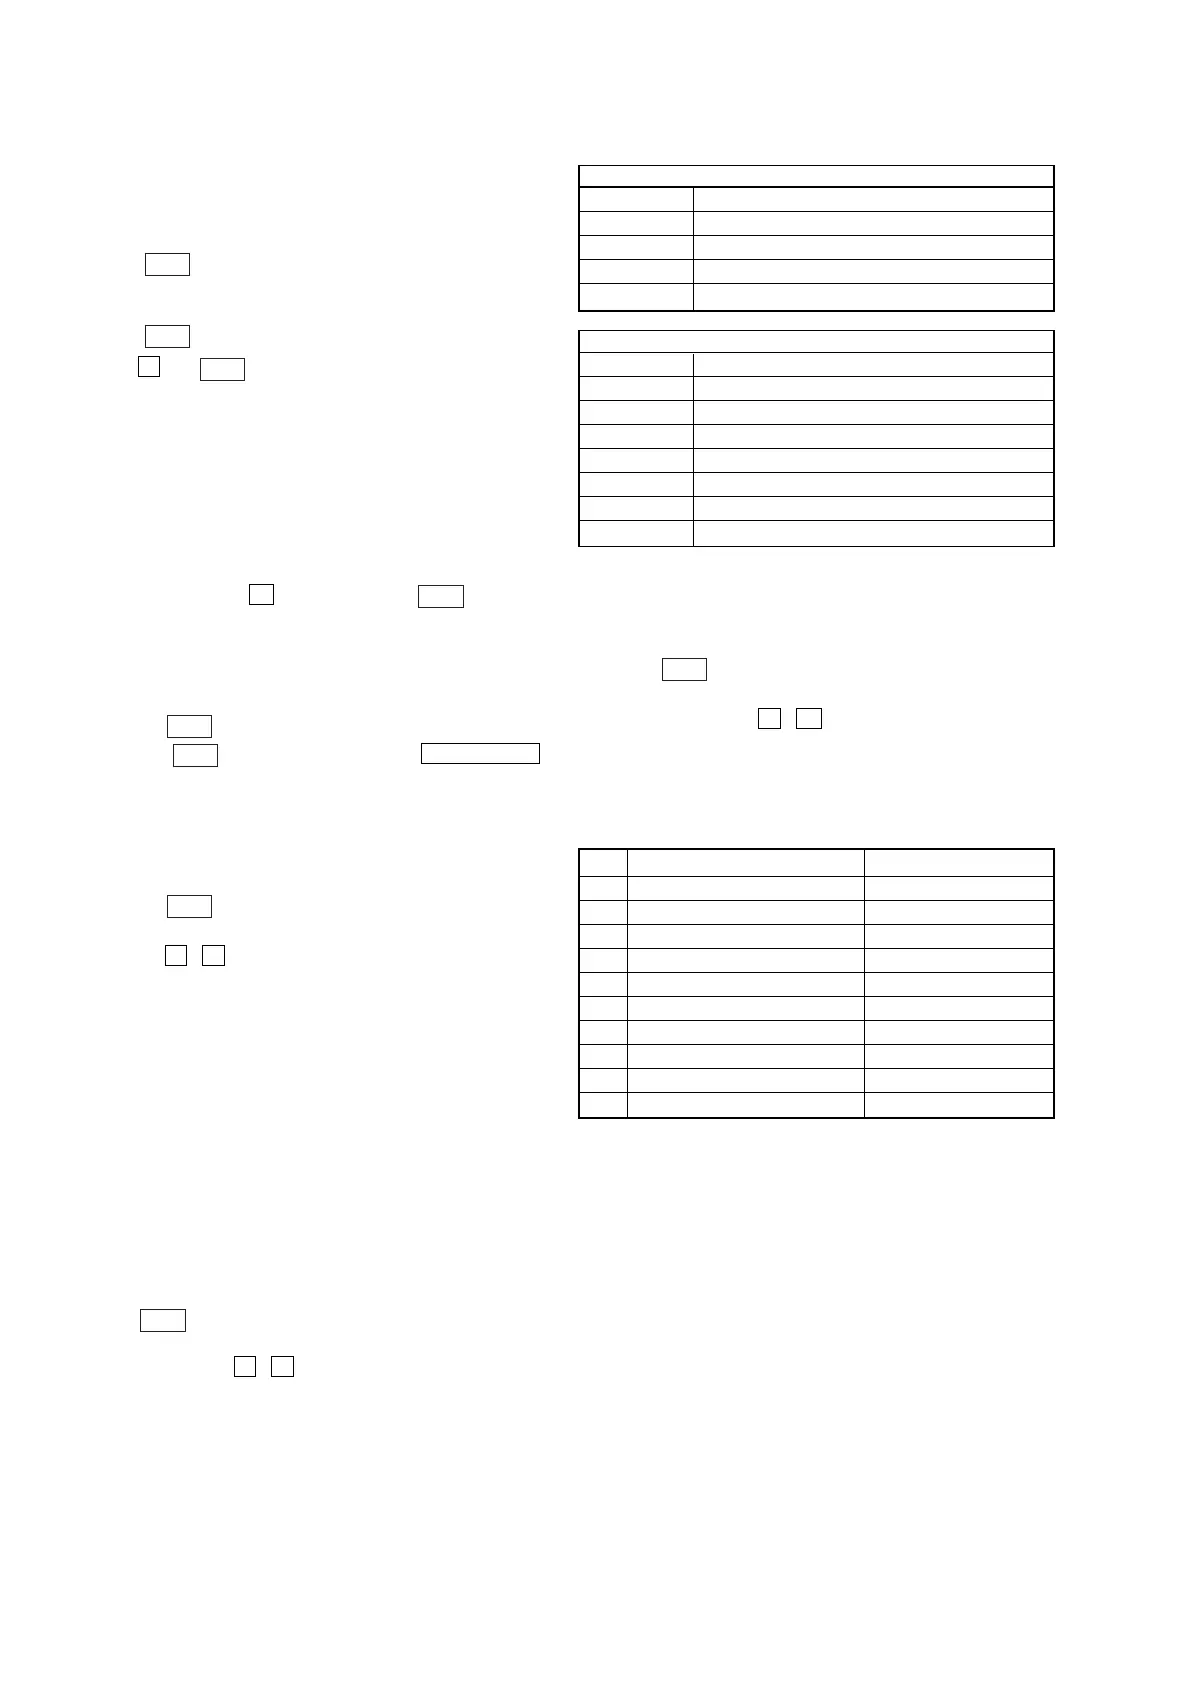
1) Error display
Disc error
Display Error
E00D01022 Focus error (No disc)
E00D02022 Sub Q error (Focus is good)
E00D02023 TOC reading error
E00D02014 Access error (Unable within regular time)
Mechanism error
Display Error
E00M__E_0 Error during opening tray
E00M__C_2 EX-CHANGE disc error
E00M__D_0 Error during closing tray
E00M__F_3 EX-OPEN error
E00M__D_5 EX-CLOSE error
E00M__C_2 Chuck-up error
E00M__C_3 Unchucking error
2. Aging mode in Tape Deck section
Procedure:
1. Load the tapes into the decks A and B respectively.
2. Press
?/1
button on the set ON
3. Select the function “TAPE A”
4. Press three buttons x , X , and [TAPE A/B]
simultaneously, and aging mode is started.
5. To exit from the aging mode perform [Cold Reset].
• In the aging mode ,the program is executed in the following
sequence.
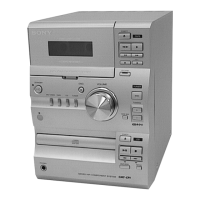
Step Operation Display
1 Rewind the TAPE A TAPE A AG-1
2 Rewind the TAPE B TAPE B AG-1
3 Play the TAPE A (t) (2 minute) TAPE A AG-2
4 F•F. (AMS) the TAPE A TAPE A AG-3
5 Play the TAPE A (T) (2 minute) TAPE A AG-4
6 Rewind the TAPE A TAPE A AG-5
7 Play the TAPE B (t) (2 minute) TAPE B AG-2
8 F•F.(AMS) the TAPE B TAPE B AG-3
9 Play the TAPE B (T) (2 minute) TAPE B AG-4
10 Rewind the TAPE B TAPE B AG-5