11
Getting Started
HVR-A1E/A1P 2-639-668-11(1)
4 Connect the mains lead to the AC
Adaptor and the wall socket.
The CHG (charge) lamp lights up and
charging starts.
5 The CHG (charge) lamp turns off
when the battery is fully charged.
Disconnect the AC Adaptor from
the DC IN jack on your camcorder
and the DC plug.
Disconnect the AC Adaptor from the
DC IN jack holding both the camcorder
and the DC plug.
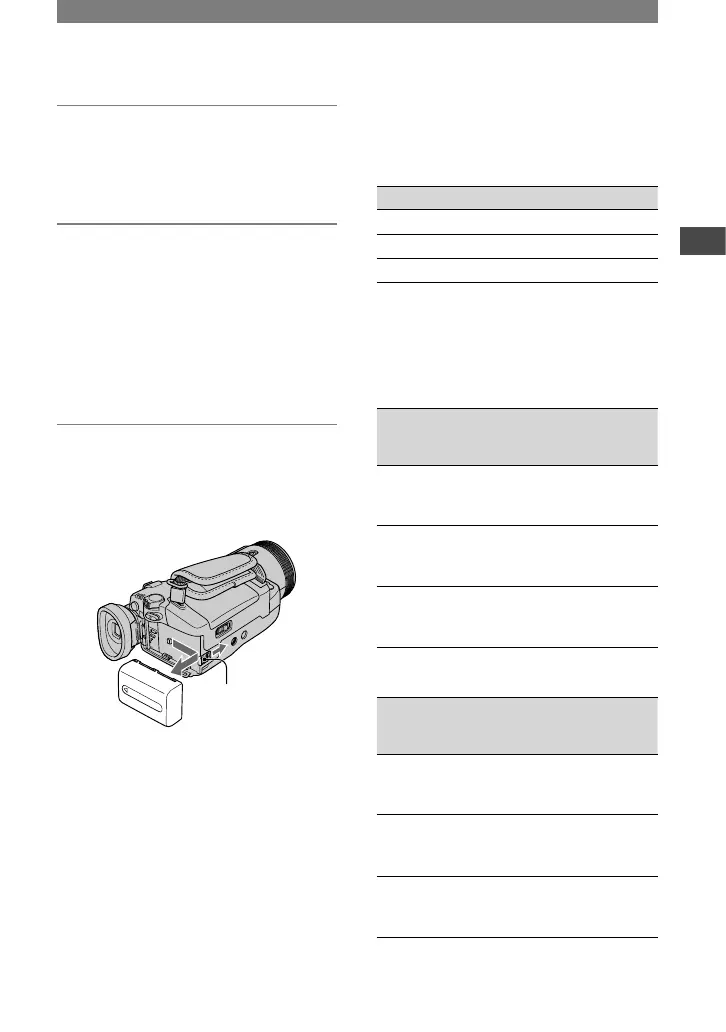
To remove the battery pack
Slide the POWER switch up to OFF
(CHG). Slide the BATT (battery release)
lever and remove the battery pack.
BATT (battery
release) lever
When storing the battery pack
Fully discharge the battery before storing it
for an extended period (p. 108).
To use an outside power source
You can operate your camcorder using the
power from the wall socket by making the
same connections as you do when charging
the battery pack. The battery pack will not
lose its charge in this case.
Charging time
Approximate time (min.) required when
you fully charge a fully discharged battery
pack.
Battery pack Charging time
NP-FM50 (supplied)
150
NP-QM71D 260
NP-QM91D 360
Recording time
Approximate time (min.) available when
you use a fully charged battery pack.
Recording in the HDV format
(With the XLR adaptor attached)
Battery pack
Continuous
recording
time*
Typical
recording
time*
NP-FM50
(supplied)
75
80
75
40
40
40
NP-QM71D 190
205
190
105
110
105
NP-QM91D 285
315
290
155
175
160
Recording in the DVCAM (DV) format
(With the XLR adaptor attached)
Battery pack
Continuous
recording
time*
Typical
recording
time*
NP-FM50
(supplied)
85
95
85
45
50
45
NP-QM71D 210
230
215
115
125
120
NP-QM91D 320
350
325
175
195
180
* Top: When the LCD backlight turns on.
Middle: When the LCD backlight turns off.
Continued