19
Getting Started
HVR-A1E/A1P 2-639-668-11(1)
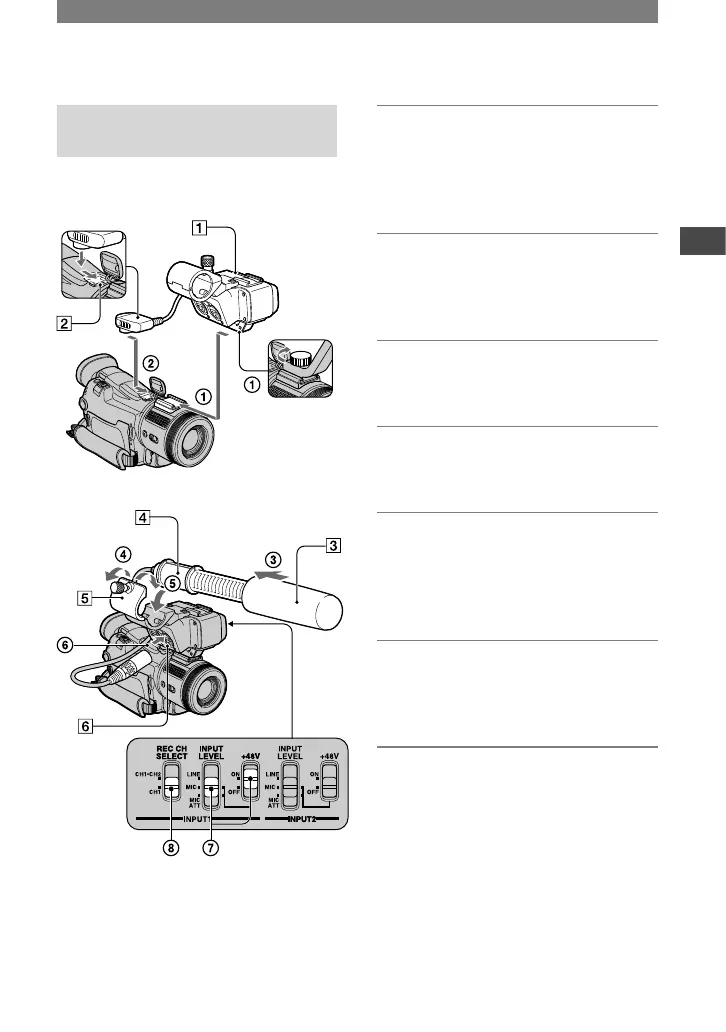
Step 8: Installing the supplied microphone and
hood with lens cover
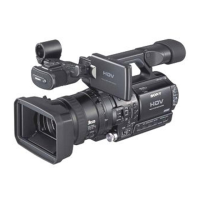
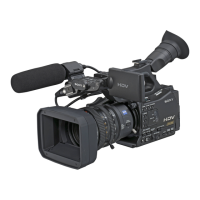
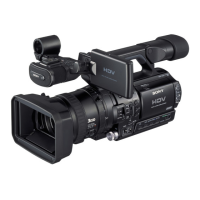
Installing the supplied
microphone
Install the supplied XLR adaptor and
microphone. You can receive the desired
audio quality.
1 Attach the XLR adaptor
to the
accessory shoe on the camcorder
and tighten the screw of the XLR
adaptor.
2 Connect the plug of the XLR
adaptor to the Active Interface
Shoe
of the camcorder.
3 Attach the wind screen
to the
microphone
.
4 Loosen the microphone holder
screw and open the cover.
5 Place the microphone into the
holder with the model name
(ECM-NV1) facing upward, close
the cover, and tighten the screw.
6 Connect the plug of the
microphone to the INPUT1
connector
.
7 Set the INPUT LEVEL selector to
MIC or MIC ATT.
When the selector is set to MIC ATT,
you can reduce the volume by about
20dB.
Set the +48V switch to ON.
Continued