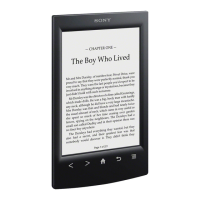
PRS-T2
10
SECTION 3
TEST MODE
PREPARATION OF THE TEST MODE
Prepare the following before executing the test mode.
• PC
• USB cable for PC connection (MICRO B)
• File for the test mode
Note: Confi rm the method of obtaining the fi le for test mode to each ser-
vice headquarters.
HOW TO ENTER THE TEST MODE
Procedure:
1. Press the [1] key to turn the power on.
2. Confi rm the HOME menu was completely displayed, and con-
nect this unit to PC by the USB cable (MICRO B).
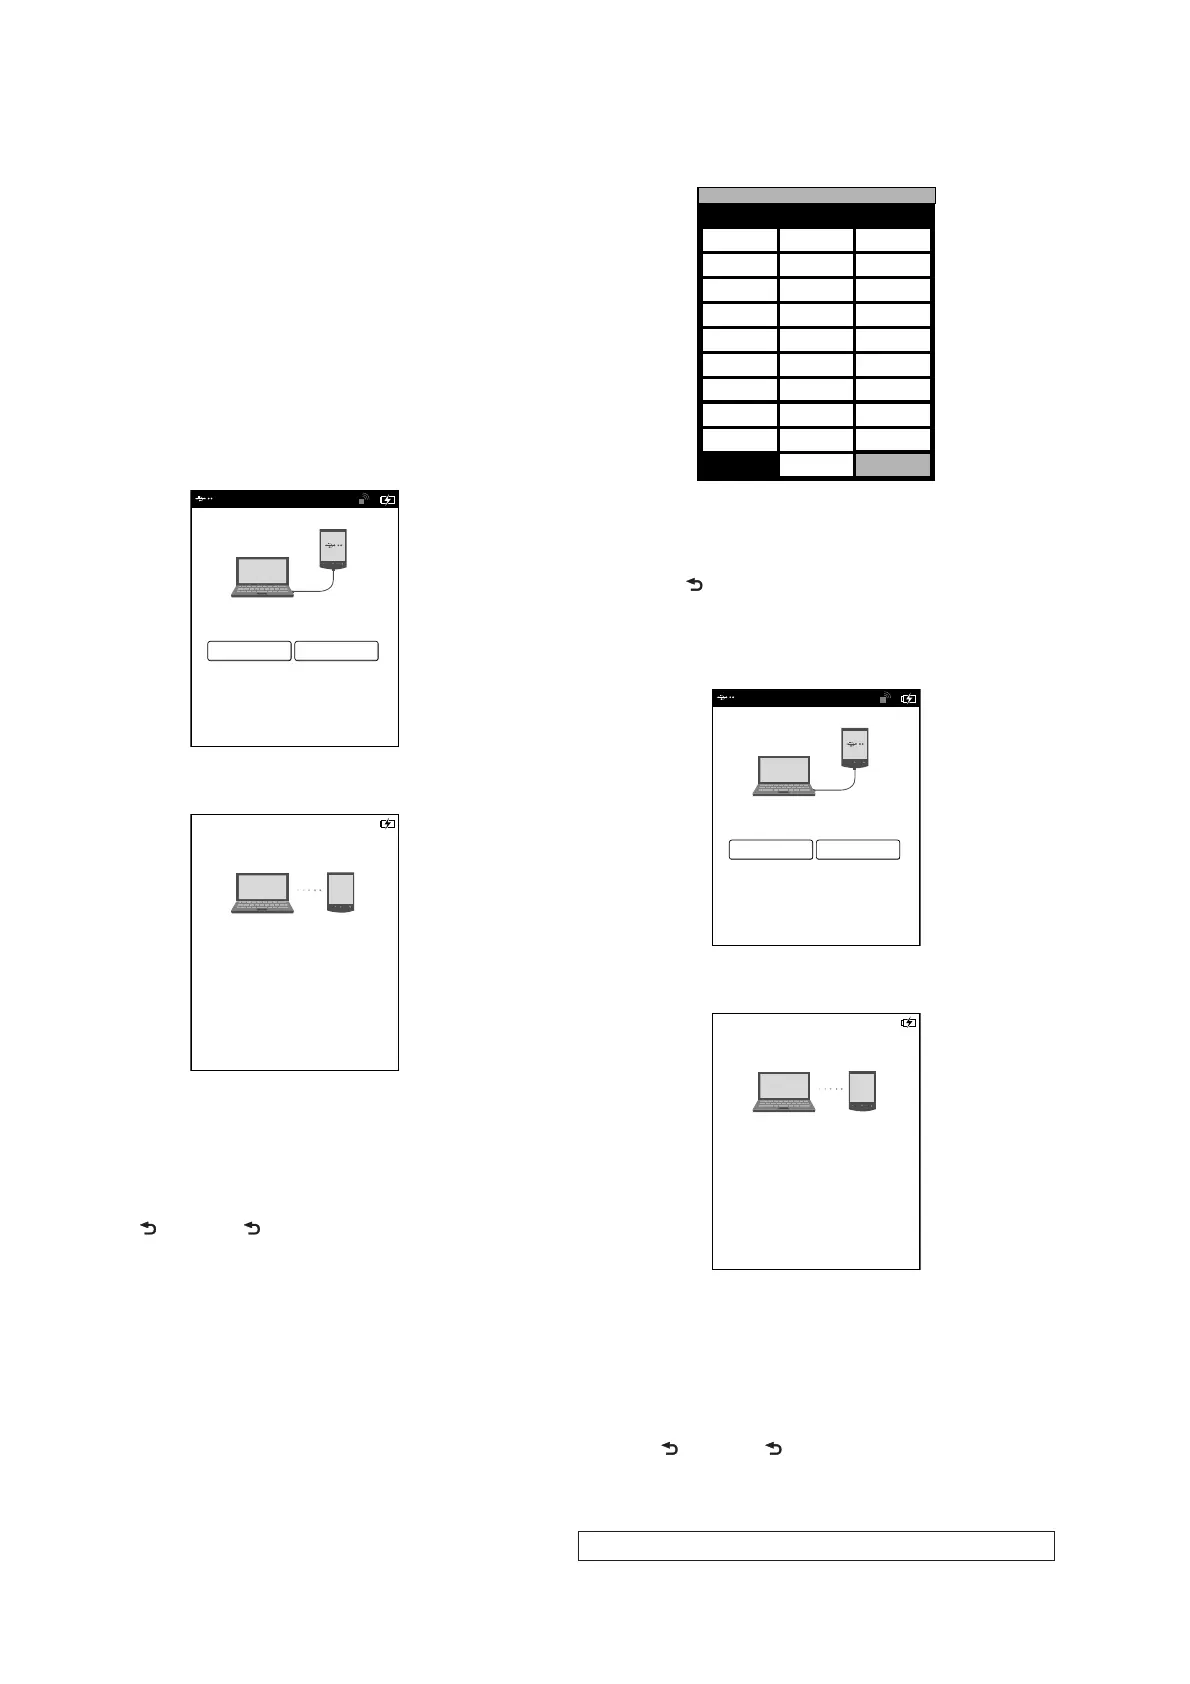
3. Confi rm the USB connection screen displayed, and touch the
“Yes”.
Do you want the computer to recognize
this device?
Tap [Yes] to install Reader
TM
for PC or Reader
TM
for MacR
application, or transfer content.
Tap[No] to use Reader while charging.
Note: This screen will show whenever connecting with the
USB cable.
OFF
Yes No
4. The following screen is displayed in this unit, and confi rm the
“READER” drive of this unit is recognized on PC.
This device is correctly recognized by the
computer.
Check completion of the transfer by computer before
detaching USB cable.
5. Copy the fi le for the test mode from PC to directly under the
“READER” drive of this unit.
6. Remove this unit and USB cable (MICRO B) from PC.
7. Confi rm the HOME menu was completely displayed, and
press the key as following order.
[>] [ ] [<] [ ]
8. After a while, the test mode menu is displayed, and this unit
enters the test mode.
@Test Mode
Version: X.X.X
Target storage: Internal
Test Panal Update Waveform IR-LED Level
Drawing with
Points
Update SP1
Parameters
Check 3G Module
TP Coordinate
Check User
History
Test All Key Switch ADB
Test Battery Life Fake MoAkey
Version
Confirmation
Reboot (Normal)
Check Battery Reboot (Recovery)
Set Sleep Timeout Radio Logcat
Get “traces.txt”
Factory Initialize
Re-fetch 3G
Identifier
Log Extact 2
(Flush)
Reset Device Lock
Power Off
Log Extract 1
Check
Temperature
Write VCOM
WWAN ON
WWAN OFF
(Screen display)
RELEASING THE TEST MODE
Procedure:
1. Press the [ ] key, and confi rm the HOME menu was com-
pletely displayed.
2. Connect this unit to PC by the USB cable (MICRO B).
3. Confi rm the USB connection screen displayed, and touch the
“Yes”.
Do you want the computer to recognize
this device?
Tap [Yes] to install Reader
TM
for PC or Reader
TM
for MacR
application, or transfer content.
Tap[No] to use Reader while charging.
Note: This screen will show whenever connecting with the
USB cable.
OFF
Yes No
4. The following screen is displayed in this unit, and confi rm the
“READER” drive of this unit is recognized on PC.
This device is correctly recognized by the
computer.
Check completion of the transfer by computer before
detaching USB cable.
5. Delete the fi le for the test mode from directly under the
“READER” drive of this unit.
6. Remove this unit and USB cable (MICRO B) from PC.
7. Confi rm the HOME menu was completely displayed, and press
the key as following order, and confi rm that the test mode does
not enter.
[>] [ ] [<] [ ]
8. Press the [1] key for 5 seconds or more, and touch the “Yes”
to turn the power off.
Note: Never forget to delete the fi le for the test mode.