PRS-T2
15
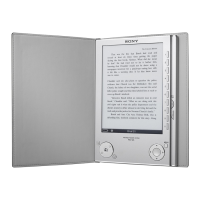
6. The following screen is displayed in this unit, and confi rm the
“READER” drive of this unit is recognized on PC.
This device is correctly recognized by the
computer.
Check completion of the transfer by computer before
detaching USB cable.
7. Make the following folder under the “READER” drive of this
unit.
/testmode/data/
8. Copy the text fi le made in step 2 to the “data” folder made in
step 7. Then, change the fi le name to “Vcom.dt”.
9. Copy the fi le for the test mode from PC to directly under the
“READER” drive of this unit.
Note 2: When the fi le for the test mode already exists directly under the
“READER” drive of this unit, the fi le for the test mode need not
be newly copied.
10. Remove this unit and USB cable (MICRO B) from PC.
11. Enter the test mode (Refer to “HOW TO ENTER THE TEST
MODE” (page 10)).
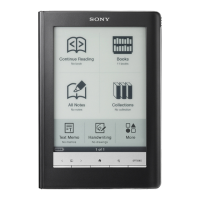
12. Touch the “Write VCOM” in the test mode menu, and confi rm
current (unrenewed) VCOM voltage is displayed.
(Example: –1854 mV in the fi gure below)
Test Mod
V
r
i
n: X.X.
ar
et stora
e:
nterna
T
t P
n
l
pdate Wave
orm IR-LED L
v
l
Drawin
wit
P
int
pdate SP
P
r
m
t
r
heck
Modul
TP
oordinat
heck
ser
istor
est
e
witch ADB
Test Batter
Lif
Fake MoAke
V
r
i
onfirmatio
eboot
Normal
heck Batter
eboot
Recover
et Sleep Timeou
adio Lo
ca
et “traces.txt
actor
n
t
a
z
e-
etch
I
nti
i
r
Lo
Extact
Flush
t D
vi
L
Power
Lo
Extact
hec
Temperatur
Write V
M
WWAN
WWAN
F
Write VCOM
Status: 1854mV
Would you like to write?
New value: 2030mV
Yes
No
(Example of displaying current
(unrenewed) VCOM voltage)
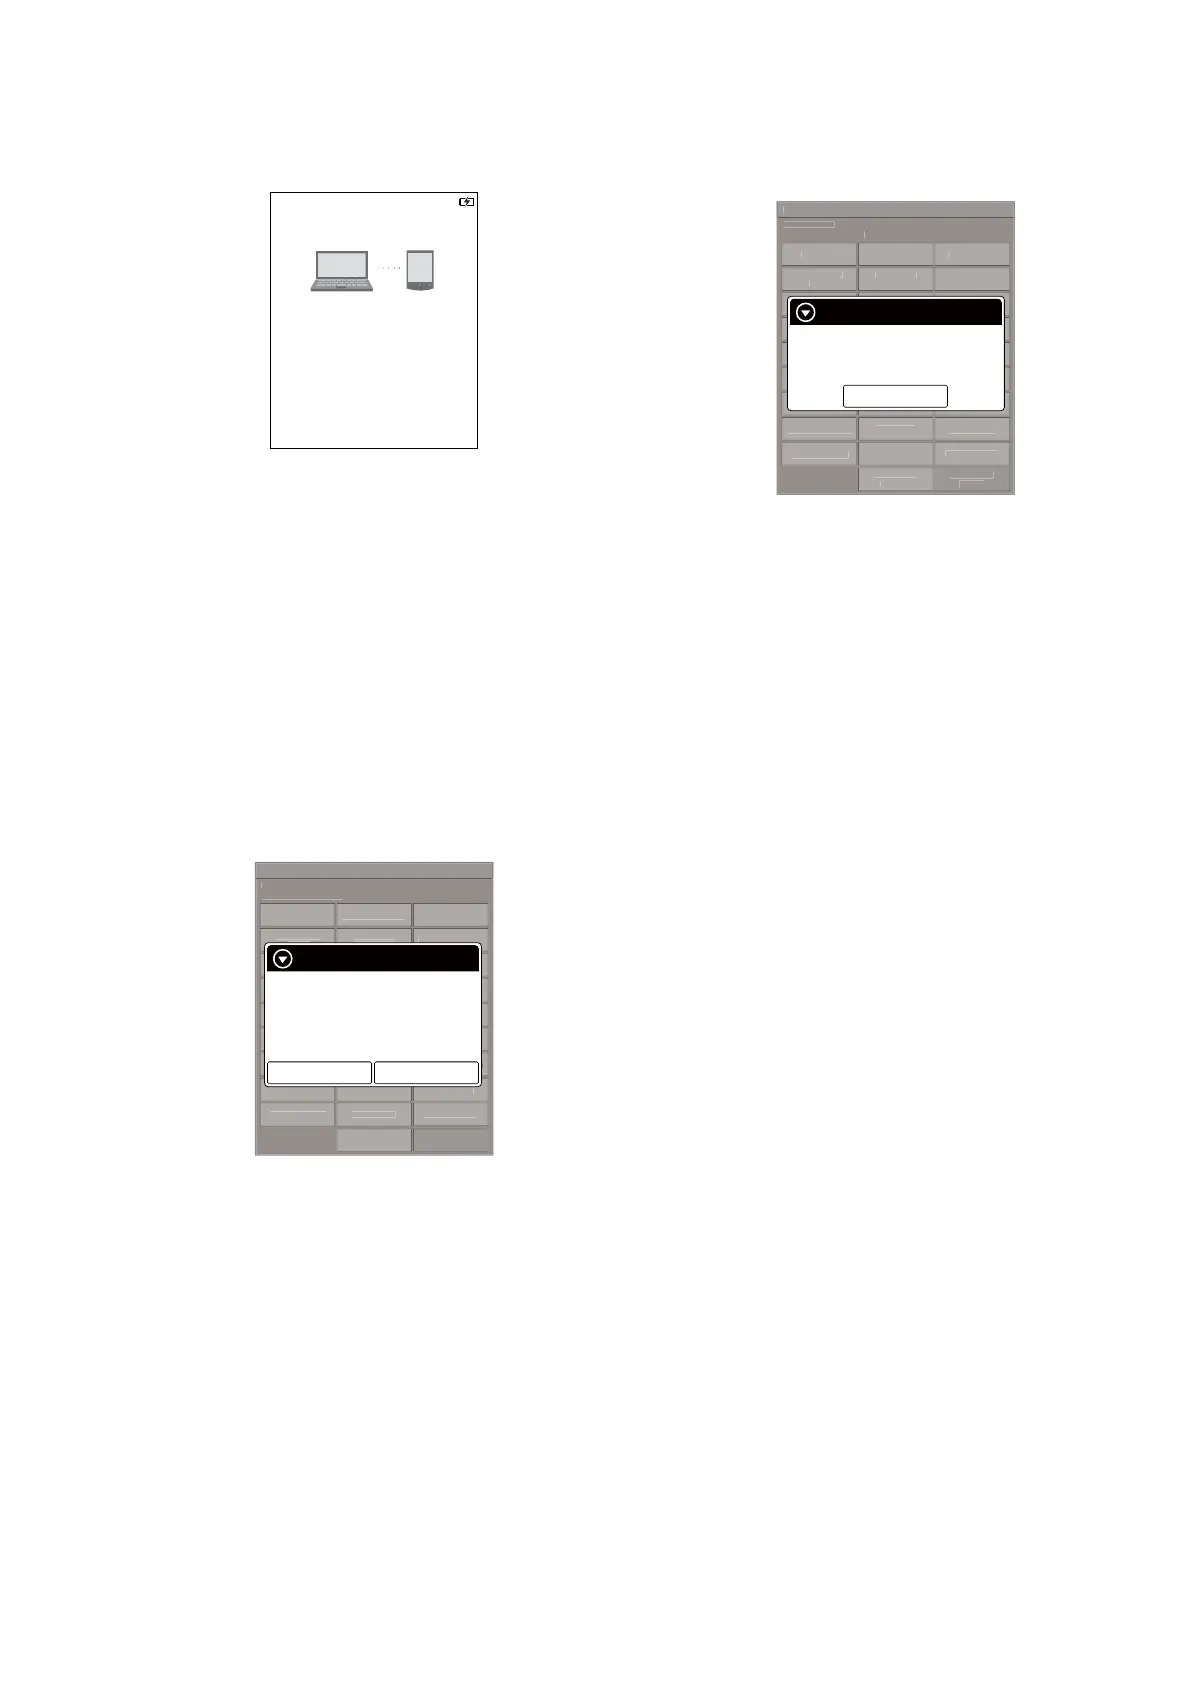
13. Touch the “Yes”, it starts rewriting the VCOM voltage.
14. Confi rm the VCOM voltage has been updated.
(Example: –2030 mV in the fi gure below)
Test Mod
V
r
i
n: X.X.
Ta r
et stora
e: Internal
t
n
pdate Wave
orm
-
v
Drawin
wit
P
int
pdate SP
P
r
m
t
r
heck
Modul
TP
oordinat
heck
ser
istor
Test All Ke
witch ADB
Test Batter
Li
a
e
o
e
V
r
i
onfirmatio
eboot
Normal
heck Batter
eboot
Recover
et Sleep Timeou
adio Lo
ca
et “traces.txt
actor
n
t
a
z
e-
etch
I
nti
i
r
Lo
Extact
Flush
t D
vi
L
Power
Lo
Extact
hec
Temperatur
Write V
M
WWAN
WWAN
F
Write VCOM
Success.
Current: 2030mV
OK
(Example of displaying updated VCOM voltage)
17. WWAN ON
This mode is not used in servicing.
18. WWAN OFF
This mode is not used in servicing.
19. Re-fetch 3G Identifi er
This mode is not used in servicing.
20. IR-LED Level
This mode is not used in servicing.
21. Check 3G Module
This mode is not used in servicing.
22. Check User History
This mode is not used in servicing.
23. Switch ADB
This mode is not used in servicing.
24. Fake MoAkey
This mode is not used in servicing.
25. Reboot (Normal)
This mode is not used in servicing.
26. Reboot (Recovery)
This mode is not used in servicing.
27. Radio Logcast
This mode is not used in servicing.
28. Get “traces.txt”
This mode is not used in servicing.
29. Log Extact 2 (Flush)
This mode is not used in servicing.