Printed in the USA
Installing the Artisan
TM
Software
1 Locate and insert the Artisan
TM
CD-ROM into your computer’s CD-ROM drive.
2
Double-click on the Artisan
TM
CD-ROM
icon that appears on your computer’s
desktop.
3
Double-click on the “Artisan
TM
Installer” icon.
4
Follow the screen prompts for software installation.
5
Restart your computer.
Preparing to Calibrate Your Artisan
TM
System
1 Make sure that your color settings are set to “millions” or at least 16-bit color.
2
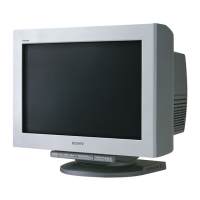
Make sure your display is set to “Professional” mode. To do this, press the “Picture
Effect” button on the front of your GDM- C520 display until the on-screen.
3
Warm your display up by leaving the display on and displaying a relatively bright
screen (over 50% white) for at least an hour before calibration.
4
Make sure that the Artisan
TM
Sensor is connected to one of your computer’s USB
ports.
5
Lower the light in the room to under 64 lux. Ideally, the ambient light level should be
approximately 16 lux.
Note: For more information on setting up your Artisan
TM
Color Reference System,
or for more help in calibrating your system, please see the Artisan
TM
manual on the
included CD-ROM.
Calibrating Your System
1 Double-click on the Artisan
TM
CD-ROM icon to start the application. The main
screen will appear.
2
Choose a target colorspace from the “Target Colorspace” dropdown menu. Choose
from the following 3 options:
• Print RGB D65: Standard colorspace for European prepress and printing profes
sionals.
• Print RGB D50: Standard colorspace for U.S. prepress and printing professionals.
• Web RGB (sRGB): Standard colorspace for output limited to computer displays,
TVs, and video.
3
Click the “Calibrate” button.
4
Center the Artisan
TM
Sensor over the target in the middle of the screen. Use the hash
marks on the screen and on the sensor to guide this process.
5
Click the “Start” button. Your system will take approximately 10 minutes to fully
calibrate.
6
When the calibration is done, a “Calibration Complete” message will appear. Remove
the Artisan
TM
Sensor.
7
The new calibration is now active, and should be displayed under the “Calibration
Data” dropdown menu on the main screen.