5
GB
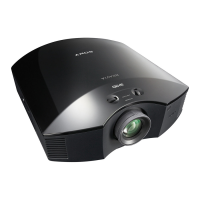
Unpacking / Step 1: Installing the Projector
Connections and
Preparations
Connections and Preparations
This section describes how to install the projector and
screen, how to connect the equipment from which
you want to project the picture, etc.
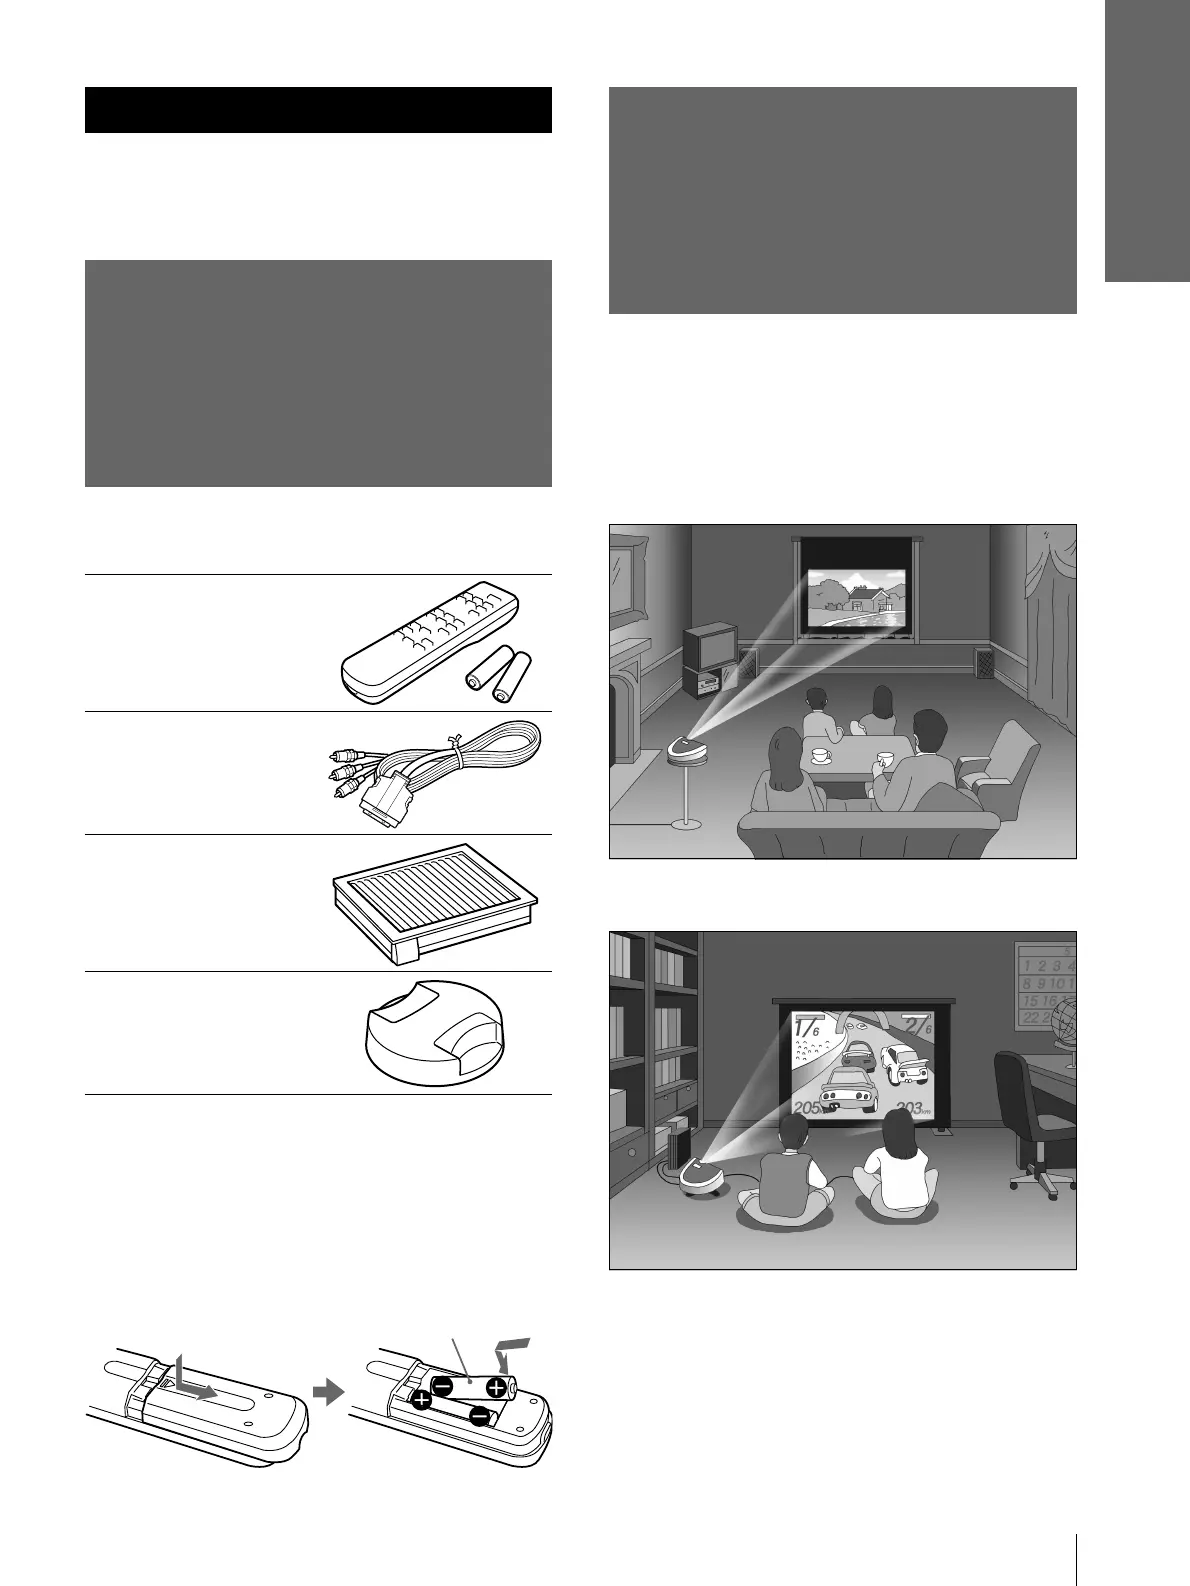
Unpacking
Check the carton to make sure it contains the
following items:
Remote control (1),
Size AA (R6)
batteries (2)
Signal interface
cable (1)
Air filter (for
replacement) (1)
Lens cap (1)
AC power cord (1)
Operating Instructions (1)
Inserting the batteries into the remote
control
Step 1: Installing
the Projector
You can obtain good picture quality even when you
project the picture from the side of the screen (“SIDE
SHOT”) (1 page 7). You can enjoy home
entertainment with this projector in various situations.
Enjoying home theater
Enjoying video games on a large screen
Insert the batteries E side first as shown
in the illustration.
Inserting them forcibly or with the
polarities reversed may cause a short
circuit and may generate heat.