18 (GB)
Projecting
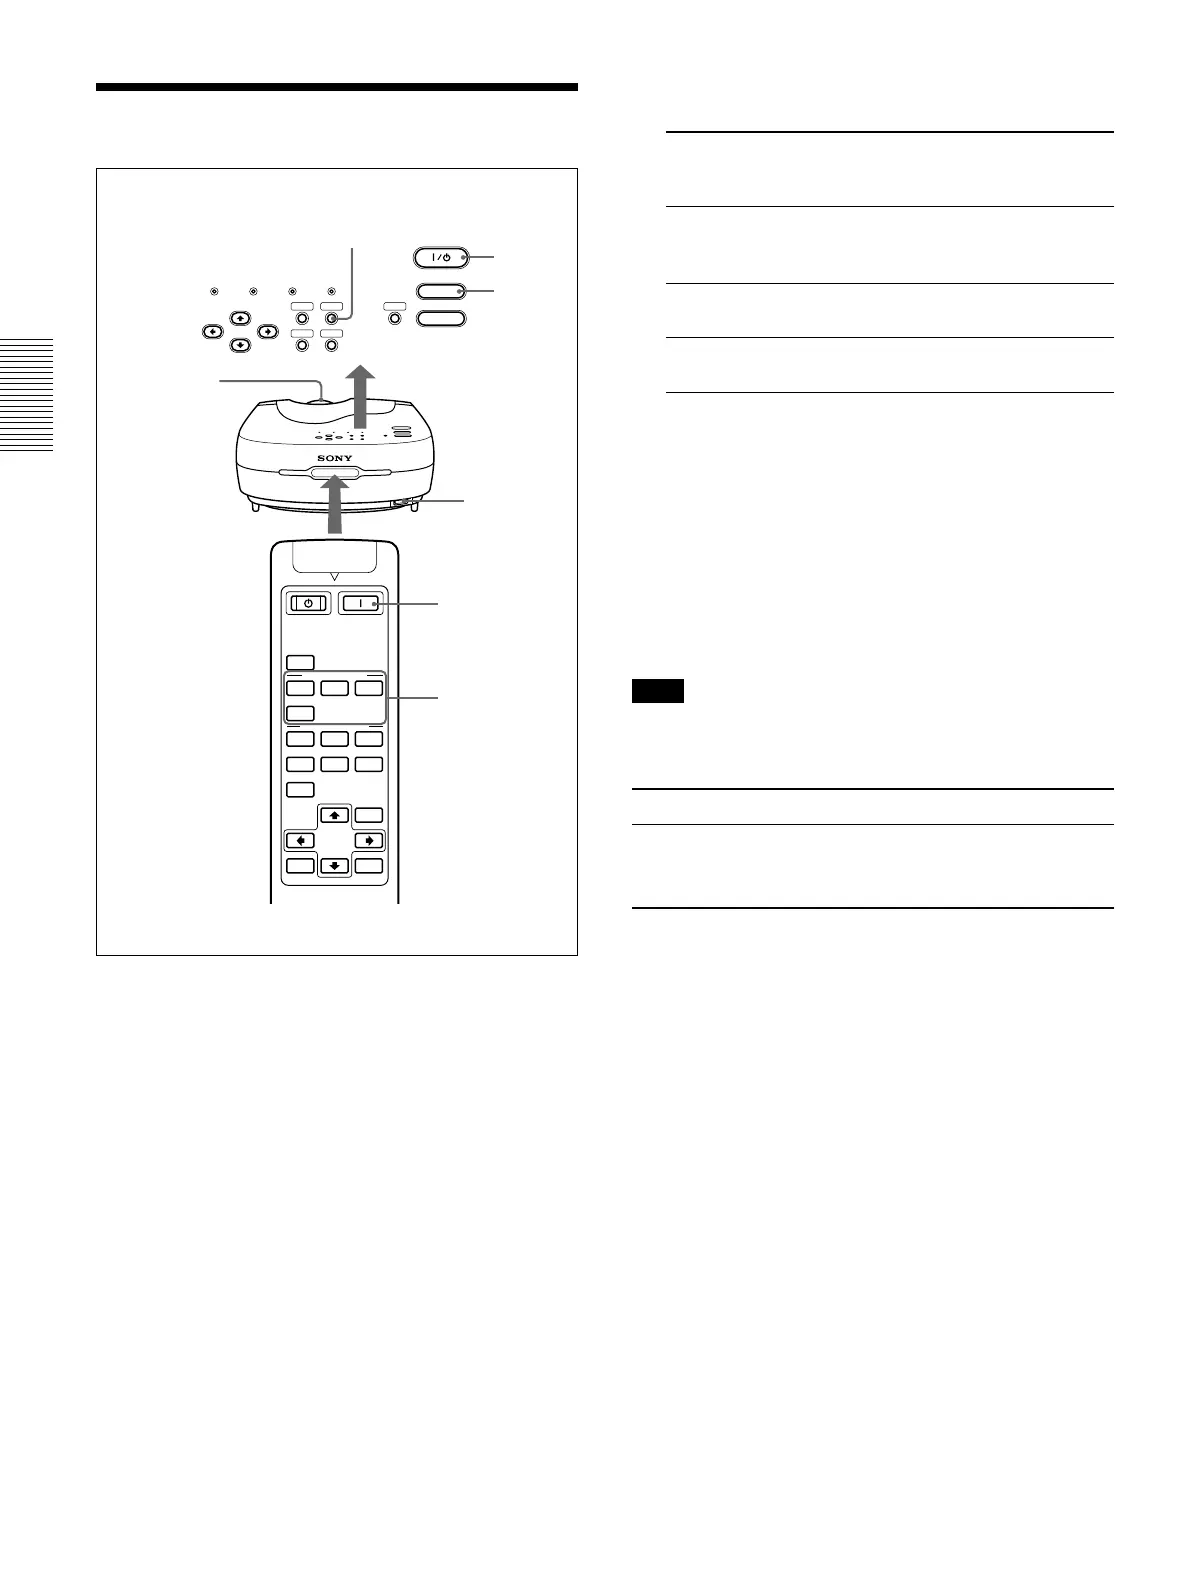
4 Press the INPUT key to select the input source.
INPUT-A: Selects video signal input from the INPUT
A connector, such as component
equipment.
INPUT-B: Selects video signal input from the INPUT
B connector, such as component
equipment.
VIDEO: Selects video signal input from the VIDEO
(VIDEO IN) jack.
S-VIDEO: Selects video signal input from the S
VIDEO (VIDEO IN) jack.
5 Press the PATTERN key on the control panel to
display the test pattern, and turn the focus ring to
adjust the focus.
Press the PATTERN key again to clear the test
pattern.
6 Turn the zoom ring to adjust the size of the
picture.
Note
Looking into the lens when projecting may cause
injury to your eyes.
To Press
Cut off the picture
the MUTING PIC key on the remote
commander. To restore the picture,
press the MUTING PIC key again.
1 After all equipment is completely connected, plug
the AC power cord into the wall outlet.
The ON/STANDBY indicator lights in red and the
projector goes into the standby mode.
2 Press the I /
1
key on the control panel or
the I key on the Remote Commander.
The ON/STANDBY indicator lights in green.
3 Turn on equipment connected to the projector.
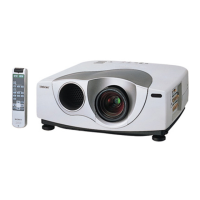
Projecting
LAMP/
COVER
TEMP/
FAN
POWER
SAVING
ON/
STANDBY
MENU
LIGHT
VIDEO MEMORY
ENTER
PATTERN
RESET
INPUT
MUTING
INPUT SELECT
VIDEO MEMORY
PIC
VIDEO
S VIDEO
A
123
4
OFF
MENU
ENTER
RESET
56
B
2
4
1
5,6
5
2
4
 Loading...