UTM 110/120 Operating Instructions
6. Putting into Operation
Caution: Risk of explosion if battery is replaced by an incorrect type. Dispose
of used batteries according to the instructions.
Scope of Supply
The supplied parts are indicated in the Hardware Quick Start Guide.
Mounting Instructions
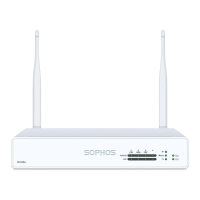
The hardware model UTM 110/120 can be placed on a stable horizontal
surface or can be mounted on the wall. Screws are not included in delivery.
Use only screws that fit the mounting holes on the bottom side.
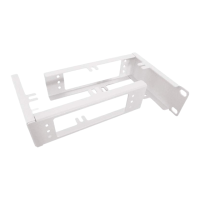
To mount the appliance to the rack you need the optional Rack Mounting Kit,
which you can purchase through certified Sophos partner near you.
General Precautions
Review the electrical and general safety precautions that came with the
components you are adding to your appliance.
Rack Precautions
Ì Ensure that the leveling jacks on the bottom of the rack are fully extended
to the floor with the full weight of the rack resting on them.
Ì In single rack installation, stabilizers should be attached to the rack.
Ì In multiple rack installations, the racks should be coupled together.
Ì Always make sure the rack is stable before extending a component from
the rack.
Ì You should extend only one component at a time–extending two or more
simultaneously may cause the rack to become unstable.
General Server Precautions
Ì Review the electrical and general safety precautions that came with the
components you are adding to your appliance.
Ì Install the heaviest server components on the bottom of the rack first, and
then work up.
Ì Allow the hot plug hard drives and power supply modules to cool before
touching them.
Ì Always keep the rack‘s front door, all panels and server components
closed when not servicing to maintain proper cooling.