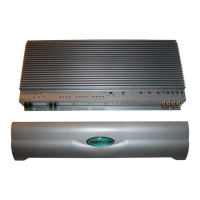
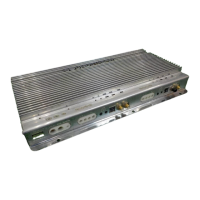
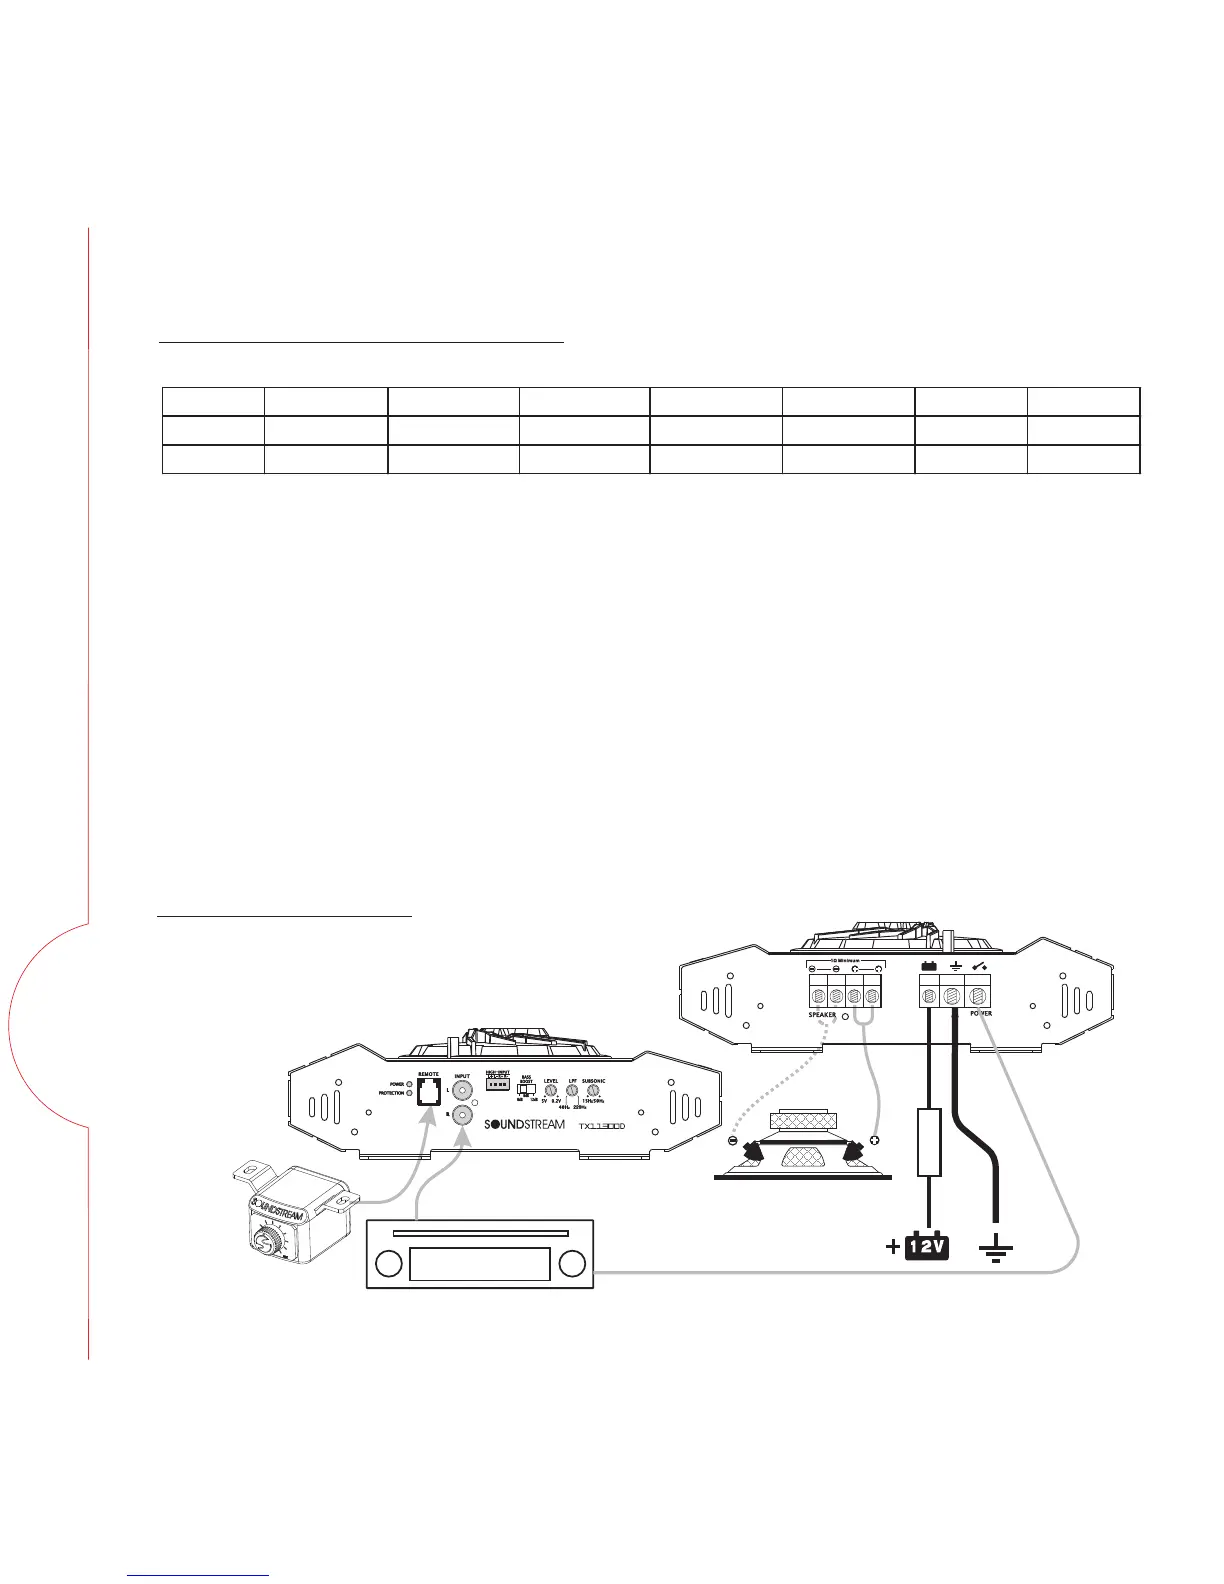
CONNECTING THE AMPLIFIER
1. Select cable and fuse according to the following table.
2. Connect the amplifiers ground cable to a close, bare metal part of the frame or
chassis. Use a nut and bolt, NOT a screw! The ground cable must be at least the same size
as the +12volt cable.
3. Connect the remote terminal to remote output of the head unit using 16 gauge (or
heavier) wire.
4. Connect the fuse holder within 18”(45cm) of the car battery, and run the selected
cable from this fuse to the amplifier.
5. Connect all the inputs with high-quality cables. Connect Remote Control if
necessary.
6. Insert fuse(s) into the battery fuse holder(s).
7. If using a subwoofer for 2-CH and 4-CH, bridge the channels by using the Left “+”
and the Right “-“ terminals.
Fig 7. Mono amplifier wiring
WIRING DIAGRAM
(1 woofer load)
MODEL TX1.1300D TX1.2000D TX1.2600D TX2.350 TX2.500 TX4.440 TX4.560
CABLE 4# 2-4# 0-2# 6# 4-6# 6# 4-6#
FUSE 120A 200A 250A 30A 60A 40A 60A

 Loading...